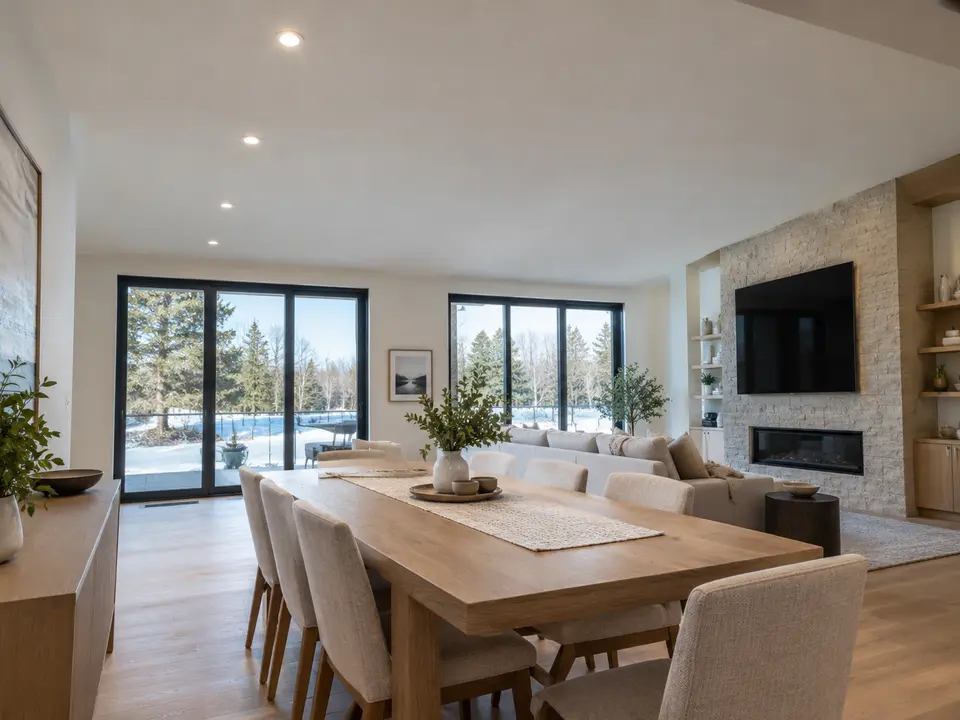
New Pot Lights
Plan fixture type, layout, access, switching, and the written installation scope.
Explore this service →
Plan LED pot lights, kitchen and basement lighting, exterior soffit lights, fixtures, and controls around the way each space is actually used. Start with the room and the result you want—not a one-price-fits-all promise.
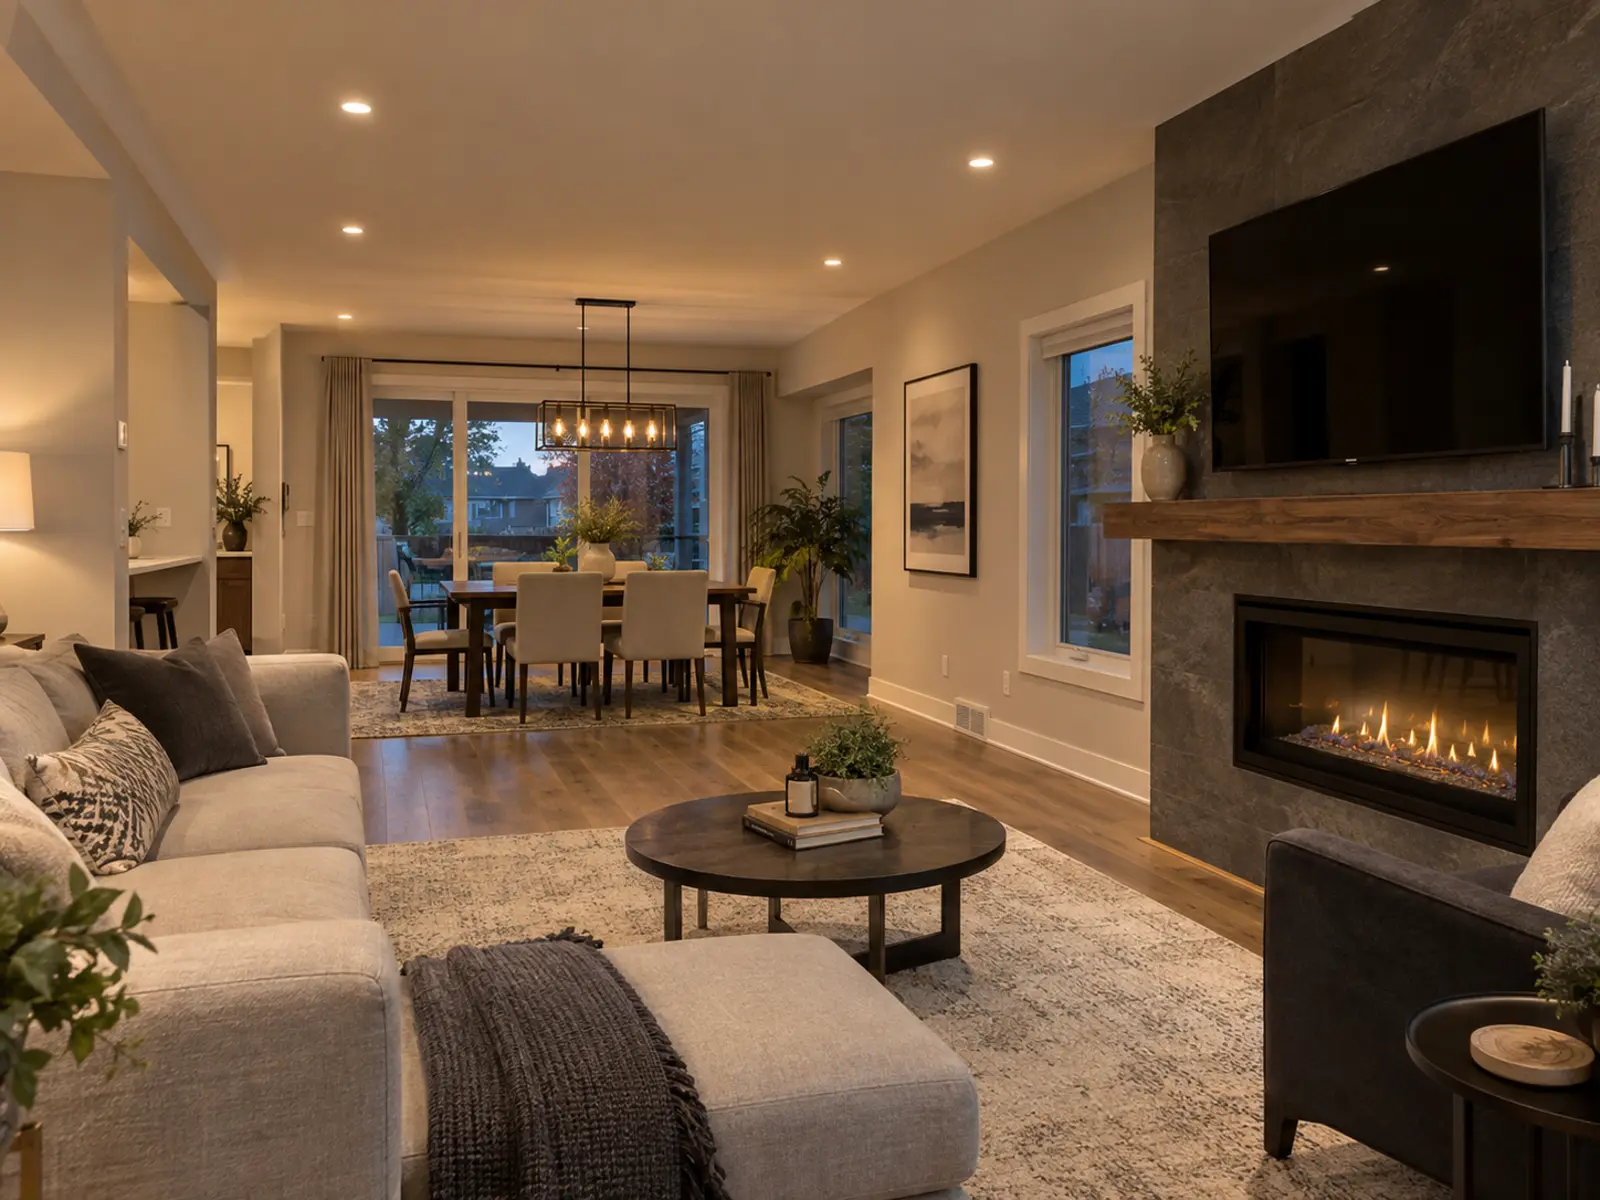
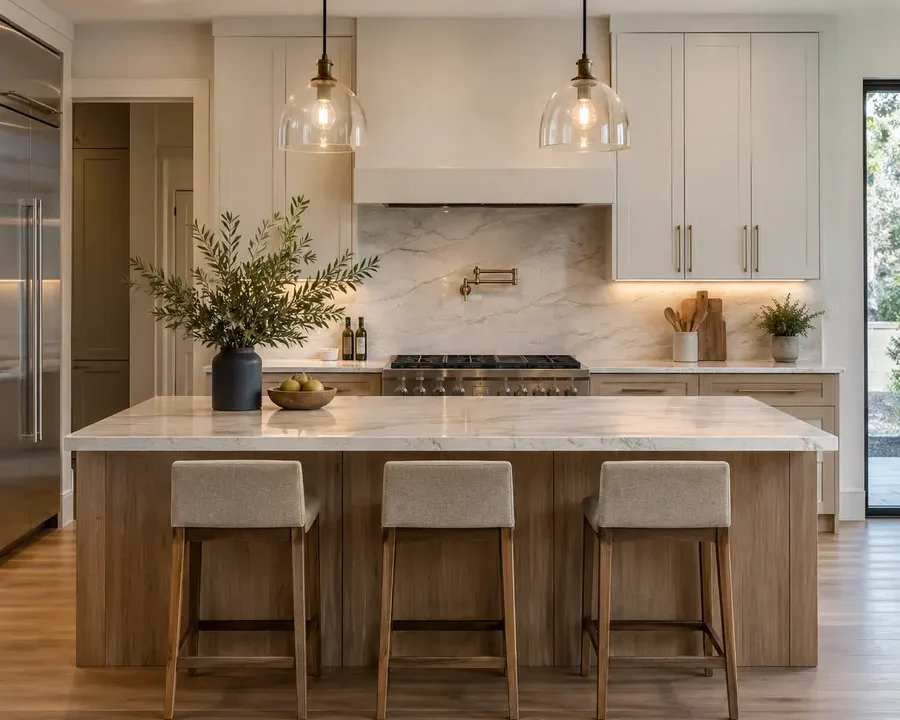
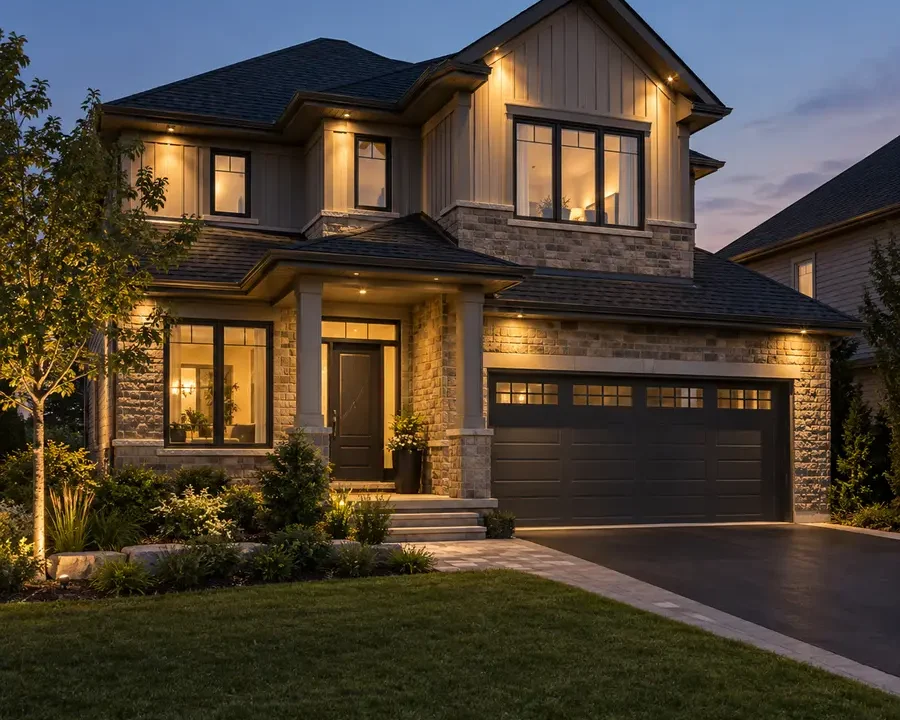
Each page covers the decisions that are specific to that room or type of work.
Plan fixture type, layout, access, switching, and the written installation scope.
Explore this service →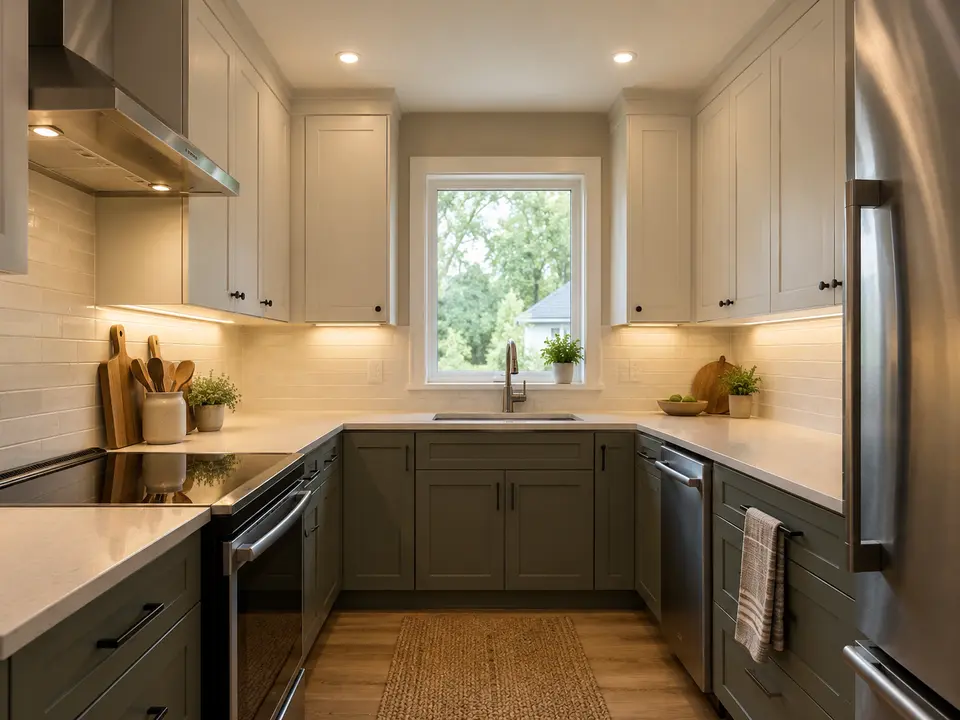
Put useful light on counters and islands, then coordinate pendants and cabinet lighting.
Explore this service →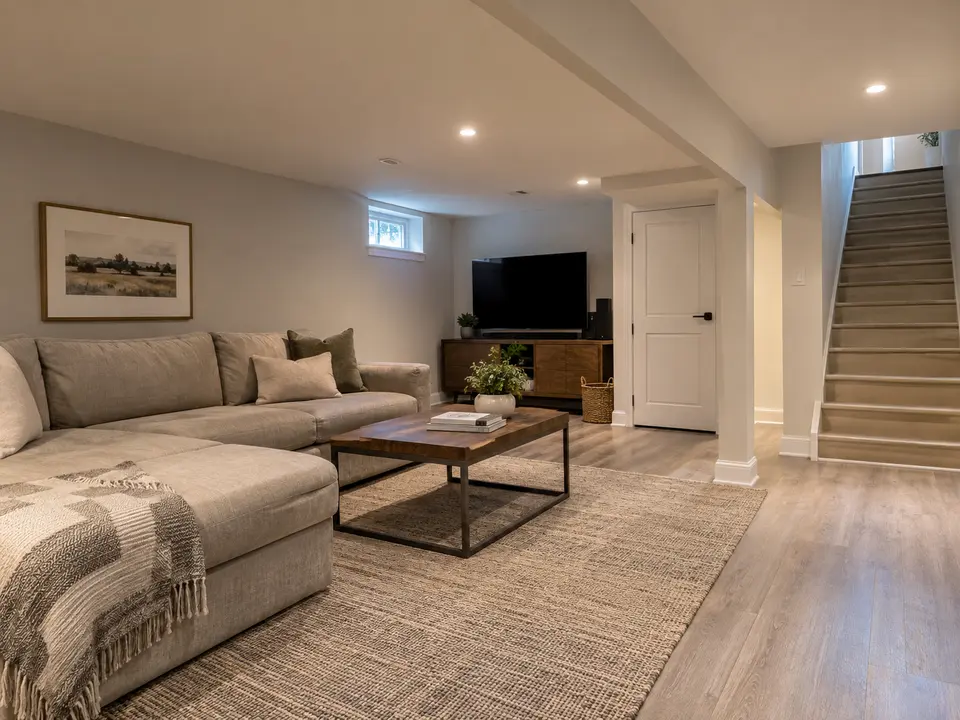
Work around low ceilings, bulkheads, stairs, room zones, and the renovation stage.
Explore this service →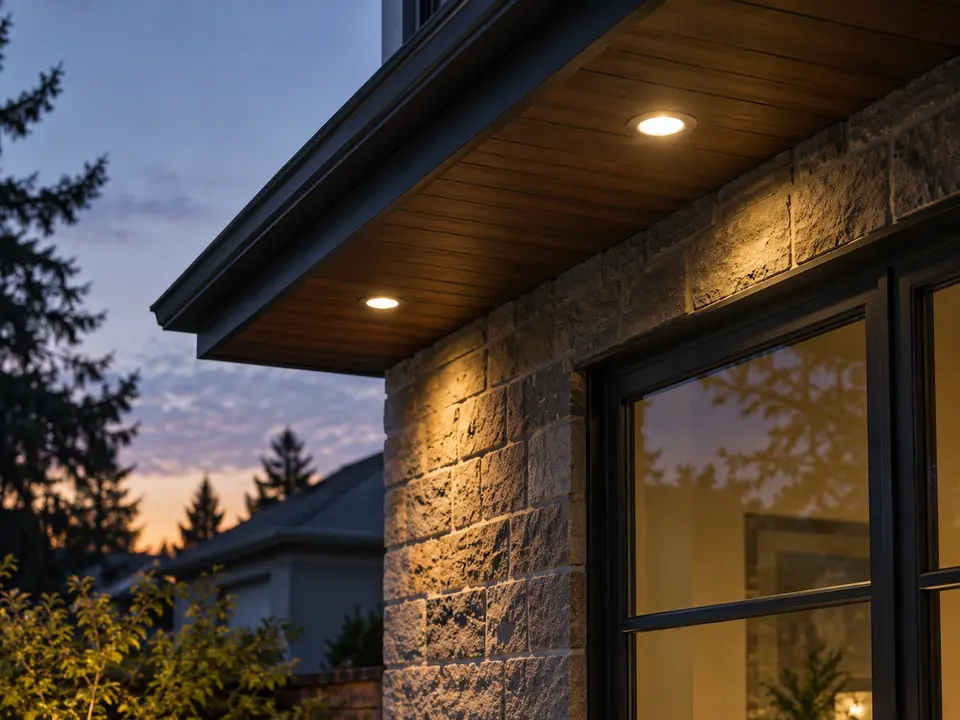
Create a restrained roofline rhythm with suitable products and controlled glare.
Explore this service →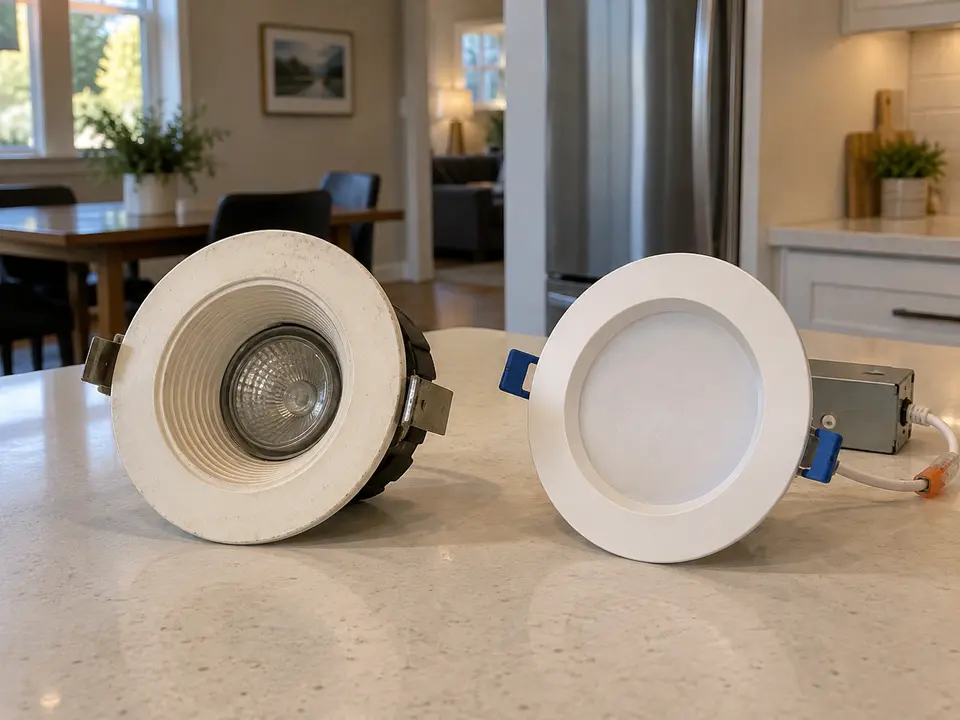
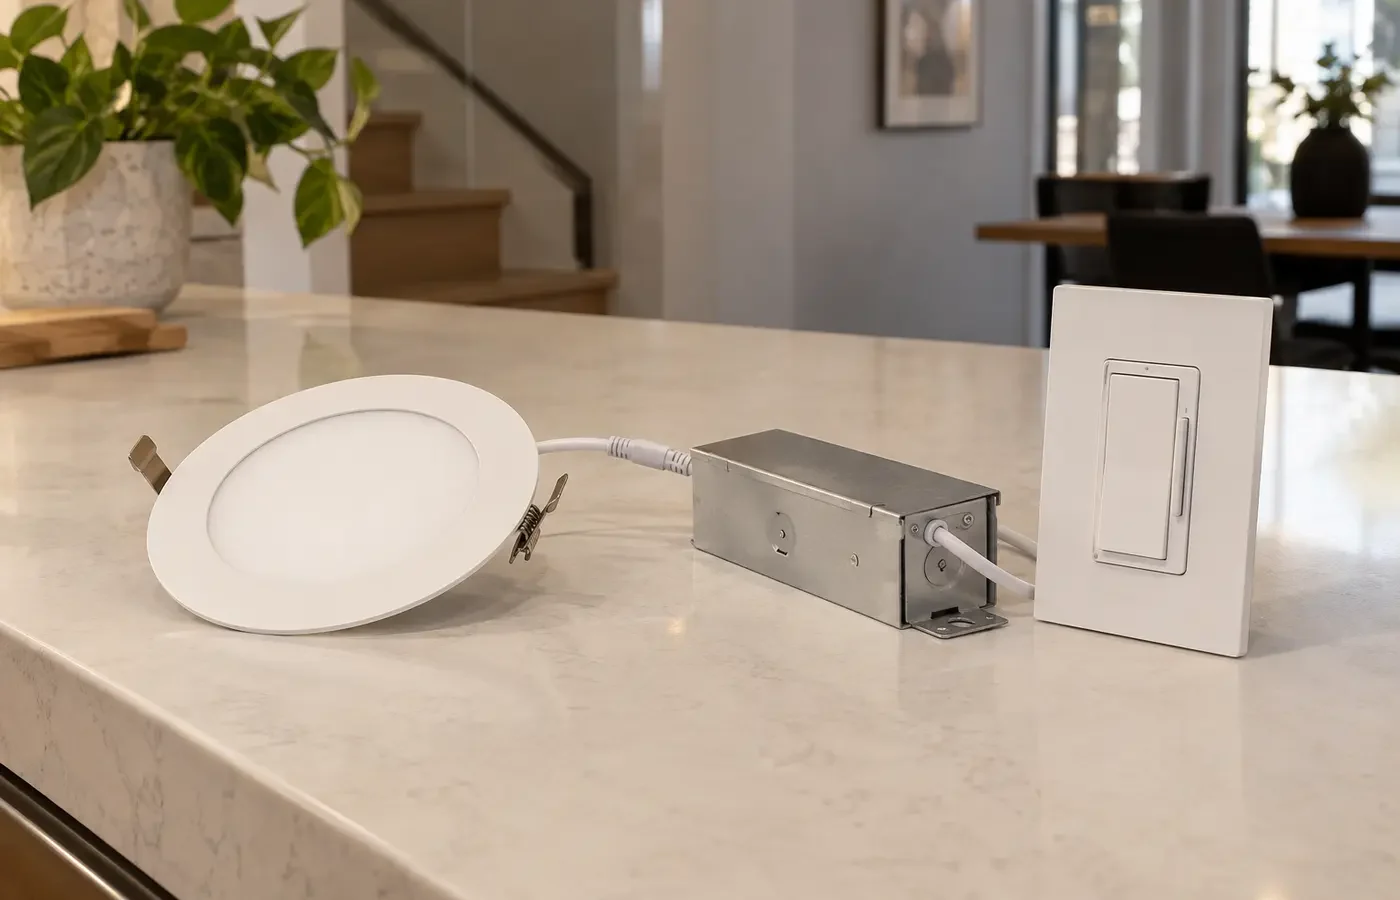
Identify the existing system before choosing trims, modules, drivers, and compatible controls.
Explore this service →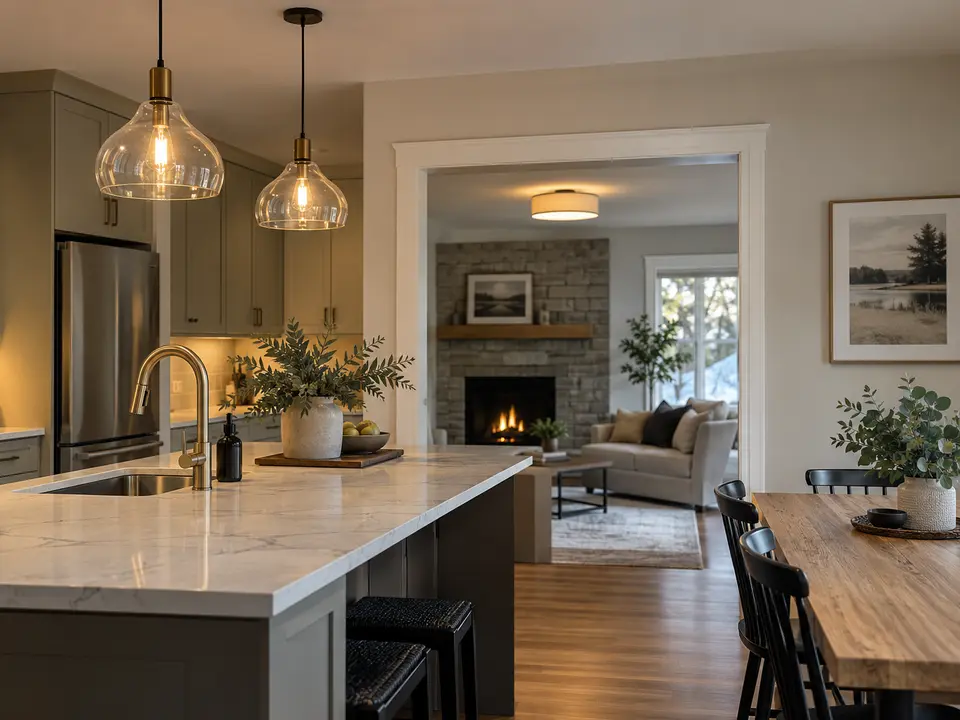
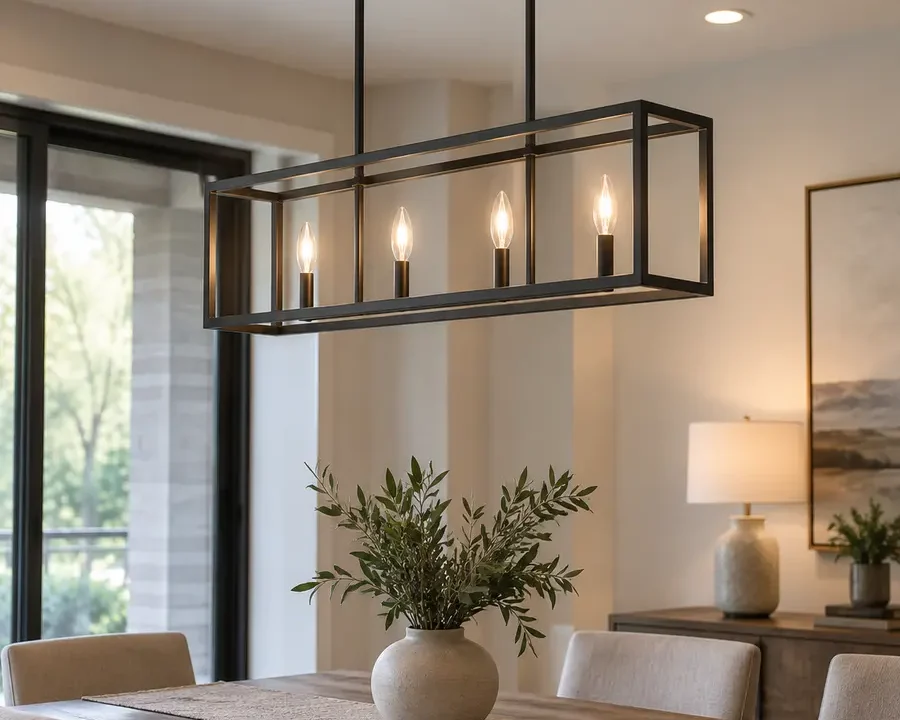
Review support, scale, mounting height, alignment, and control options.
Explore this service →Brightness alone does not solve placement, shadow, glare, colour consistency, or control.
A centre-heavy grid can leave walls, shelves, and circulation areas visually flat.
Review the options →Lighting issueLight behind the person working can cast a shadow across the very surface that needs illumination.
Review the options →Lighting issueFixture position and beam direction matter when a screen or glossy surface sits in the reflection path.
Review the options →Lighting issueMismatched Kelvin settings and old replacements make connected spaces feel inconsistent.
Review the options →Lighting issueSlim fixtures help with profile, but bulkheads, room functions, and switching still drive the plan.
Review the options →Lighting issueMore output is not always better; aiming, shielding, beam spread, and timing keep light useful.
Review the options →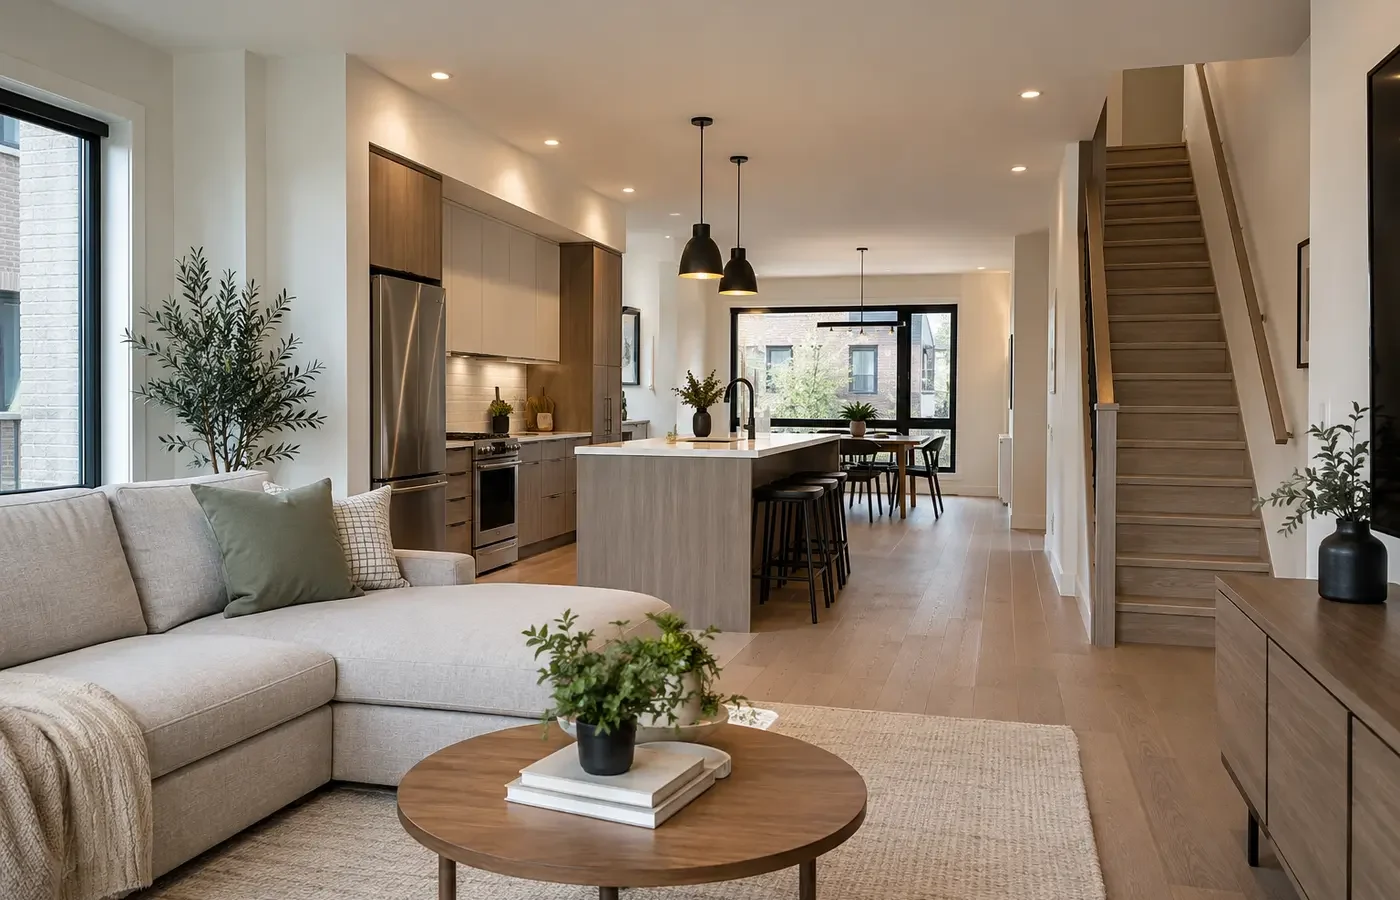
Counters, cabinet runs, island dimensions, pendants, and the person working all affect where useful light should land.
Coordinate ceiling, pendant, and under-cabinet zones.
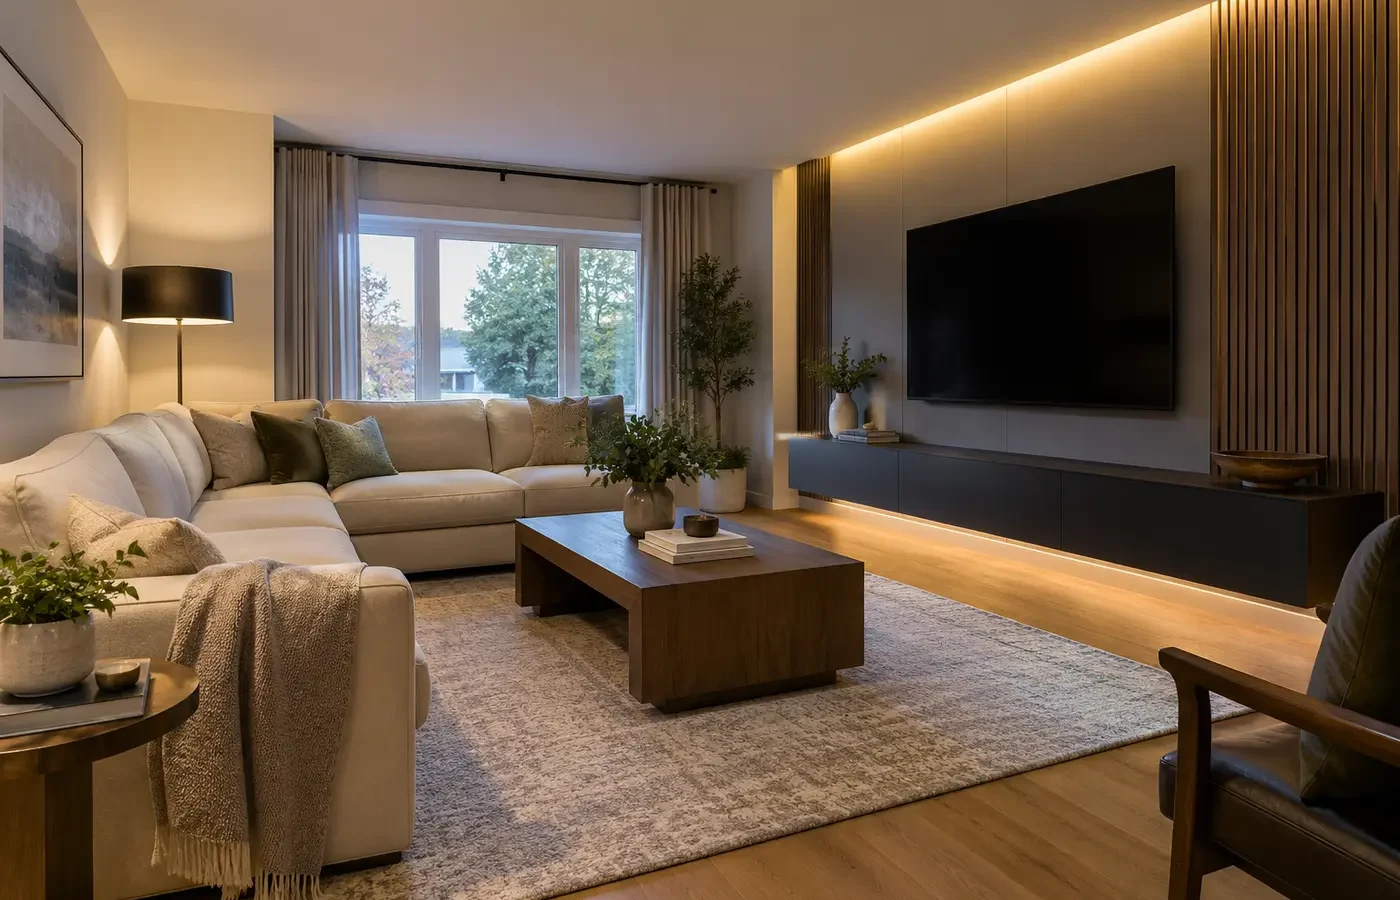
Plan this space →Seating, television position, fireplace features, artwork, and evening comfort matter more than a perfect ceiling grid.
Keep control zones flexible for different activities.
Plan this space →Bulkheads, low ceilings, stairs, office areas, and recreation zones interrupt one universal spacing rule.
Plan wiring before finishes close access where possible.
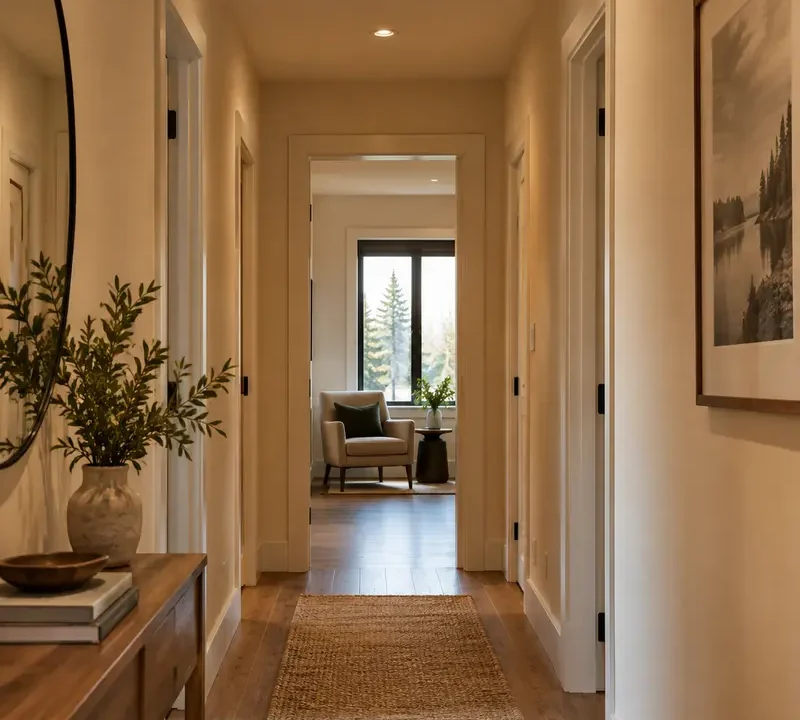
Plan this space →Circulation needs even guidance while bedrooms usually benefit from warmer output and reliable low-level dimming.
Avoid harsh downlight directly over pillows or reflective wardrobes.
Plan this space →A useful layout starts with tasks, walls, furniture, ceiling conditions, and fixture performance. A square-foot shortcut cannot see any of those.
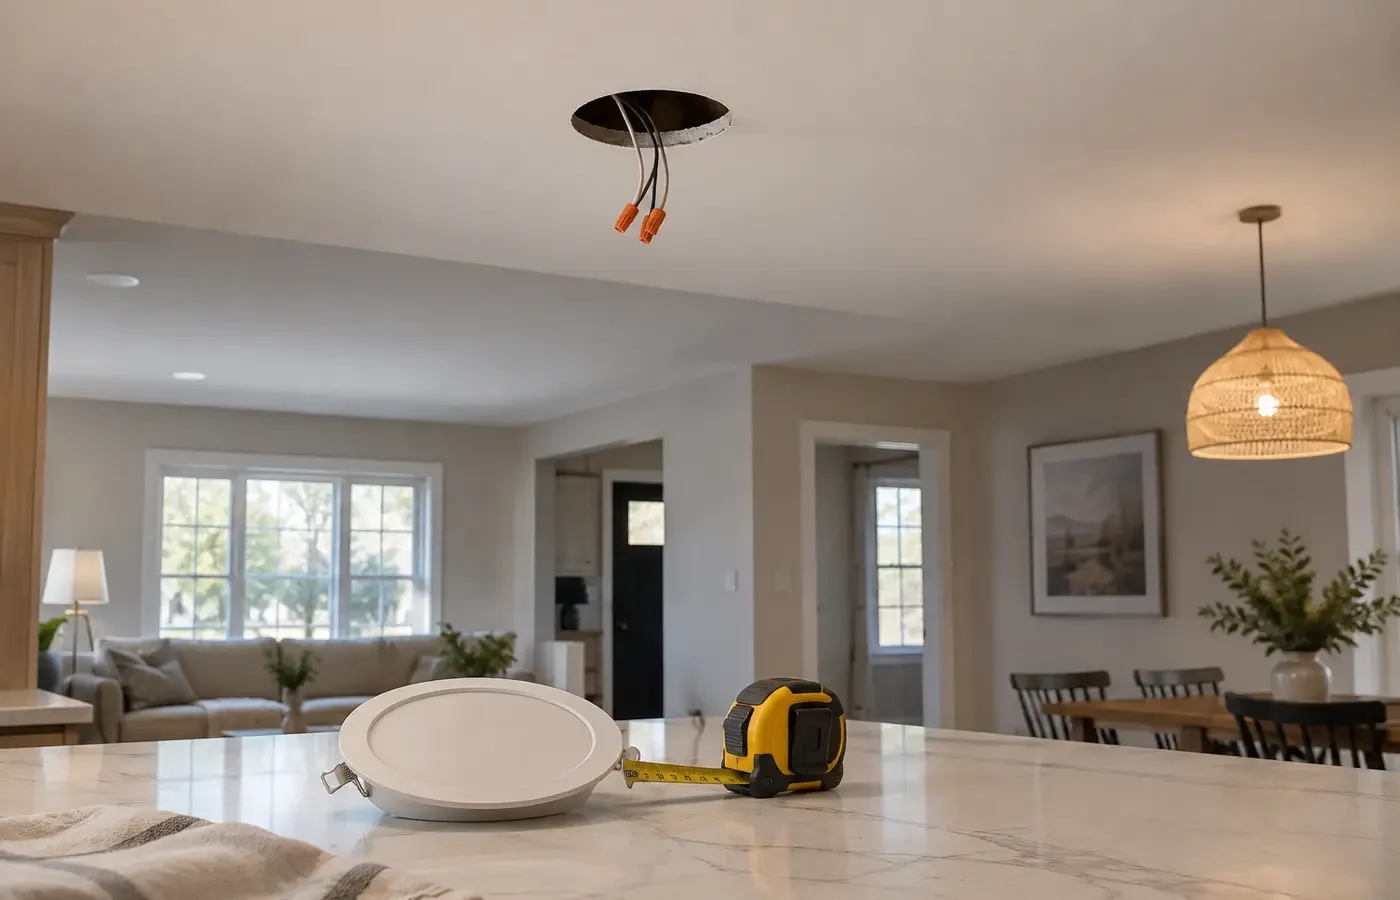
| Input | Why it changes the plan |
|---|---|
| Room use | Cooking, reading, circulation, display, and television viewing need different emphasis. |
| Ceiling height | Height changes apparent output, beam overlap, access, and sometimes the fixture approach. |
| Walls and work surfaces | Counters, artwork, and wall finishes often need light placed toward them—not only the floor. |
| Joists and access | Structure, ducts, pipes, insulation, and cable routes can move a theoretical position. |
| Fixture and beam | Lumens, beam angle, trim, glare control, and gimbal movement affect useful coverage. |
| Control zones | Separate switches or dimmers let one room support several activities. |
Property type is useful context, but it never replaces a look at the actual ceiling, wiring, and project scope.
Confirm corporation permission, work hours, access rules, ceiling construction, and whether a usable cavity exists.
Identify existing fixtures, wiring, ceiling material, prior alterations, joist direction, and available access.
Coordinate connected spaces as usable zones instead of repeating one large ceiling grid.
Account for bulkheads, low ceilings, room functions, between-floor access, and renovation stage.
A useful estimate begins with the goal and makes assumptions visible before work is coordinated.

Describe the room or exterior area, approximate dimensions, and what is not working now.
Consider tasks, products, controls, ceiling construction, cable routes, and possible access limits.
Identify fixtures, quantity, switching, electrical notification, cleanup, finishing boundaries, and exclusions.
Confirm access, product readiness, broader renovation sequencing, and the agreed next step.
A price per light is not a complete scope. Quantity matters, but ceiling access, wiring, fixture type, height, control zones, electrical notification, and finishing assumptions can matter just as much.
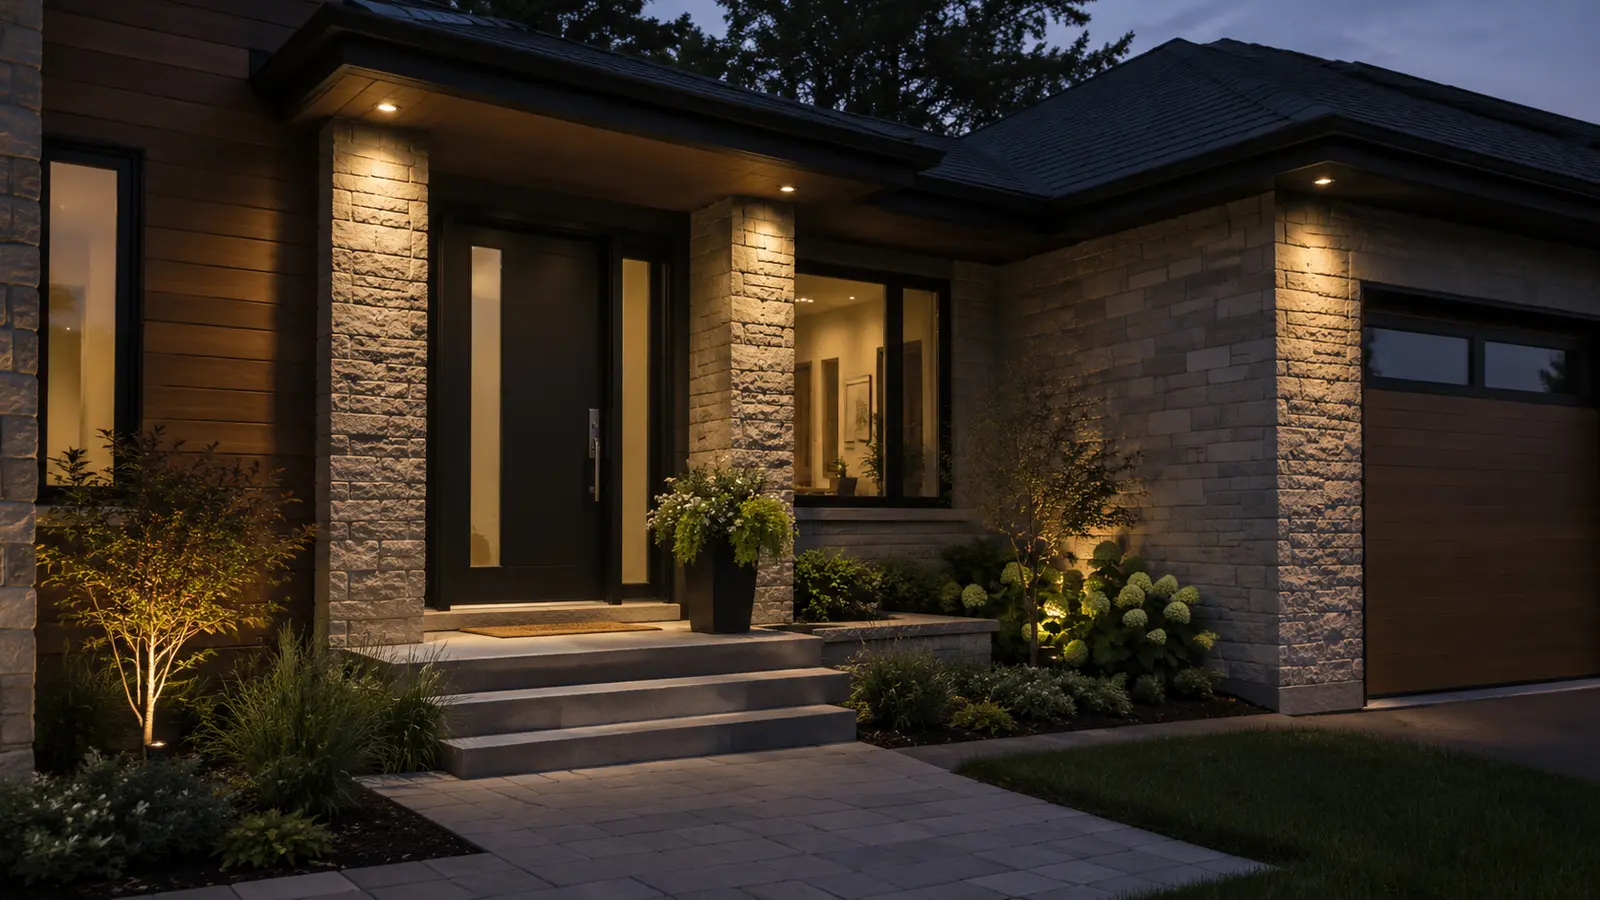
Exterior lighting should support entrances, steps, eaves, paths, and evening use without turning the roofline into a row of glare points.
Shielded direction, controlled output, warm colour, suitable products, timers, and thoughtful placement all help. The City of Mississauga says exterior lights should not shine directly into another property, so neighbouring windows and property lines belong in the planning discussion.
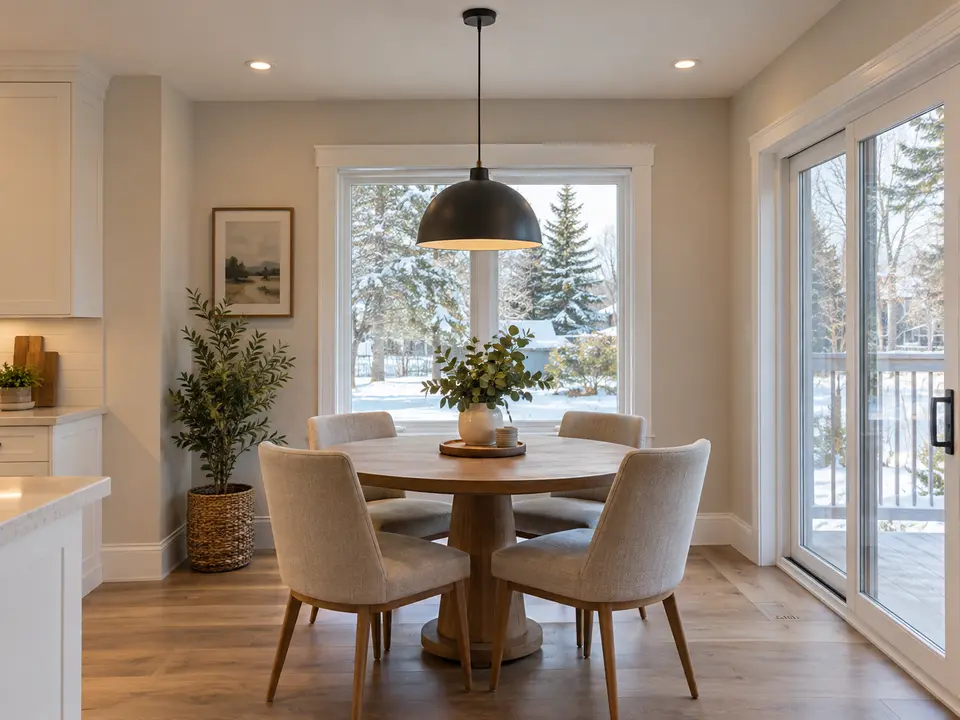
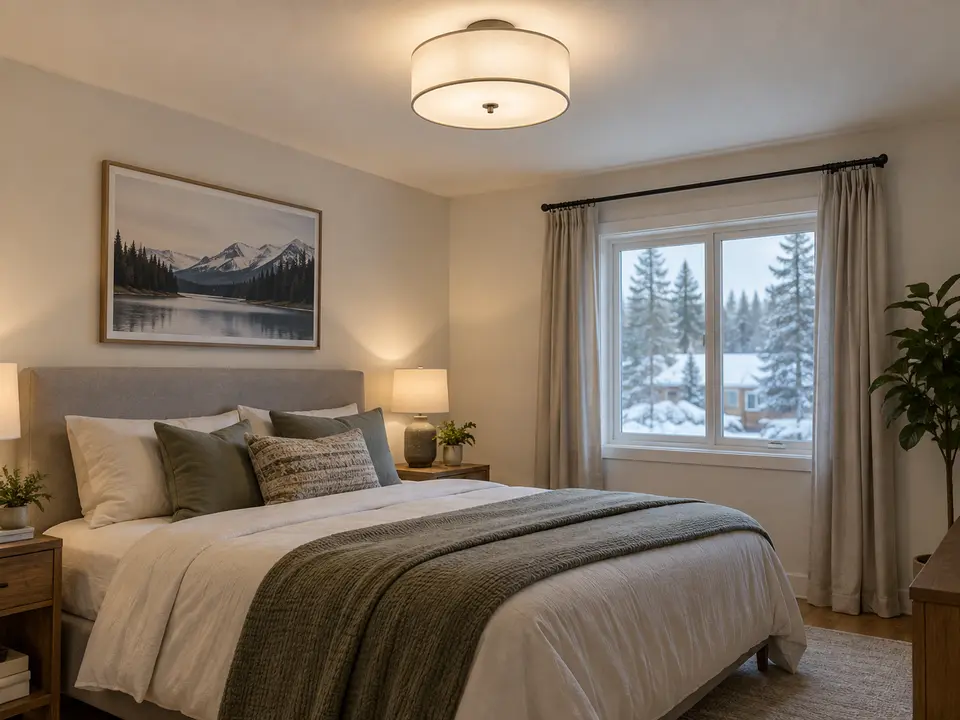
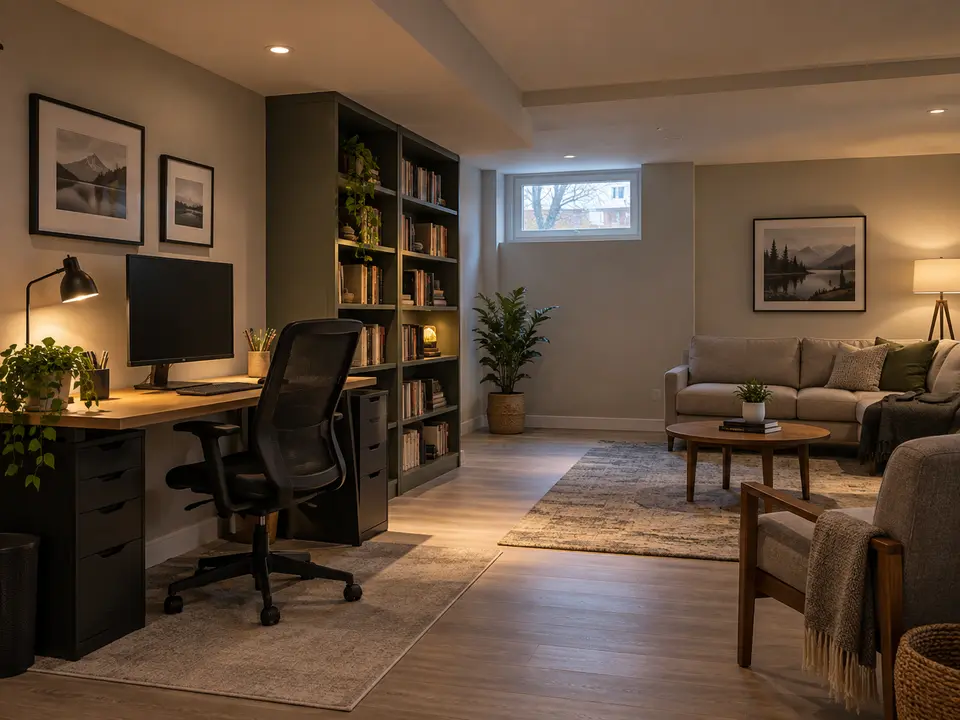
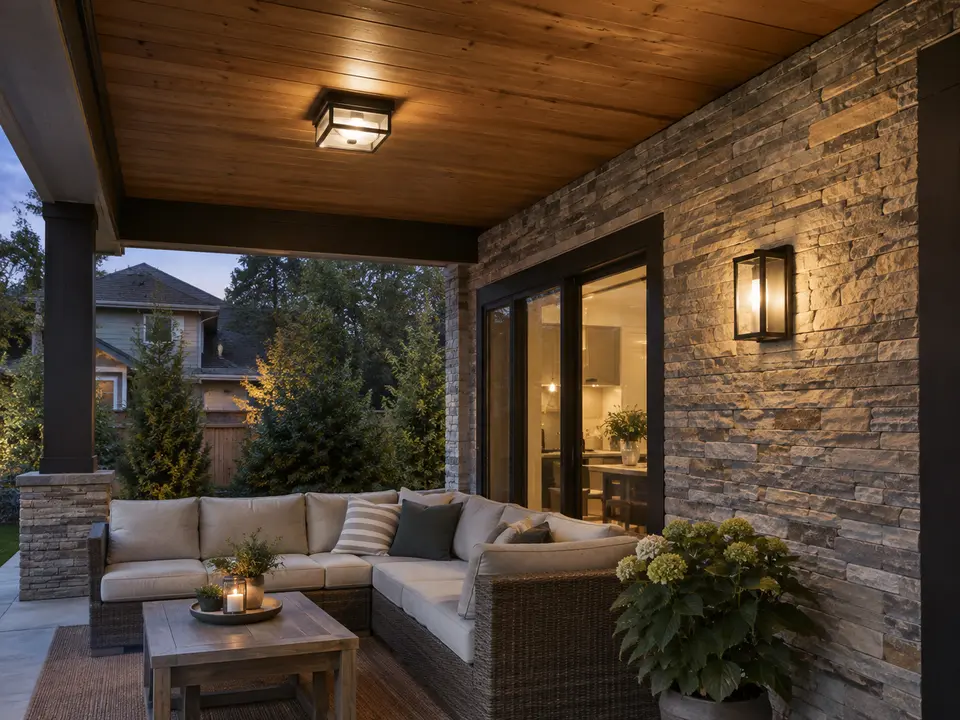
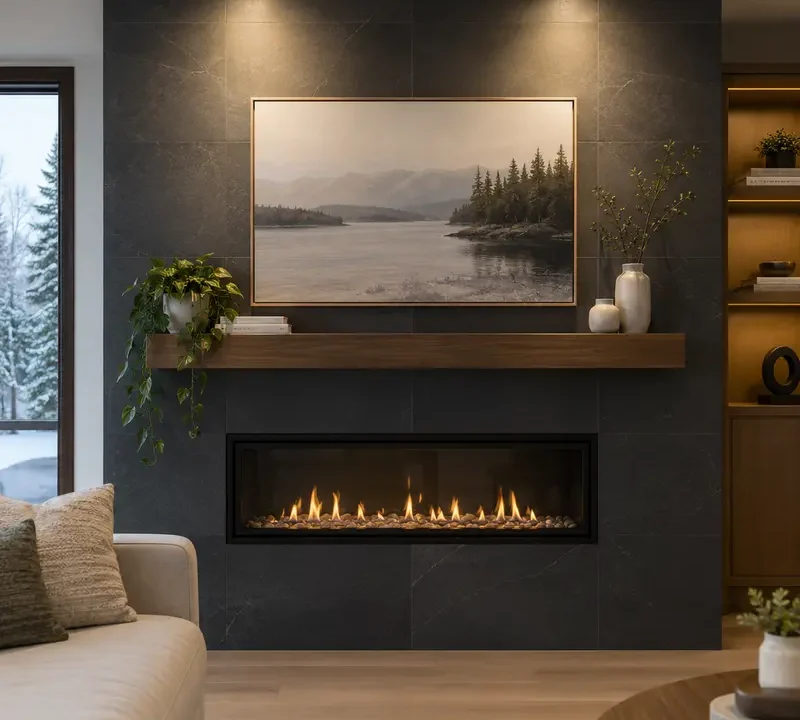
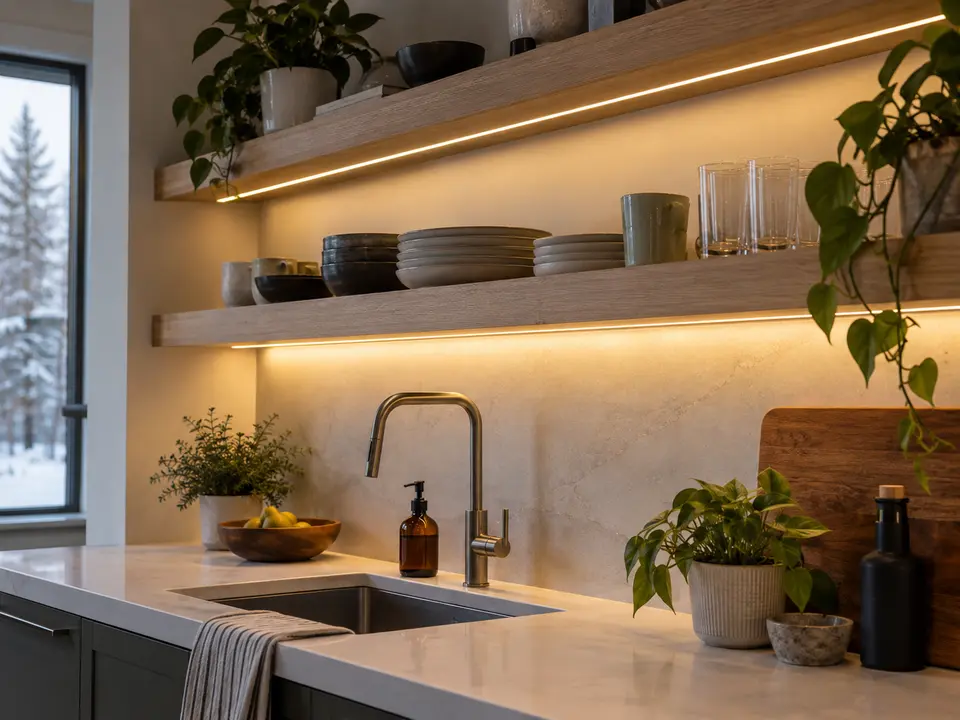
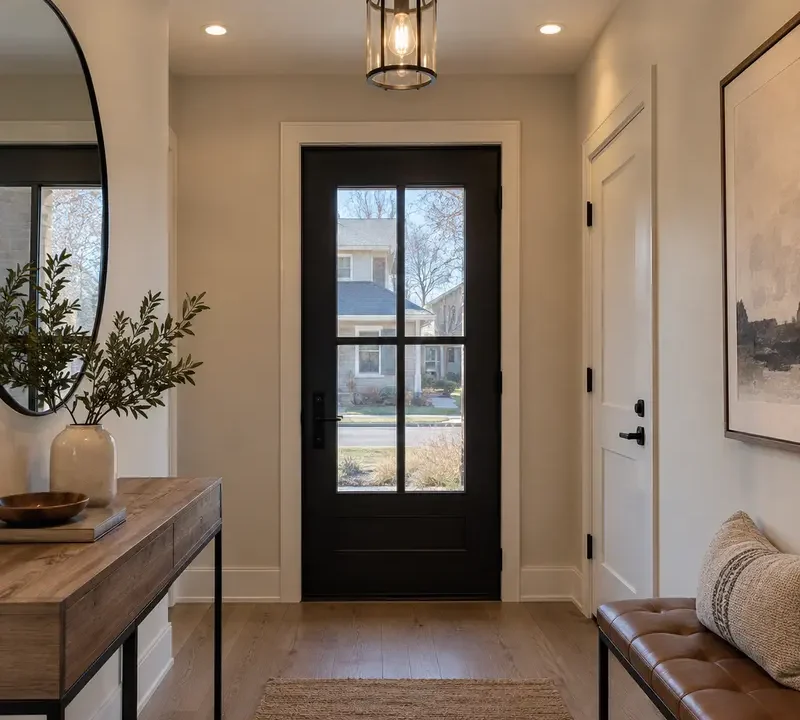
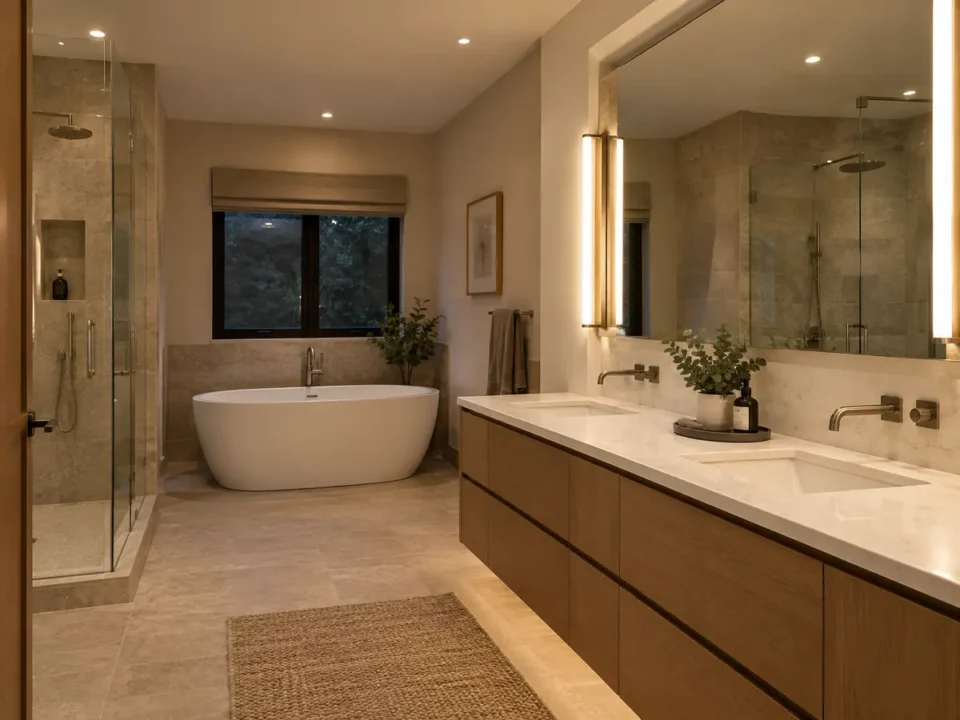
Notice the relationship among the ceiling, walls, task surfaces, fixtures, and control zones—not simply the number of lights.
Ontario's Electrical Safety Authority states that businesses offering electrical installation work to the public must be Licensed Electrical Contractors.
ESA also says almost all electrical work requires a notification before work begins. When a Licensed Electrical Contractor performs the work, that contractor files the notification. The electrical notification is separate from any municipal building permit that may apply to a broader renovation.
Ask who is responsible for the work, verify the ECRA/ESA licence, confirm the notification in the written scope, and retain the Certificate of Acceptance after accepted notified work.
Read ESA contractor guidance →Often, yes. The practical route depends on joist direction, ducts, pipes, insulation, cable paths, and where limited access can be made. A responsible scope should not promise zero extra access before those conditions are reviewed.
There is no reliable universal quantity. Room dimensions, ceiling height, beam spread, lumens, finishes, work surfaces, furniture, and desired zones all change the useful layout.
The fixture openings may provide enough access in some ceilings. Other projects need limited additional openings to cross joists or avoid obstacles. The estimate should state who handles any patching and painting.
Many can, but the fixture or driver and dimmer must be compatible. Load, low-end trim, wiring, and multi-location switching can affect performance.
3000K is a common warm-neutral residential choice; 4000K appears cooler and may suit some work areas. Finishes, daylight, adjacent fixtures, and personal preference should guide the decision.
Timing varies with quantity, access, ceiling conditions, switching, fixture assembly, exterior height, and inspection requirements. Confirm timing after the scope is understood.
The product must be approved for use in Ontario and suitable for the actual damp or wet exposure. A product label—not appearance alone—should confirm the application.
Look for fixture details, quantity and layout, wiring and controls, access assumptions, electrical notification responsibility, cleanup, tax, drywall or painting boundaries, and a process for hidden conditions.
Useful starting details include the space, desired result, approximate dimensions, ceiling height, existing fixtures or controls, and preferred timing.