
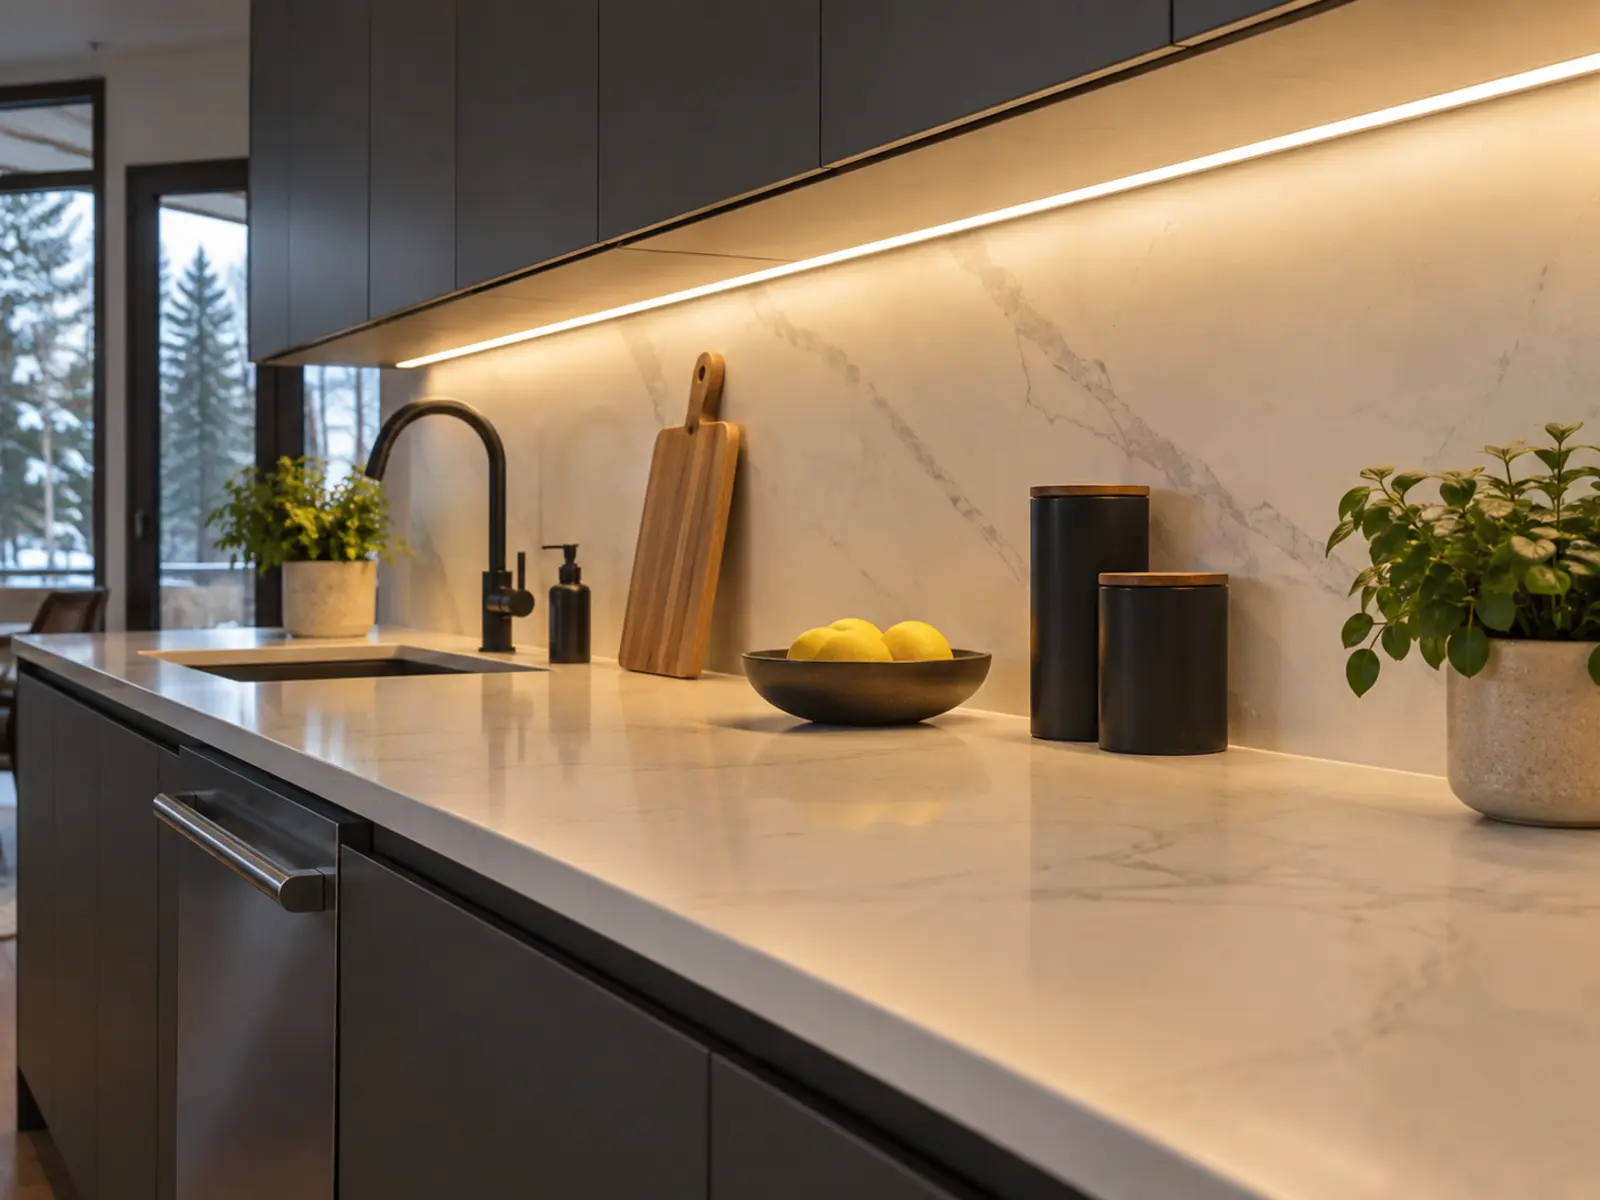
How can under-cabinet lighting avoid visible LED dots?
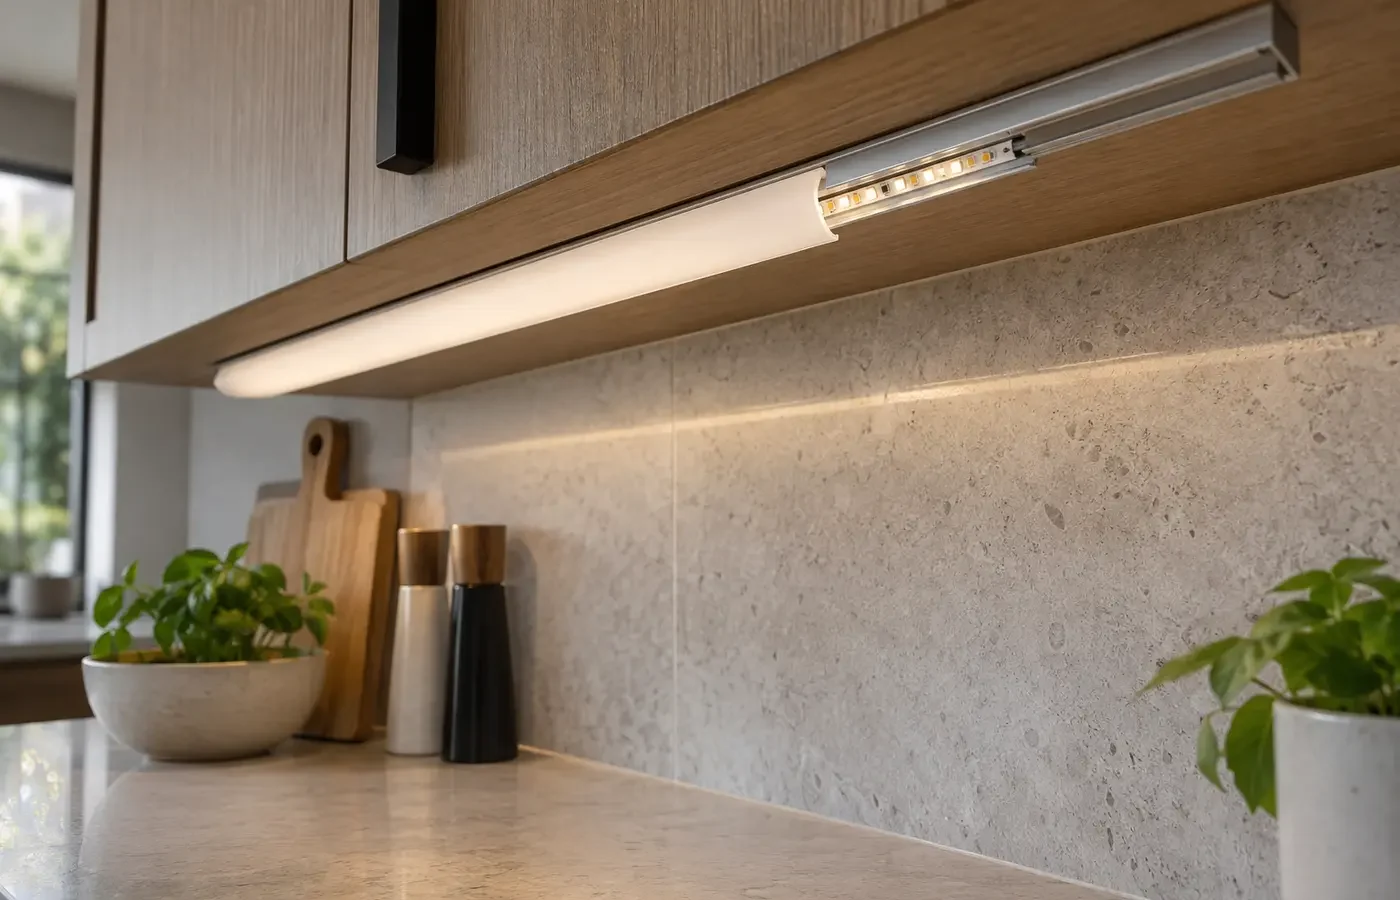
Use a suitable LED source in an aluminium profile with a diffuser, set back or positioned so the bright emitters are not directly visible from normal views. The depth, LED density, diffuser, mounting angle, and counter reflectance all affect whether points appear.
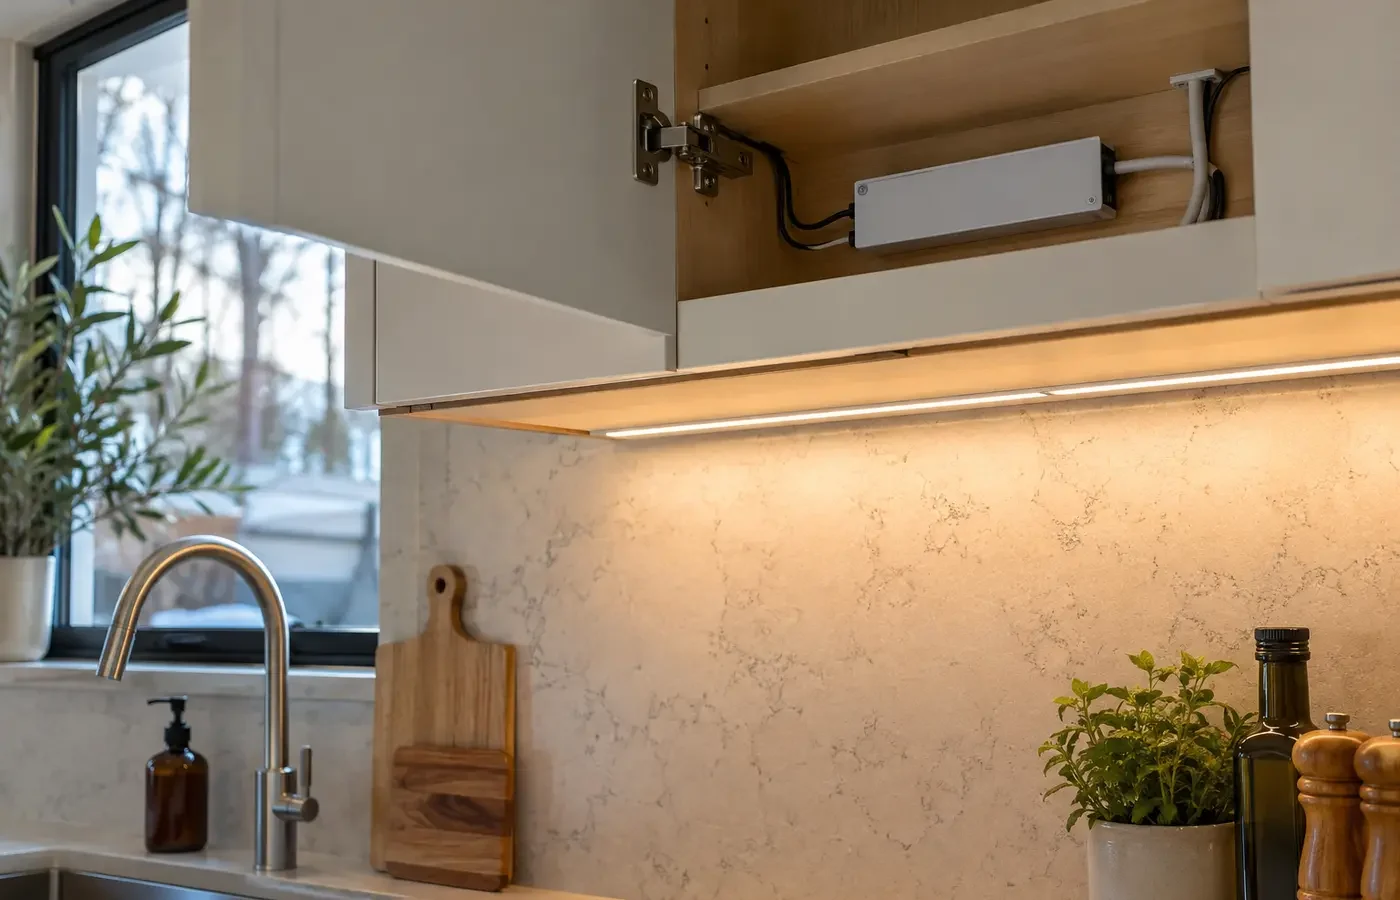
Driver location and wiring should be serviceable without leaving visible cords or inaccessible electronics behind finished cabinetry. New kitchens offer more routing options; finished kitchens need a careful review of cabinet backs, fillers, outlets, and nearby switches.
Design the line of light and its service path together.
Continuous task light
Reduce dark gaps and put even output across preparation surfaces.
Concealed source
Hide LED points, wiring, connectors, and profiles from normal standing and seated views.
Coordinated colour
Relate cabinet light to pot lights, pendants, finishes, and the adjacent room.
Serviceable electronics
Keep drivers and connections accessible for diagnosis or replacement.
The counter can expose every shortcut.
Polished stone, glass, and reflective backsplashes can mirror LED points and hardware that would disappear on matte surfaces.
| Condition | Why it changes the plan |
|---|---|
| Tape, bar, or puck | Changes continuity, visible points, output, wiring, and replacement options. |
| Profile and diffuser | Help manage heat, protect the source, soften points, and create a clean finished edge. |
| Cabinet geometry | Frames, seams, fillers, appliance gaps, and blind corners interrupt runs and routes. |
| Counter reflectance | Glossy surfaces make the source and wiring more visible from normal views. |
| Driver position | Needs ventilation, access, suitable wiring, and a practical route to the light runs. |
| Control | Wall switches, dimmers, sensors, and connected controls must match the driver and intended use. |
Specify the parts that will otherwise disappear.
The best work is concealed, so the written scope should identify the profile, diffuser, driver, wiring, and service strategy.
- Measured cabinet runs, breaks, corners, appliance gaps, and desired coverage
- LED source, output, colour temperature, CRI, profile, diffuser, and visible finish
- Driver model or requirements, capacity, ventilation, location, and future access
- Low-voltage and line-voltage wiring routes plus holes, channels, fillers, and exposed transitions
- Switch, dimmer, sensor, or connected-control compatibility and behaviour
- Coordination with cabinets, backsplash, outlets, painting, notification, cleanup, and tax
Choose the source by the finished appearance.
LED tape in profile
Supports continuous diffused light and flexible lengths when the profile and driver are correctly selected.
Linear bars
Can simplify modular installation but may show joins or leave gaps depending on cabinet lengths.
Puck lights
Create distinct pools of light and may suit display uses, but they rarely read as one continuous task source.
Move from the goal to a confirmed scope.
Document the starting point
Begin with length of each cabinet run and gaps at appliances and underside, backsplash, counter, and cabinet-interior photographs.
Review the conditions
Work through tape, bar, or puck, profile and diffuser, product suitability, access, and control before fixing the scope.
Compare written inclusions
Confirm measured cabinet runs, breaks, corners, appliance gaps, and desired coverage plus the access, finishing, notification, testing, and change assumptions.
Coordinate the next step
Share Cabinet Measurements once the important unknowns and responsibilities are visible.
Treat local context as a project condition, not a keyword.
For Under-Cabinet Task Lighting, a Mississauga address alone does not reveal the ceiling, wiring, structure, permissions, or access. Property type is useful because it prompts better questions about tape, bar, or puck and profile and diffuser; the actual conditions still need confirmation.
Ontario electrical installation work offered to the public must be handled through a Licensed Electrical Contractor. ESA explains that almost all electrical work requires a notification, with limited exceptions. The responsible contractor should confirm the requirement, file when required, and provide the accepted-work documentation.
Answers before you compare the scope.
Can under-cabinet lighting be dimmed?
Yes when the LED source, driver, control method, load, and wiring are designed as a compatible system.
Where should the driver go?
In an accessible, suitable, ventilated location that allows practical wiring and later service without becoming visually intrusive.
Hardwired or plug-in?
The choice depends on the desired finish, available power, control, cabinet construction, and scope. Hardwired work must follow electrical requirements.
What works with glossy stone?
Prioritize dense LED spacing, a good diffuser, concealed profile position, and sample testing because reflections can reveal bright points.
Continue with the closest lighting decision.
Kitchen Lighting
Divide the jobs among ceiling, pendant, and cabinet layers.
Explore this topic →
Dimmers & Controls
Coordinate drivers, dimming method, and practical wall control.
Explore this topic →
Fixture Installation
Review additional pendants, ceiling fixtures, and switching.
Explore this topic →
Tell us about the space and the result you want.
For a useful first review, provide length of each cabinet run and gaps at appliances, underside, backsplash, counter, and cabinet-interior photographs, and the outcome you want. Add product links or close-up photographs when they clarify the existing condition.