
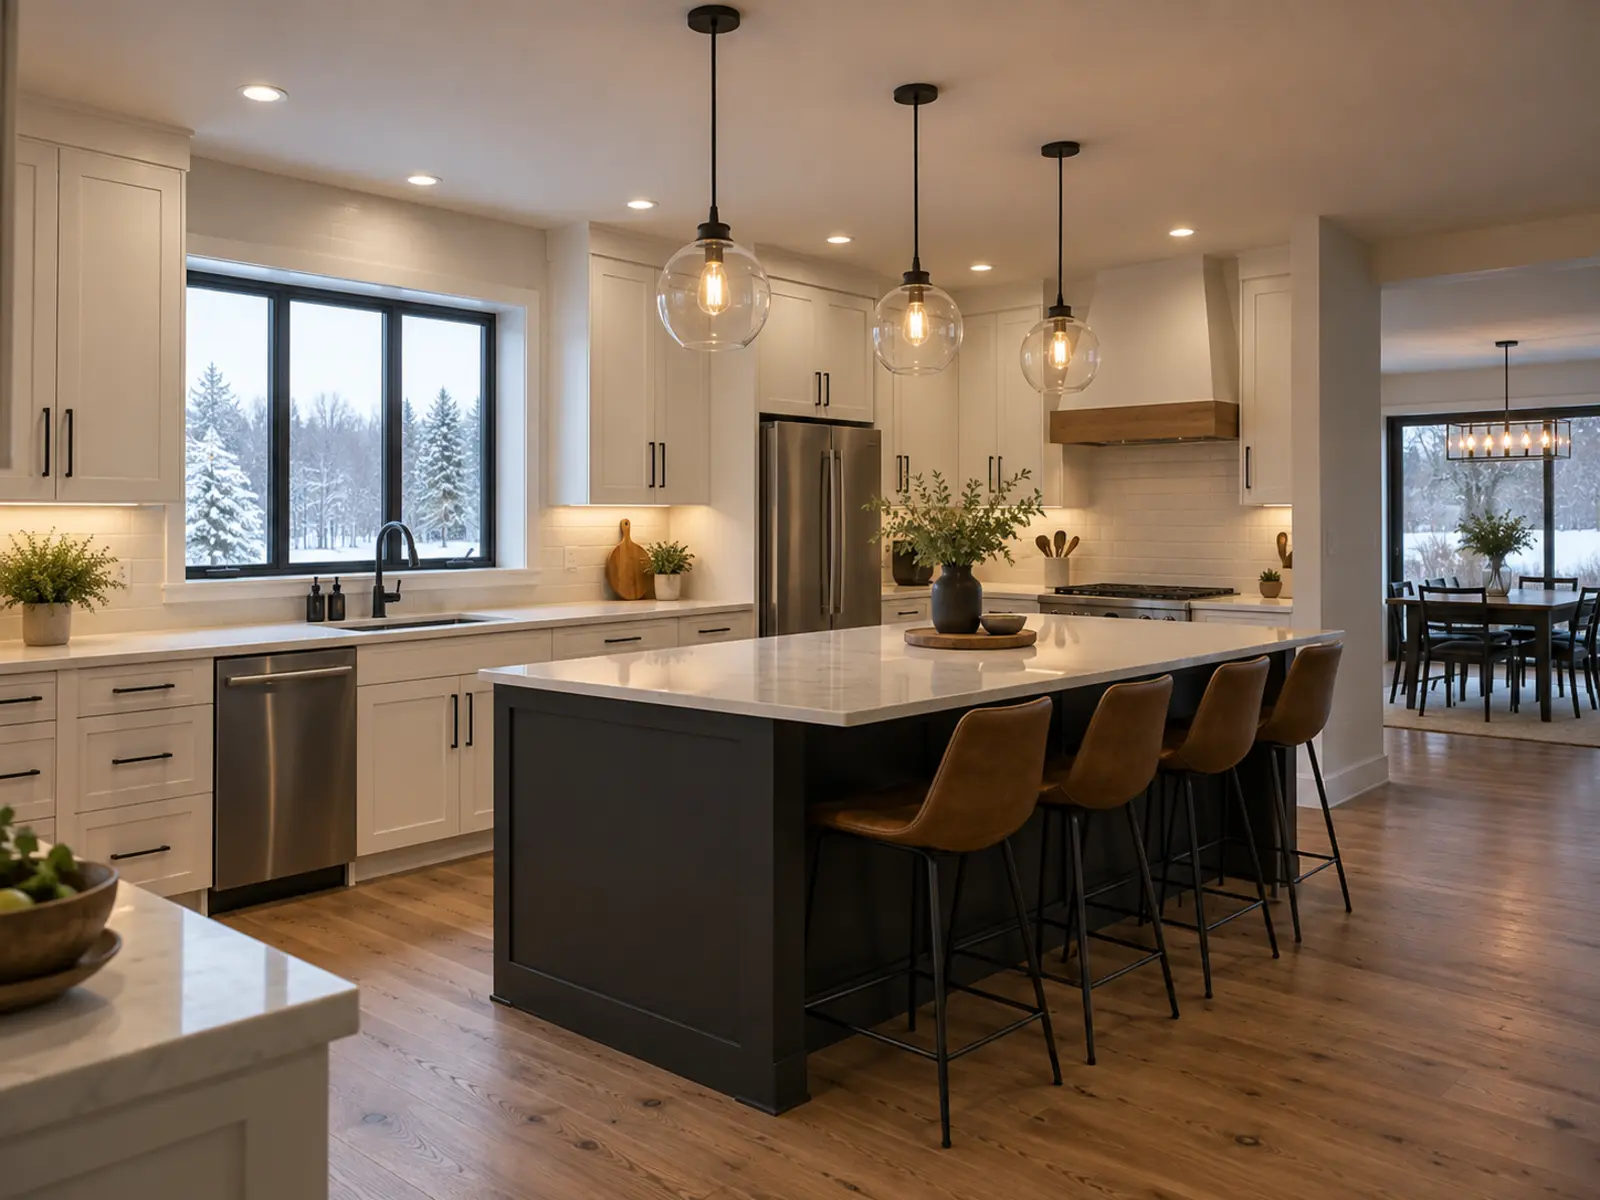
Where should kitchen pot lights be positioned?
Kitchen lights should be planned from the work surfaces and cabinet lines upward, not by dividing the open floor into equal squares. A fixture positioned behind the person working can cast a body shadow over the counter.
Island pendants, recessed lights, and under-cabinet lighting should have separate jobs. The layout should also account for cabinet changes, appliance doors, tall units, reflected glare, and whether the island position is final.
Layer the kitchen instead of asking one fixture type to do everything.
Counter task light
Position ceiling and cabinet light to reduce body-cast shadows where food is prepared.
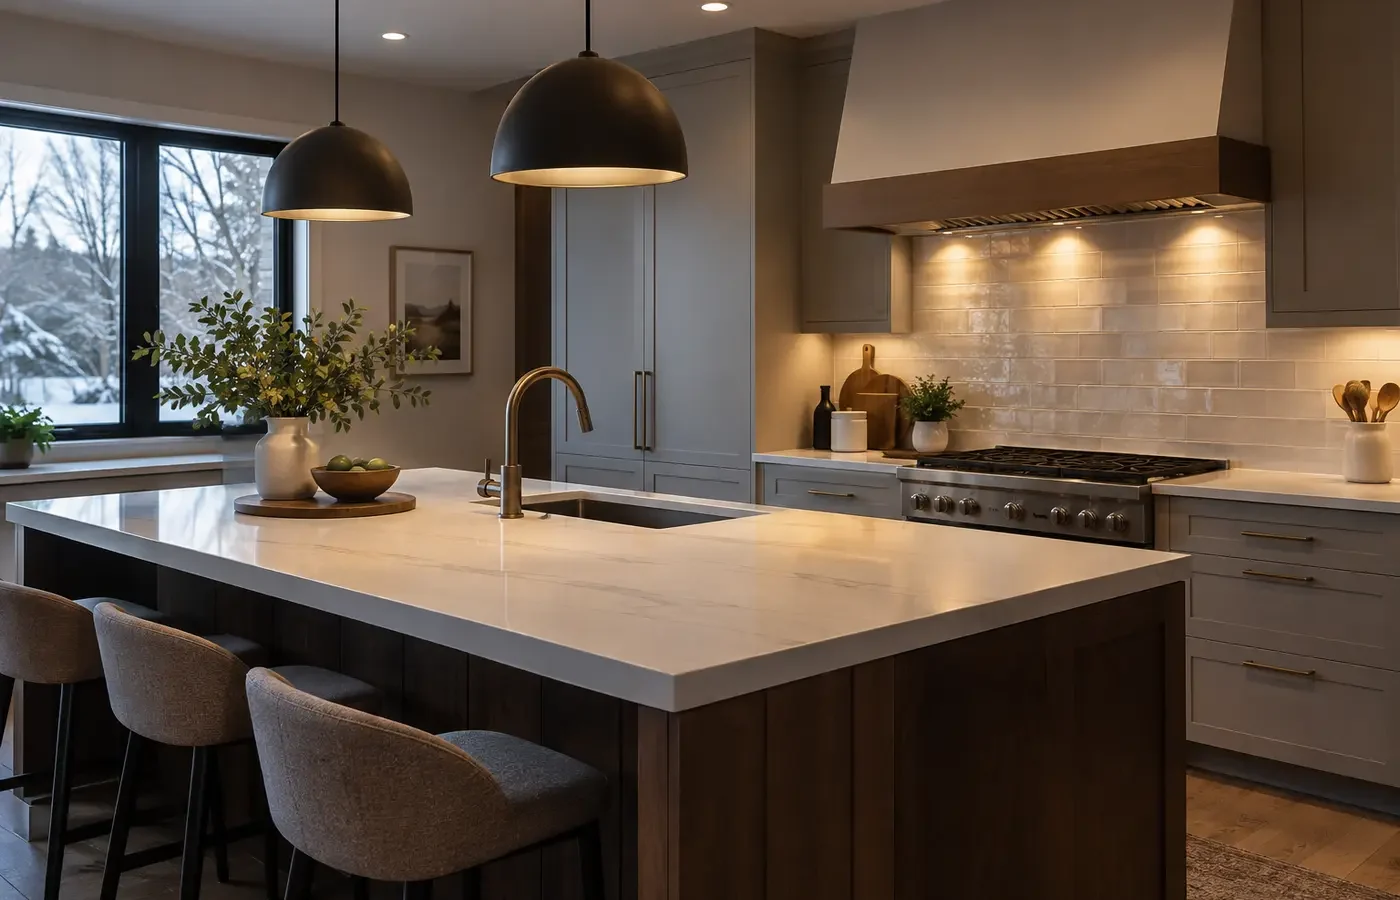
Island light
Balance usable output, pendant scale, sightlines, and clear work below.
Room ambience
Use recessed lighting to connect circulation and general room brightness without flattening every surface.
Evening scenes
Separate and dim layers so the kitchen can shift from active preparation to comfortable evening use.
Start with cabinets, counters, and people.
The best-looking ceiling grid can still miss the worktop. These relationships decide whether the kitchen functions well.
| Condition | Why it changes the plan |
|---|---|
| Counter edge | Ceiling light often needs to land toward the working surface rather than behind the person at the counter. |
| Upper cabinets | Depth and height change shadows; concealed under-cabinet light can fill the most important task zone. |
| Island dimensions | Length, width, seating, sink or cooktop position, and pendant size influence quantity and spacing. |
| Ceiling boxes | Existing outlet positions may not match a changed island; relocation requires access and a confirmed ceiling route. |
| Reflective finishes | Polished stone, gloss cabinets, and glass can expose bright points or uncomfortable reflections. |
| Colour and CRI | Light appearance and rendering affect food, wood, stone, paint, and the way adjacent rooms connect. |
A kitchen scope should join layout, products, and renovation timing.
Kitchen work often overlaps cabinetry, drywall, painting, and fixture delivery. The proposal should make those boundaries visible.
- Final cabinet, island, appliance, and ceiling plan used for fixture positions
- Pot-light model, beam, output, trim, colour temperature, and dimming method
- Pendant boxes, support, fixture assembly, hanging height, and supplied-product responsibility
- Under-cabinet profile, diffuser, driver location, wiring route, and switching
- Ceiling access, holes, patching, painting, and coordination with cabinets or backsplash
- Electrical notification responsibility, testing, cleanup, tax, and change process
Make the lighting layers cooperate.
Pot lights
Use them for broad and counter-oriented coverage without placing a glare point everywhere.
Pendants
Use scale and lower mounting position to define the island while preserving sightlines and working clearance.
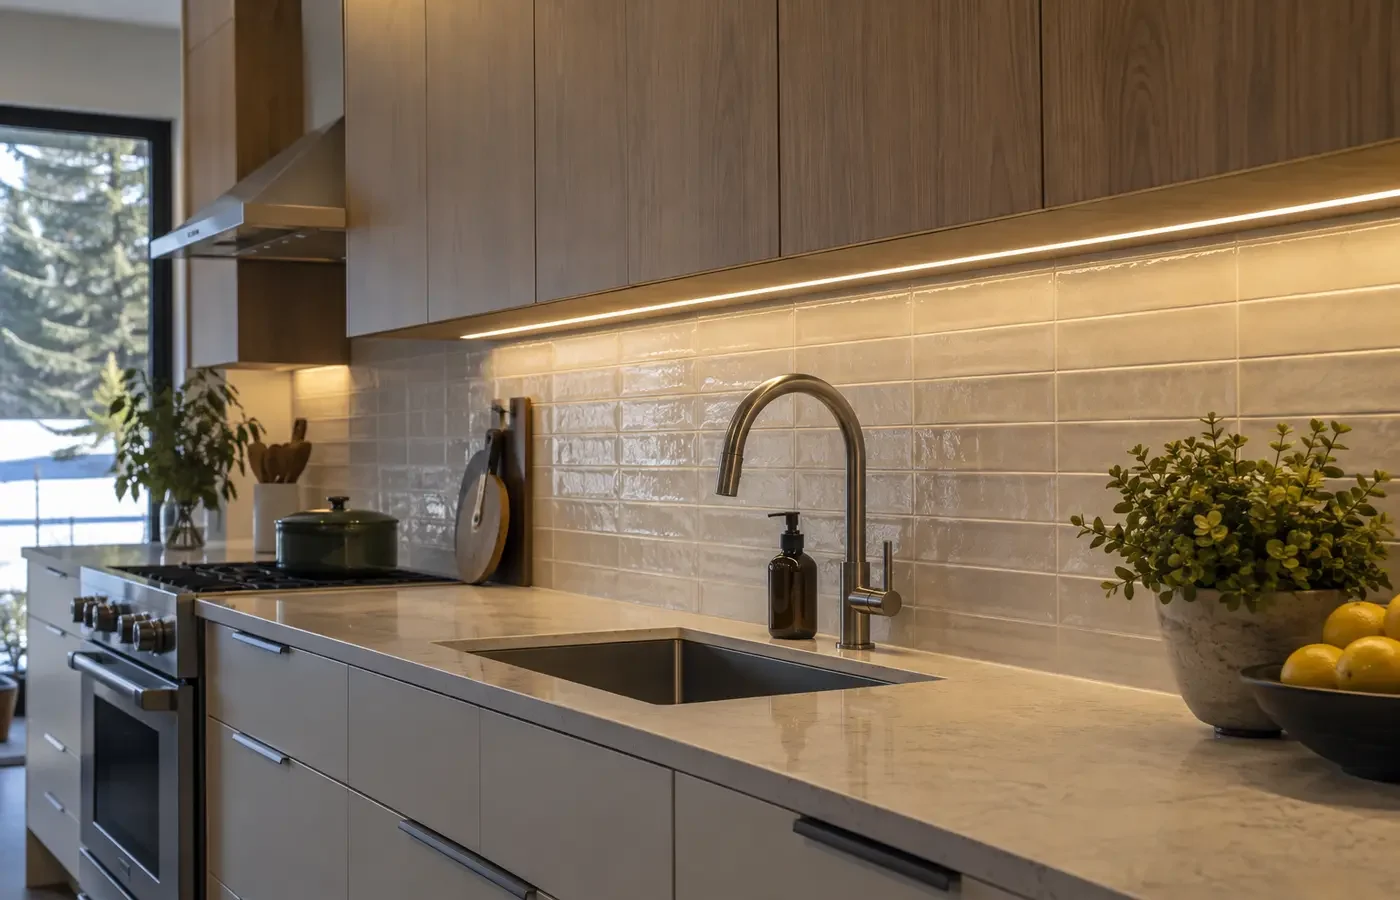
Under-cabinet light
Use a continuous diffused source to illuminate the counter directly and reduce visible LED dots.
Move from the goal to a confirmed scope.
Document the starting point
Begin with straight-on photographs of each cabinet wall and kitchen and island length, width, and ceiling height.
Review the conditions
Work through counter edge, upper cabinets, product suitability, access, and control before fixing the scope.
Compare written inclusions
Confirm final cabinet, island, appliance, and ceiling plan used for fixture positions plus the access, finishing, notification, testing, and change assumptions.
Coordinate the next step
Share Kitchen Photos once the important unknowns and responsibilities are visible.
Treat local context as a project condition, not a keyword.
For Kitchen Ceiling Lighting in Mississauga, a Mississauga address alone does not reveal the ceiling, wiring, structure, permissions, or access. Property type is useful because it prompts better questions about counter edge and upper cabinets; the actual conditions still need confirmation.
Ontario electrical installation work offered to the public must be handled through a Licensed Electrical Contractor. ESA explains that almost all electrical work requires a notification, with limited exceptions. The responsible contractor should confirm the requirement, file when required, and provide the accepted-work documentation.
Answers before you compare the scope.
Should pot lights be over the counter edge?
Often the useful position is closer to the working surface than a floor-centred grid, but cabinet depth, ceiling height, beam, and room geometry determine the exact location.
How many pendants belong over an island?
There is no fixed answer. Island length, pendant width, desired margins, sightlines, and light output determine whether two or three works better.
Should pendants and pot lights share a switch?
Separate controls usually offer more flexibility. The final arrangement depends on wiring, how the layers are used, and the desired wall-control layout.
Is 3000K or 4000K better for a kitchen?
3000K is a common warm-neutral choice; 4000K appears cooler. Compare finishes, daylight, adjacent rooms, CRI, and personal preference rather than treating one as universally correct.
Continue with the closest lighting decision.
Tell us about the space and the result you want.
For a useful first review, provide straight-on photographs of each cabinet wall, kitchen and island length, width, and ceiling height, and the outcome you want. Add product links or close-up photographs when they clarify the existing condition.