
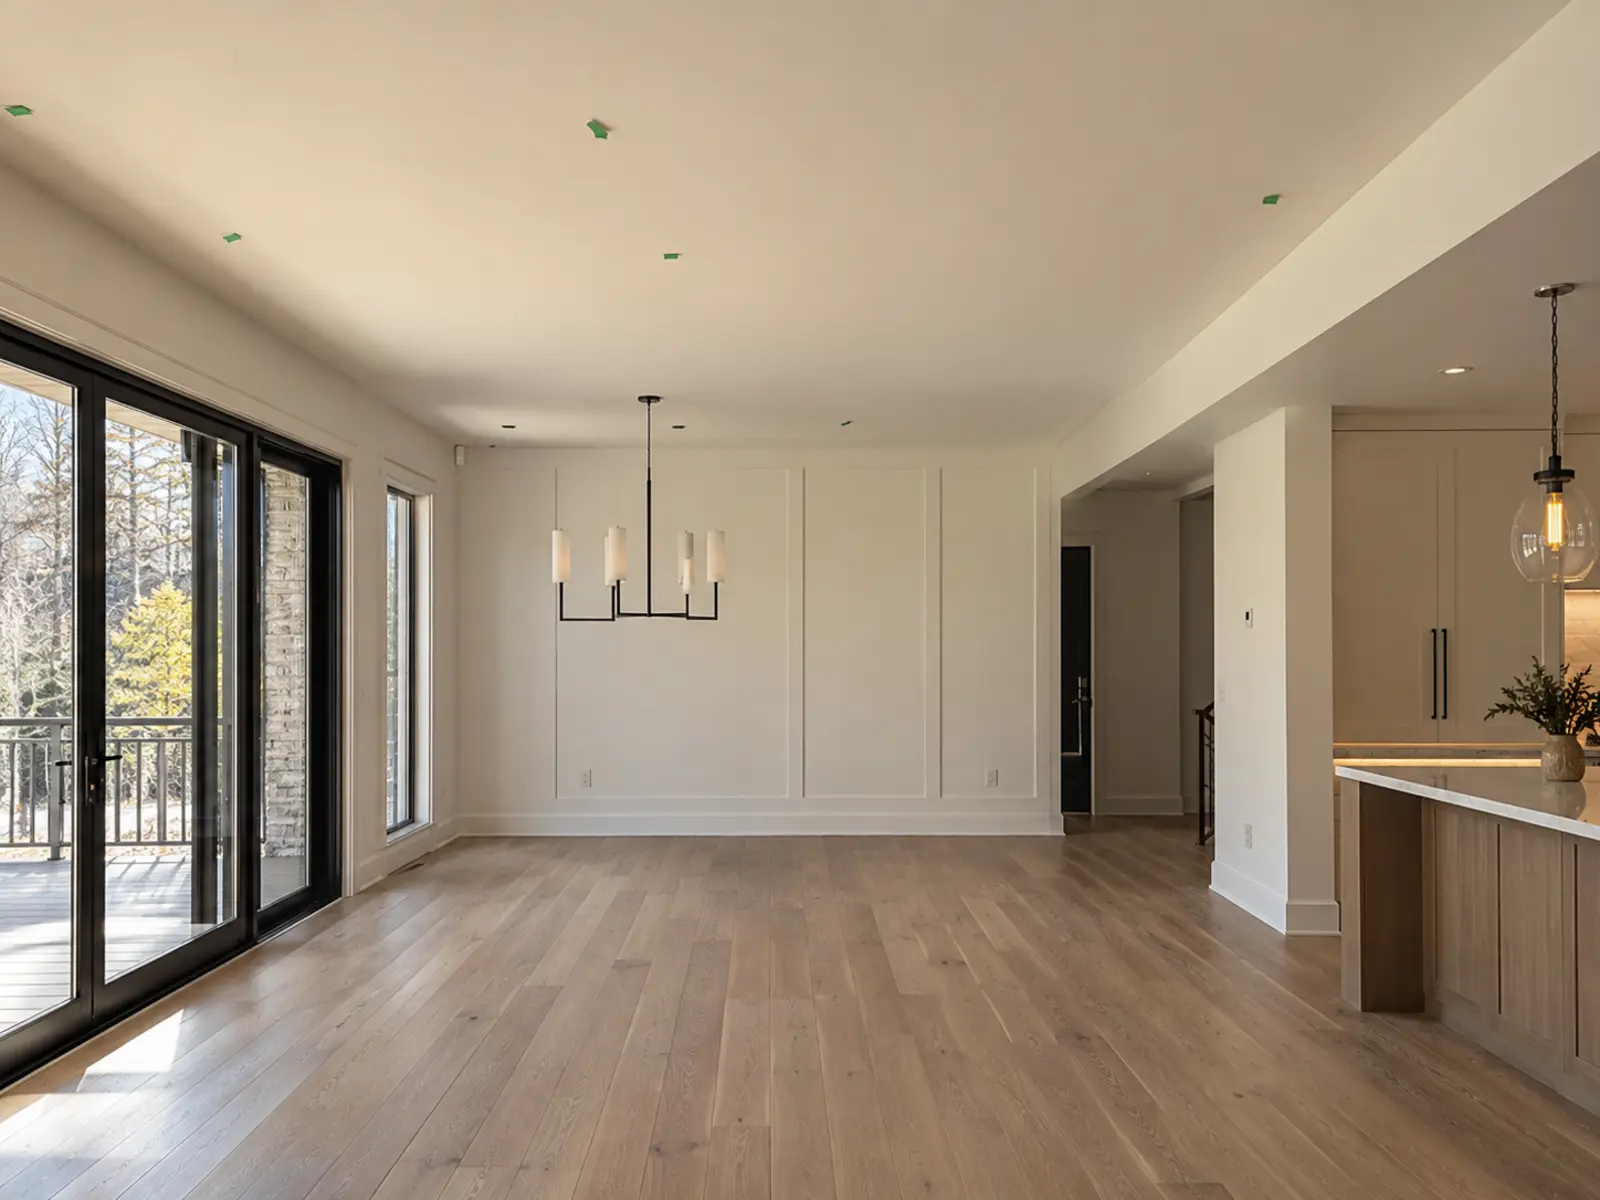
Is there one correct pot-light spacing formula?
No. Square footage and ceiling height are useful inputs, but they do not show where people work, sit, walk, view screens, hang art, or place cabinets. They also do not reveal fixture output, beam spread, reflectance, or obstructions.
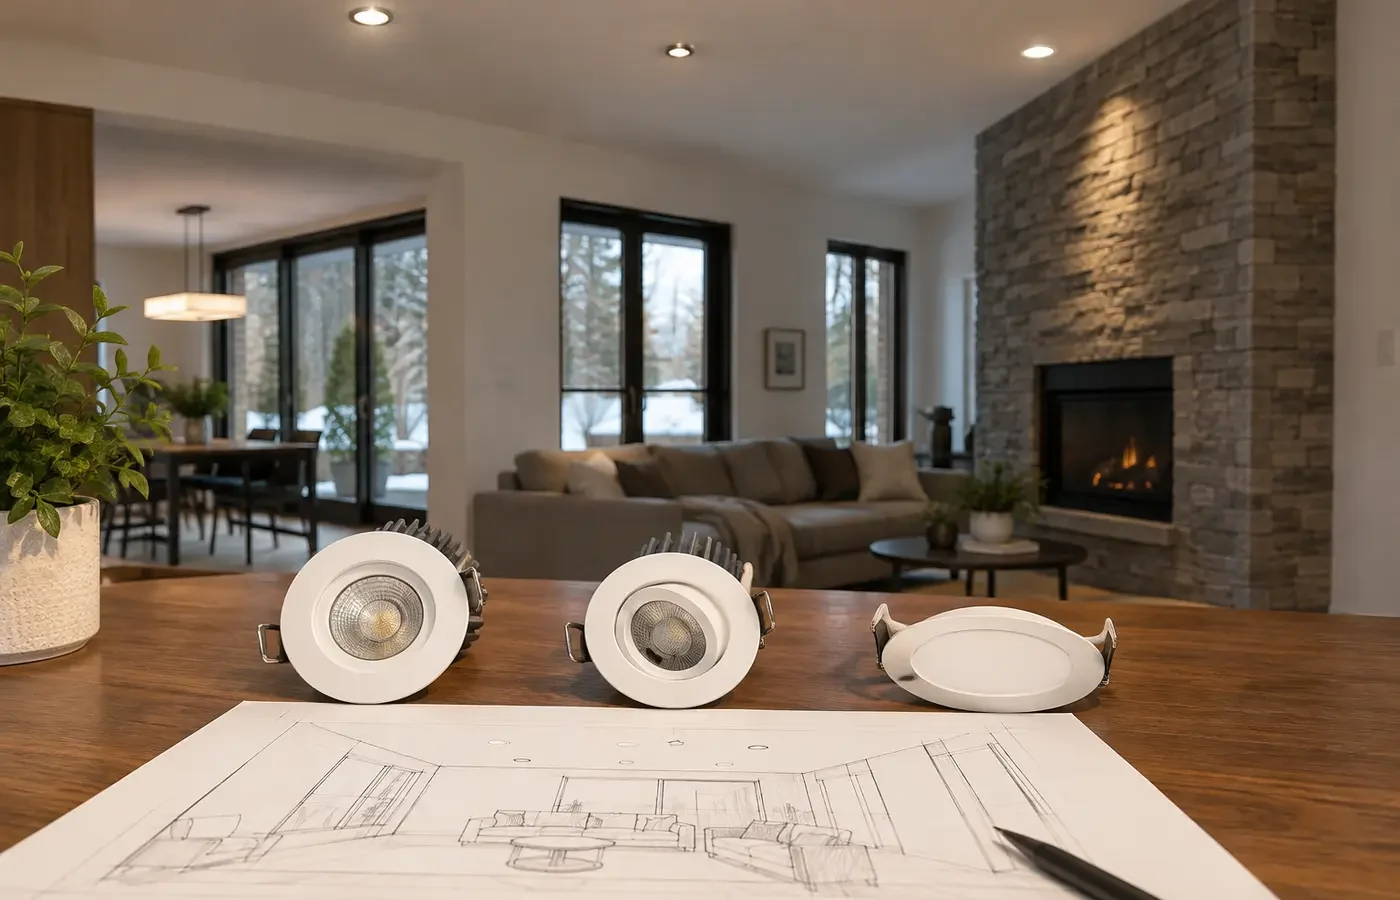
A practical layout starts with the room plan, marks important surfaces and sightlines, chooses an appropriate fixture family, and then checks the proposed positions against joists, ducts, pipes, insulation, and switching.
Use spacing as an outcome, not the first rule.
Task coverage
Put useful light at counters, desks, tables, stairs, and other work surfaces.
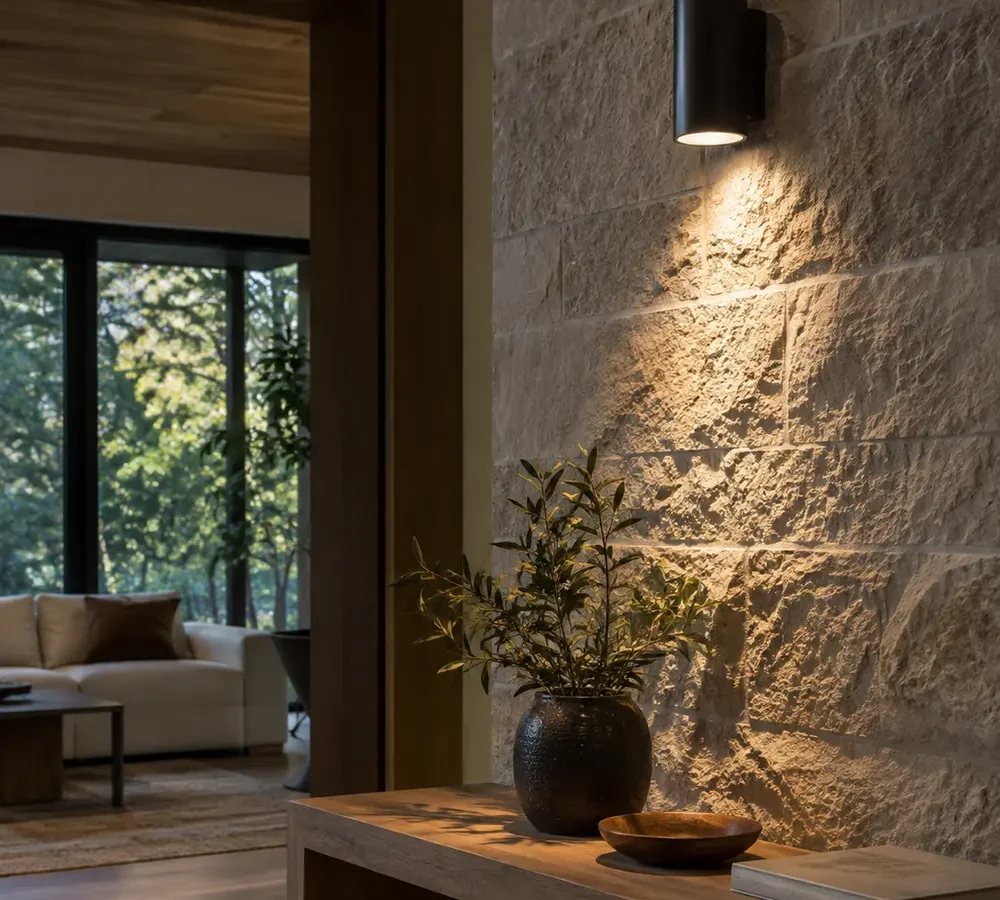
Wall and feature light
Use controlled edge illumination to reduce dark boundaries and reveal selected materials or art.
Comfortable ambient light
Overlap beams enough for usable coverage without filling the ceiling with unnecessary fixtures.
Flexible zones
Group fixtures around activities and circulation rather than switching every light together.
Each input changes quantity or position.
A credible plan connects photometric behaviour to the physical room and the way it will be used.
| Condition | Why it changes the plan |
|---|---|
| Lumens | Describe output, but not where that output lands or whether it creates glare. |
| Beam angle | Changes the width and overlap of coverage at the working plane and walls. |
| Ceiling height | Changes beam footprint, apparent brightness, ladder access, and fixture visibility. |
| Reflectance | Dark paint, wood, stone, and textiles return less light than pale reflective finishes. |
| Wall distance | Affects vertical illumination, scalloping, artwork, shelving, and perceived room boundaries. |
| Structure and access | Field conditions may move a theoretical point; the plan needs tolerances and priorities. |
A layout deliverable should explain the reasoning.
Dots on a plan are not enough if no one knows what can move, what each zone does, or which fixture performance was assumed.
- Dimensioned room reference and important fixed features
- Fixture type, lumen range, beam, trim, colour temperature, and aiming where relevant
- Proposed positions plus acceptable field adjustments for concealed conditions
- Wall, counter, island, furniture, artwork, fireplace, and television relationships
- Switching and dimming zones with multi-location control needs
- Assumptions requiring confirmation on site before openings are made
Match fixture behaviour to the lighting job.
Fixed downlights
Useful for general and task coverage when the beam belongs directly below the aperture.
Gimbal fixtures
Useful when a controlled beam needs to reach a wall, feature, slope, or off-axis task.
Decorative and indirect layers
Useful for scale, identity, and lower-level comfort that ceiling downlights alone may not provide.
Move from the goal to a confirmed scope.
Document the starting point
Begin with room length, width, ceiling height, and a simple plan and photographs from room corners and important sightlines.
Review the conditions
Work through lumens, beam angle, product suitability, access, and control before fixing the scope.
Compare written inclusions
Confirm dimensioned room reference and important fixed features plus the access, finishing, notification, testing, and change assumptions.
Coordinate the next step
Share Dimensions and Photos once the important unknowns and responsibilities are visible.
Treat local context as a project condition, not a keyword.
For Pot Light Layout Planning, a Mississauga address alone does not reveal the ceiling, wiring, structure, permissions, or access. Property type is useful because it prompts better questions about lumens and beam angle; the actual conditions still need confirmation.
Ontario electrical installation work offered to the public must be handled through a Licensed Electrical Contractor. ESA explains that almost all electrical work requires a notification, with limited exceptions. The responsible contractor should confirm the requirement, file when required, and provide the accepted-work documentation.
Answers before you compare the scope.
How far apart should pot lights be?
The useful spacing follows fixture output and beam, ceiling height, room dimensions, target surfaces, and the overlap needed for the intended result.
How far should lights be from a wall?
It depends on whether the goal is general coverage, wall washing, artwork, cabinets, or circulation. Beam and ceiling height matter.
Do darker rooms need more lights?
Darker finishes absorb more light, but the answer may involve output, beam, wall illumination, and layers—not only adding fixtures.
What if the furniture moves?
Anchor the plan to durable architecture and likely zones while avoiding overfitting every fixture to one temporary furniture position.
Continue with the closest lighting decision.
Tell us about the space and the result you want.
For a useful first review, provide room length, width, ceiling height, and a simple plan, photographs from room corners and important sightlines, and the outcome you want. Add product links or close-up photographs when they clarify the existing condition.