

What should be checked before a decorative fixture is installed?
Start with the fixture dimensions, weight, mounting instructions, approval information, required assembly, canopy size, lamp or integrated LED details, and intended control. Then review the existing outlet box, support, ceiling condition, wiring, height, and safe access.
A fixture that physically covers the opening is not automatically suitable for the existing support. Heavy, oversized, imported, or high-ceiling products deserve extra review before the installation date so that missing hardware or structural work does not become a surprise.
Different fixtures create different installation questions.
Flush and semi-flush fixtures
Review canopy coverage, outlet-box condition, support, lamp access, and ceiling clearance.
Chandeliers
Confirm weight, assembly, suspension, height, two-storey access, and support.
Pendants
Coordinate number, spacing, boxes, hanging height, sightlines, and island dimensions.
Sconces, vanity lights, and fans
Check wall or ceiling support, clearances, controls, damp-location needs, and existing openings.
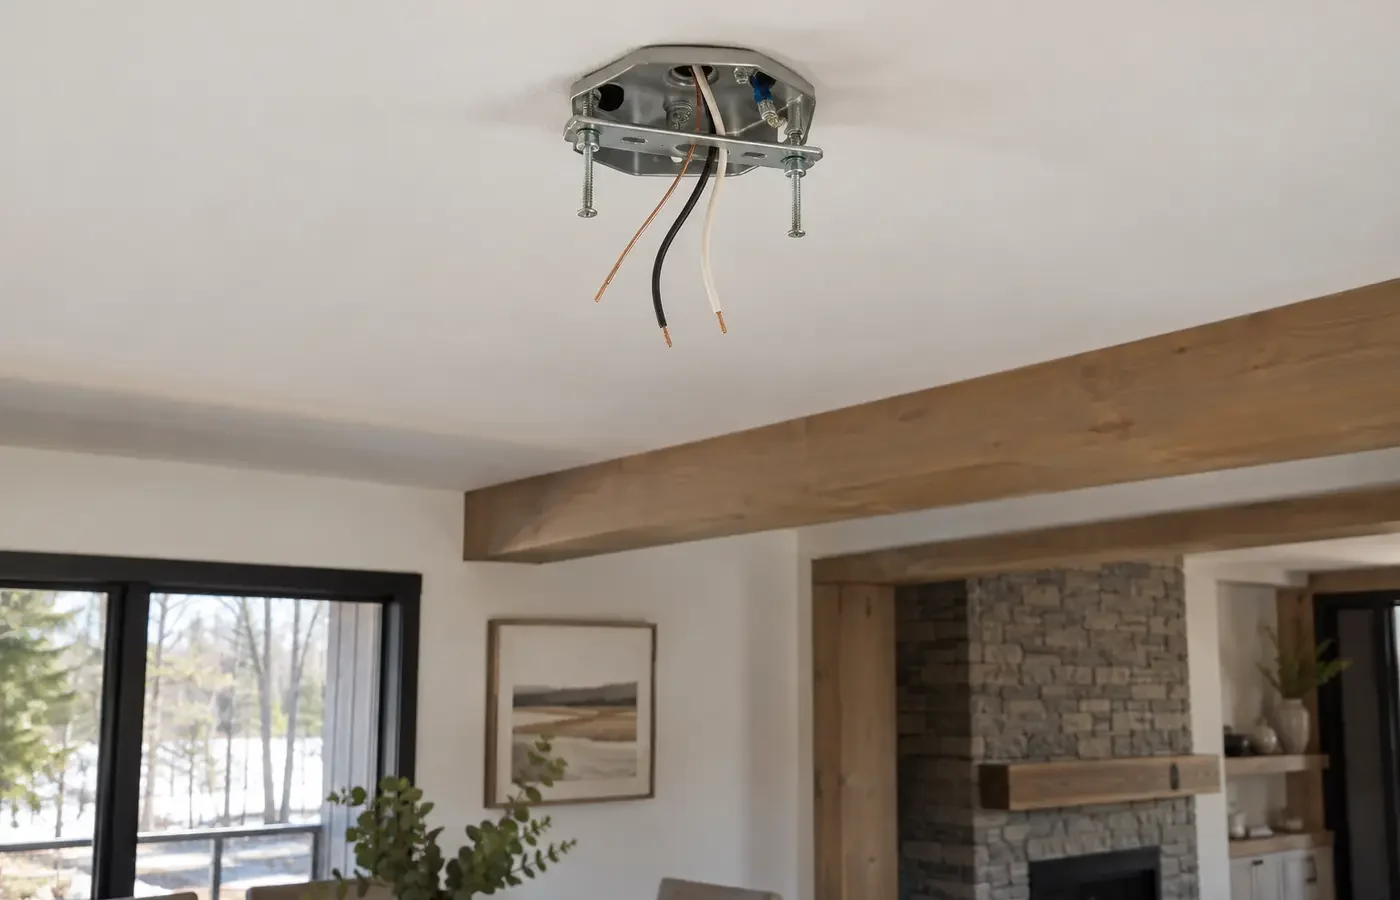
The mounting point carries more than the visible canopy.
Support, wiring, ceiling surface, and access must suit the actual product—not simply the fixture it replaces.
| Condition | Why it changes the plan |
|---|---|
| Fixture weight | Determines whether the existing box and structural support are appropriate. |
| Canopy and mounting plate | Need to fit the box, fasteners, ceiling opening, and finished surface. |
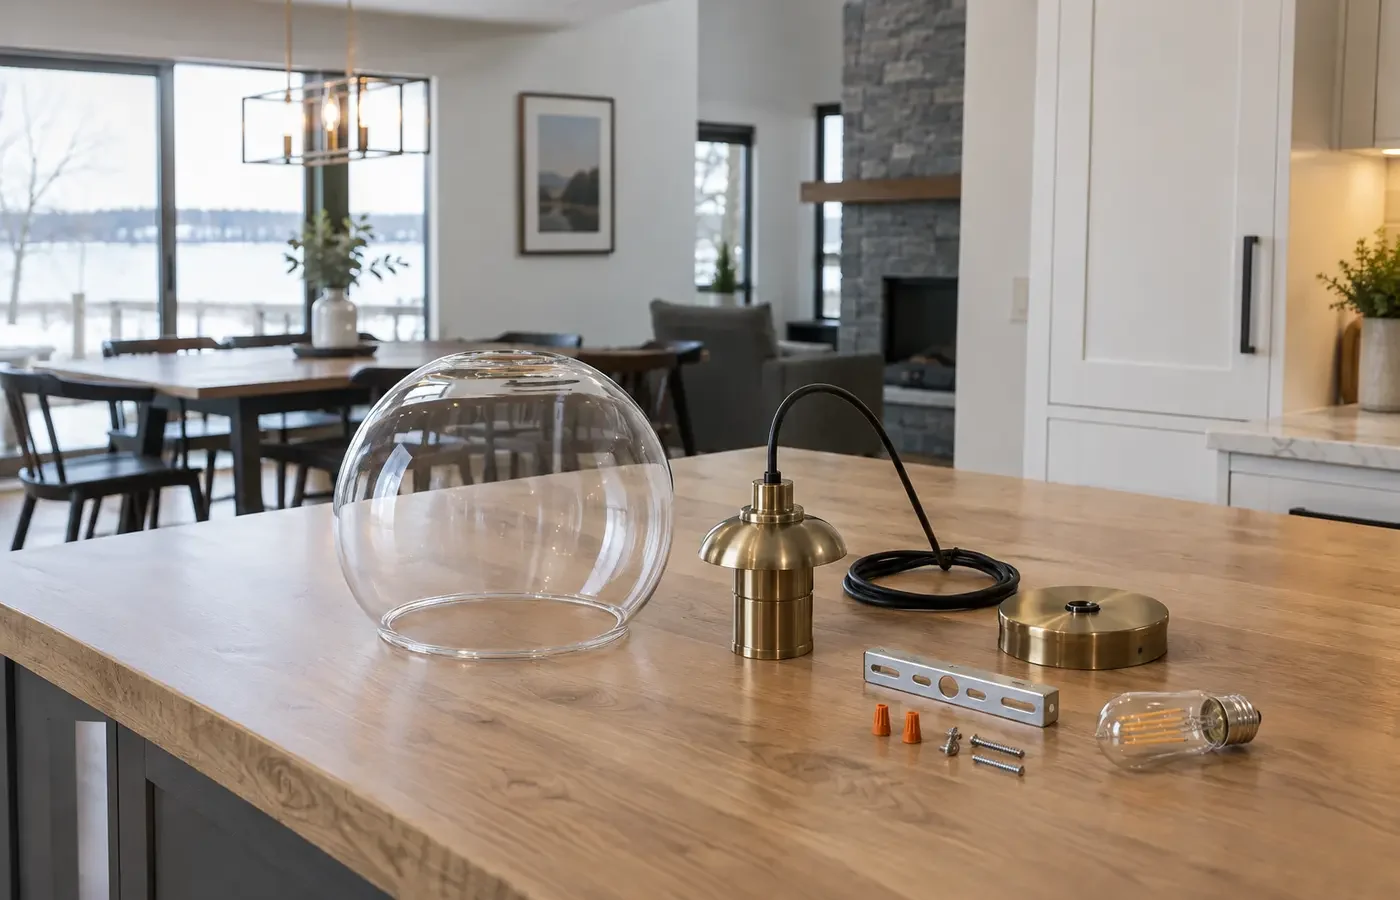
| Assembly | Crystal, glass, arms, shades, and suspension parts may require substantial safe staging. |
| Ceiling height | Changes access equipment, handling, hanging-height decisions, and service planning. |
| Control | Integrated LEDs, drivers, lamps, fans, and dimming must be compatible with the intended switch. |
| Product approval | Electrical products used in Ontario should carry a recognized approval or evaluation mark. |
Clarify customer-supplied products and installation boundaries.
The quote should say who supplies, inspects, assembles, supports, installs, removes, and disposes of each component.
- Fixture model, weight, dimensions, instructions, approval, and supplied hardware
- Existing outlet box, wiring, support, canopy coverage, and ceiling condition assumptions
- Assembly, suspension length, aiming, levelling, lamps, and final cleaning boundaries
- Access equipment and clear working area for high, stair, or obstructed locations
- Switch, dimmer, control, driver, and lamp compatibility
- Old-fixture removal, packaging disposal, notification responsibility, patching, and tax
Coordinate the fixture with the room.
Scale and height
Use room width, table or island dimensions, ceiling height, and sightlines to set proportion and suspension.
Supporting light
Recessed, wall, or cabinet light can handle tasks while the decorative fixture provides identity and focus.
Maintenance access
Lamp replacement, cleaning, driver access, and safe reach should be considered before choosing a difficult location.
Move from the goal to a confirmed scope.
Document the starting point
Begin with fixture product link, instructions, dimensions, and weight and photograph of the existing fixture and ceiling location.
Review the conditions
Work through fixture weight, canopy and mounting plate, product suitability, access, and control before fixing the scope.
Compare written inclusions
Confirm fixture model, weight, dimensions, instructions, approval, and supplied hardware plus the access, finishing, notification, testing, and change assumptions.
Coordinate the next step
Share the Fixture Details once the important unknowns and responsibilities are visible.
Treat local context as a project condition, not a keyword.
For Decorative Light Installation in Mississauga, a Mississauga address alone does not reveal the ceiling, wiring, structure, permissions, or access. Property type is useful because it prompts better questions about fixture weight and canopy and mounting plate; the actual conditions still need confirmation.
Ontario electrical installation work offered to the public must be handled through a Licensed Electrical Contractor. ESA explains that almost all electrical work requires a notification, with limited exceptions. The responsible contractor should confirm the requirement, file when required, and provide the accepted-work documentation.
Answers before you compare the scope.
Is the existing ceiling box suitable?
It must be assessed for type, condition, attachment, location, and the new fixture weight or movement. Do not assume suitability from appearance alone.
Who assembles the fixture?
The written scope should state the expected assembly and identify any specialty or missing parts that remain the purchaser’s responsibility.
Can the dimmer be changed at the same time?
Often, when the fixture or lamps, driver, wiring, load, and wall-box conditions support a compatible control.
What if the fixture is imported?
Confirm recognized approval for use in Ontario, installation instructions, hardware, electrical ratings, and replacement-part availability before booking.
Continue with the closest lighting decision.
Tell us about the space and the result you want.
For a useful first review, provide fixture product link, instructions, dimensions, and weight, photograph of the existing fixture and ceiling location, and the outcome you want. Add product links or close-up photographs when they clarify the existing condition.