
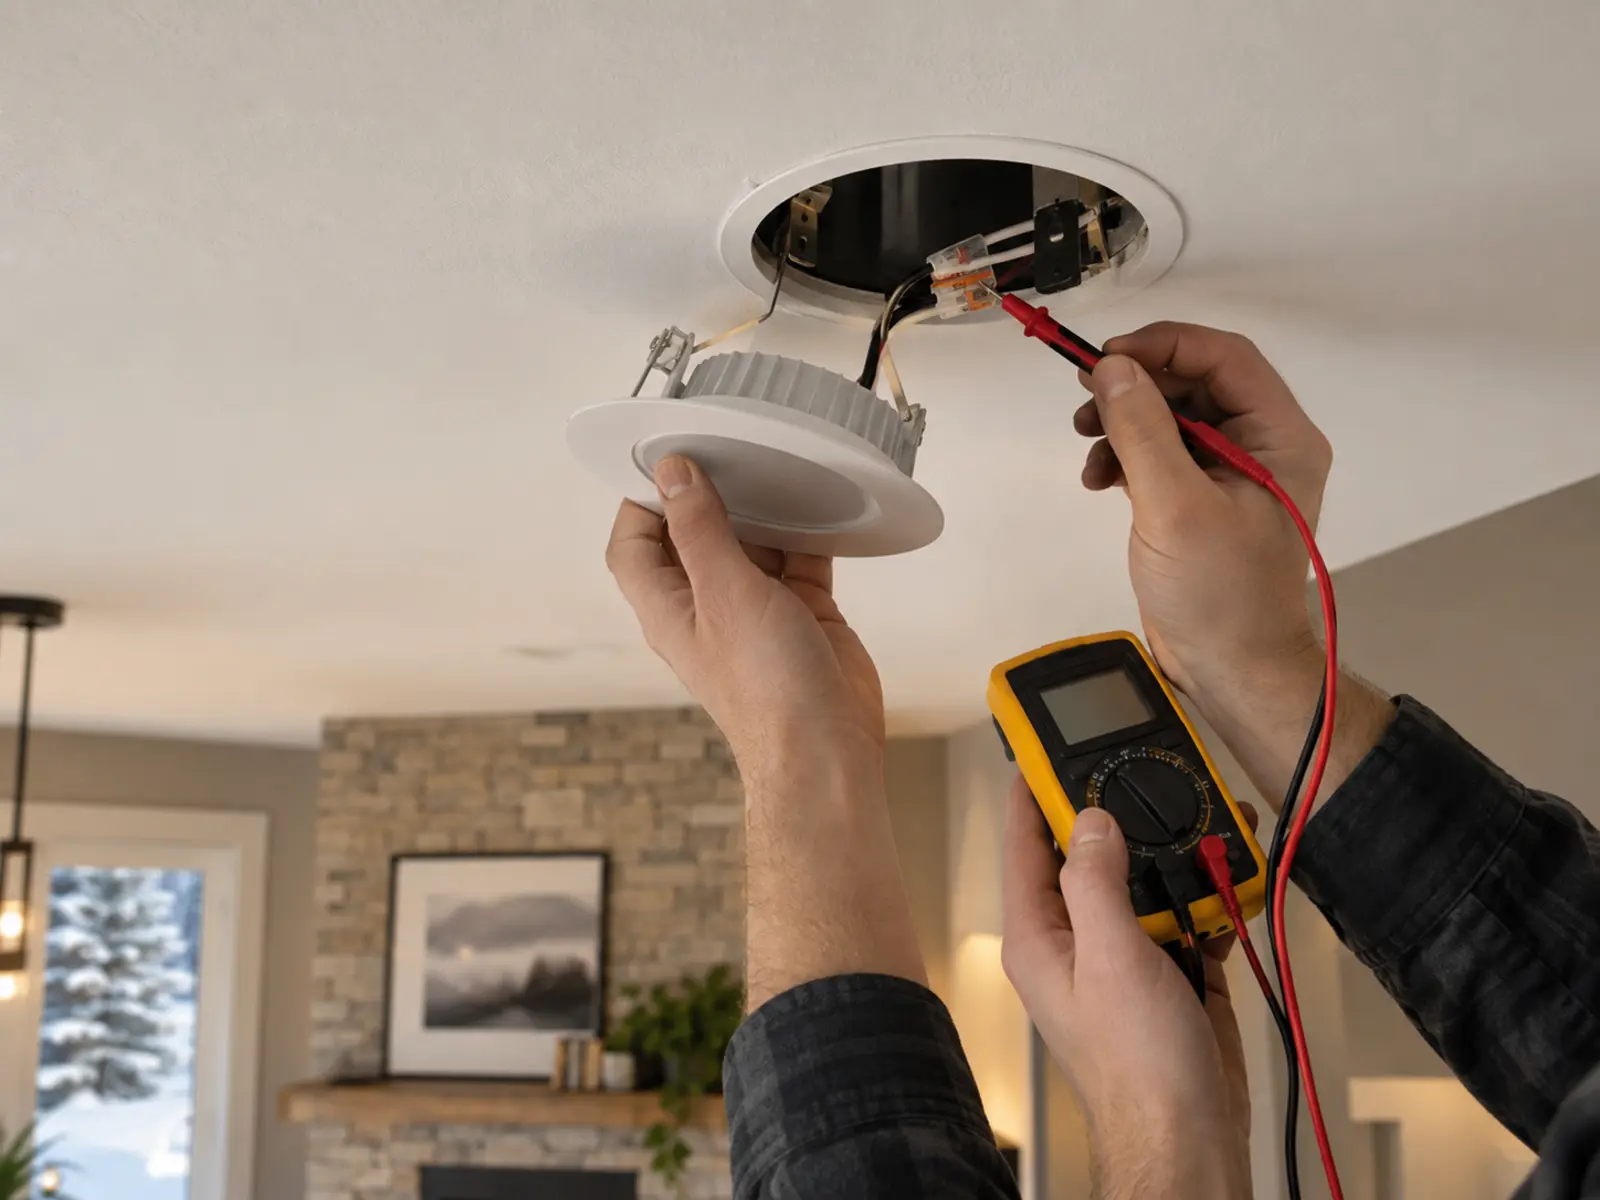
What causes LED pot lights to flicker, buzz, glow, or fail?
Possible causes include an incompatible dimmer and driver, a failing driver or lamp, a loose connection, poor product matching, moisture, overheating, unsuitable installation conditions, a control issue, or a broader circuit problem. The visible symptom does not identify one universal cause.
Document when the problem occurs, which fixtures are affected, what control is used, and whether anything recently changed. Stop using equipment and seek appropriate help if there is heat, burning smell, arcing, smoke, damaged wiring, water entry, or a tripping protective device.
Use the symptom to narrow the system—not to guess one part.
Flicker or dropout
Check control compatibility, load, driver, connection, circuit behaviour, and when the symptom occurs.
Buzzing or humming
Identify whether sound comes from the dimmer, driver, lamp, transformer, or fixture body.
Glow when off
Review the control, leakage current, wiring arrangement, driver sensitivity, and multi-location devices.
Repeated failure or mismatch
Compare product, heat, moisture, supply, driver, colour, age, and installation conditions.
Timing and pattern are diagnostic clues.
A fault affecting one fixture differs from a whole zone that fails only at low dimming or after warming up.
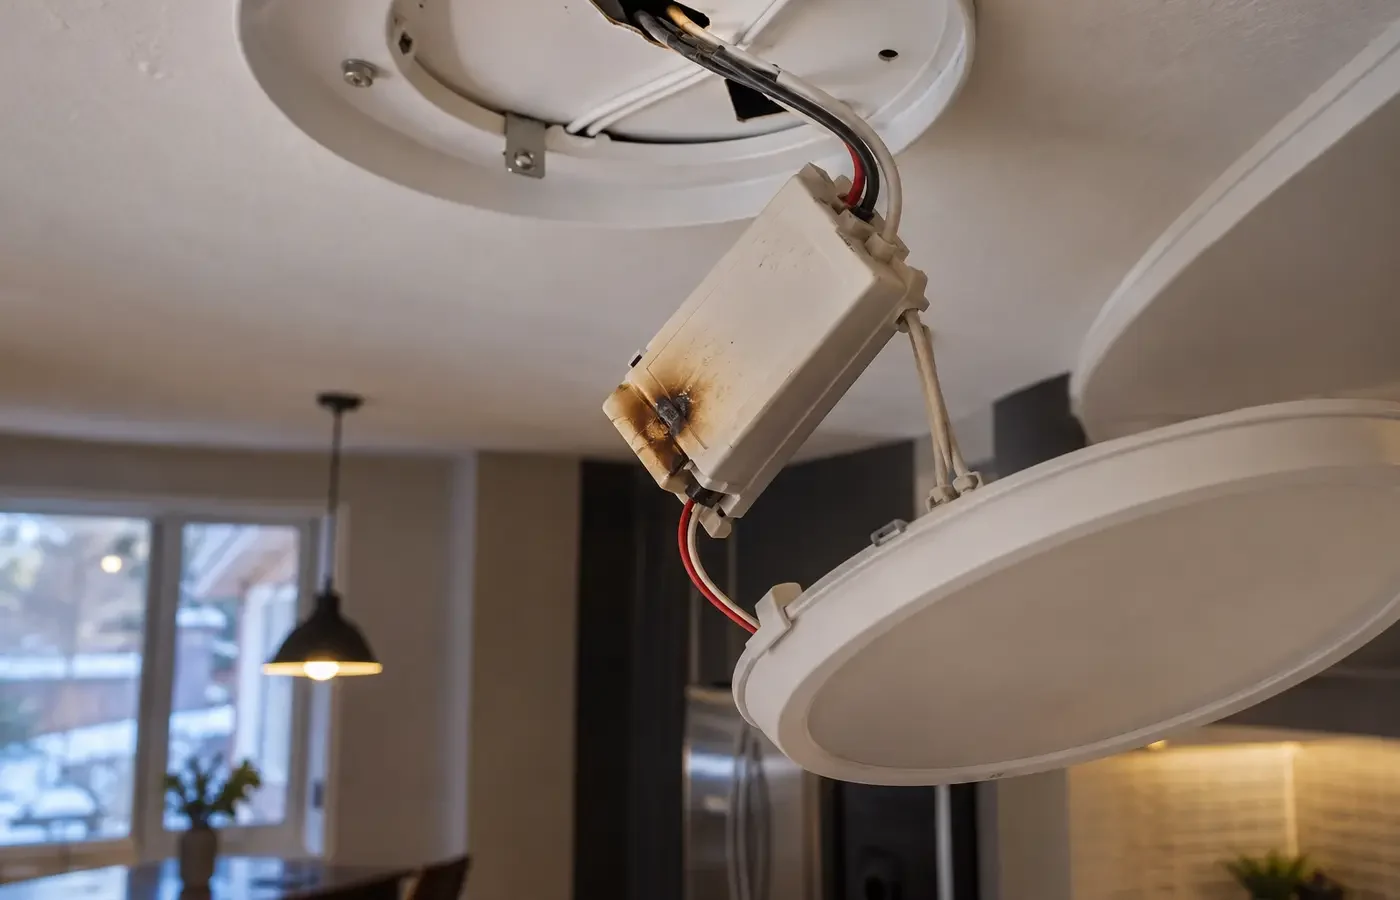
| Condition | Why it changes the plan |
|---|---|
| One light or whole group | Helps separate a local fixture issue from control, connection, or circuit conditions. |
| Dimmer position | Symptoms only at low or high levels point toward compatibility, load, or adjustment. |
| Warm-up time | Failure after minutes may relate to heat, driver, connection, or protective behaviour. |
| Moisture and exterior exposure | Can affect unsuitable or compromised products, seals, junctions, and drivers. |
| Recent product change | A new lamp, module, dimmer, or smart control may not match the remaining system. |
| Visible damage or tripping | Raises the priority for safe isolation and proper electrical assessment. |
A repair scope should separate diagnosis from authorized replacement.
Avoid promising a fixed part before the system is examined. State diagnostic limits, approved work, products, and next steps.
- Reported symptom, timing, affected fixtures, controls, and safety observations
- Initial diagnostic scope and any limits created by access or intermittent behaviour
- Compatible replacement fixture, driver, lamp, control, connector, or wiring work if identified
- Treatment of mismatched legacy products and whether a full visible-zone update is preferable
- Moisture, heat, exterior suitability, ceiling access, and finishing considerations
- Notification responsibility, testing across full operation, cleanup, and documentation
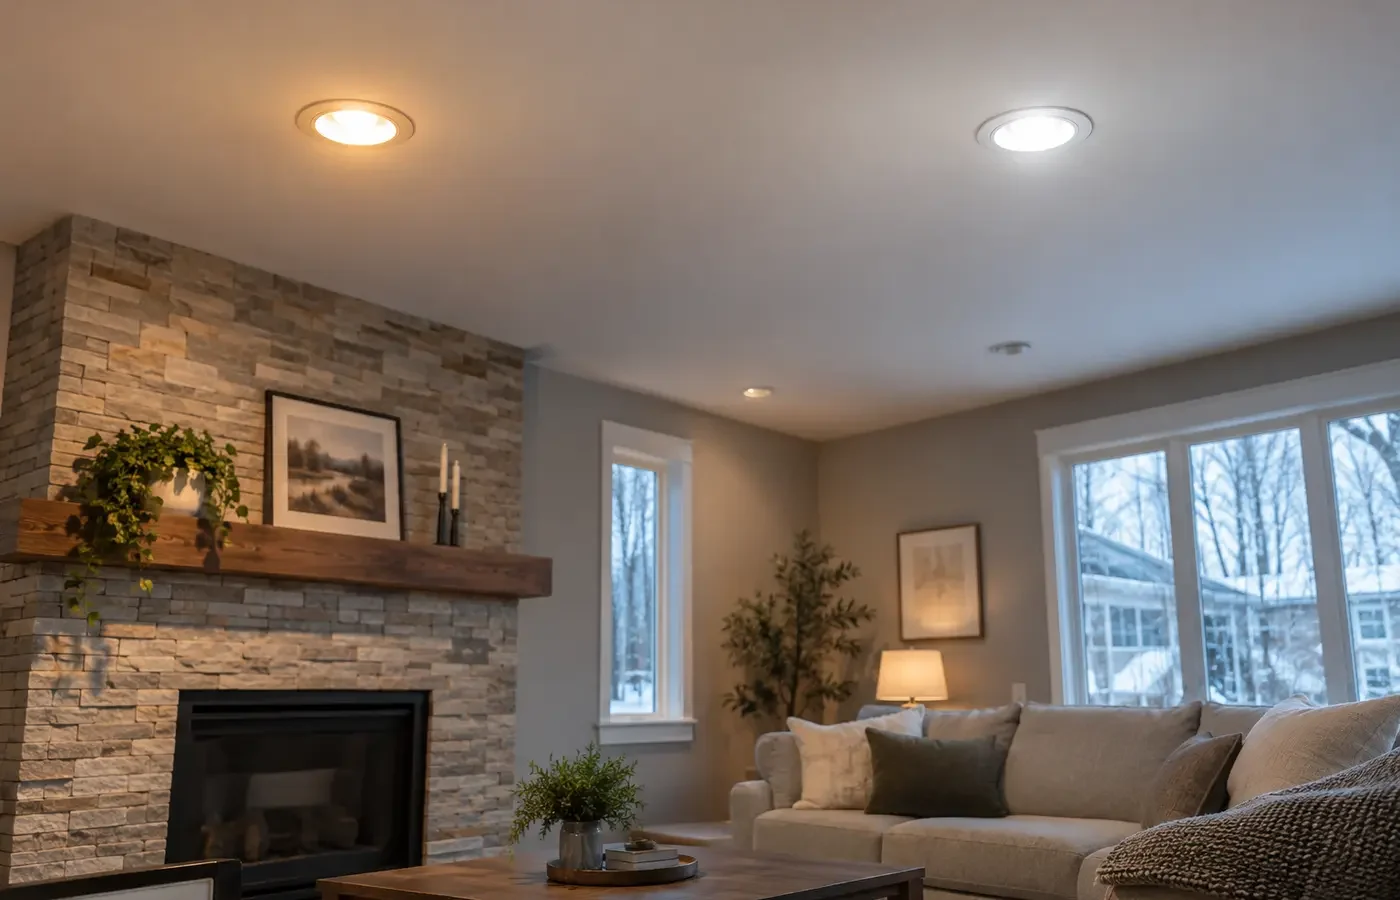
Know when replacement becomes modernization.
Like-for-like repair
Appropriate when the failed component is identifiable, available, suitable, and compatible.
Visible-zone replacement
Useful when an exact match is unavailable or several aged components create inconsistent results.
Control and fixture update
Useful when legacy dimmers, drivers, or lamps repeatedly interact poorly as a system.
Move from the goal to a confirmed scope.
Document the starting point
Begin with wide video or photos showing all affected lights and close-up of fixture, driver, lamp, label, and wall control.
Review the conditions
Work through one light or whole group, dimmer position, product suitability, access, and control before fixing the scope.
Compare written inclusions
Confirm reported symptom, timing, affected fixtures, controls, and safety observations plus the access, finishing, notification, testing, and change assumptions.
Coordinate the next step
Describe the Lighting Problem once the important unknowns and responsibilities are visible.
Treat local context as a project condition, not a keyword.
For Lighting Troubleshooting & Repairs, a Mississauga address alone does not reveal the ceiling, wiring, structure, permissions, or access. Property type is useful because it prompts better questions about one light or whole group and dimmer position; the actual conditions still need confirmation.
Ontario electrical installation work offered to the public must be handled through a Licensed Electrical Contractor. ESA explains that almost all electrical work requires a notification, with limited exceptions. The responsible contractor should confirm the requirement, file when required, and provide the accepted-work documentation.
Answers before you compare the scope.
Is the dimmer always the cause of flicker?
No. It is one possibility among driver, lamp, connection, load, wiring, supply, and product-condition issues.
Can one matching pot light be sourced?
Sometimes. Share labels and photos, but discontinued products and colour drift may make an exact match impractical.
Why does an exterior light keep failing?
Product suitability, moisture, heat, seals, connections, controls, voltage, and installation conditions may all need review.
Do you offer 24/7 emergency service?
No emergency availability is claimed on this site. For immediate electrical danger, keep clear, disconnect power only if safe, and contact the appropriate emergency or licensed electrical service.
Continue with the closest lighting decision.
LED Replacement
Compare lamp, module, fixture, driver, and coordinated-ceiling options.
Explore this topic →
Dimmers & Controls
Review compatibility, load, wiring, and connected-control behaviour.
Explore this topic →
Pot Light Installation
Plan a new system when repair is no longer the sensible path.
Explore this topic →
Tell us about the space and the result you want.
For a useful first review, provide wide video or photos showing all affected lights, close-up of fixture, driver, lamp, label, and wall control, and the outcome you want. Add product links or close-up photographs when they clarify the existing condition.