
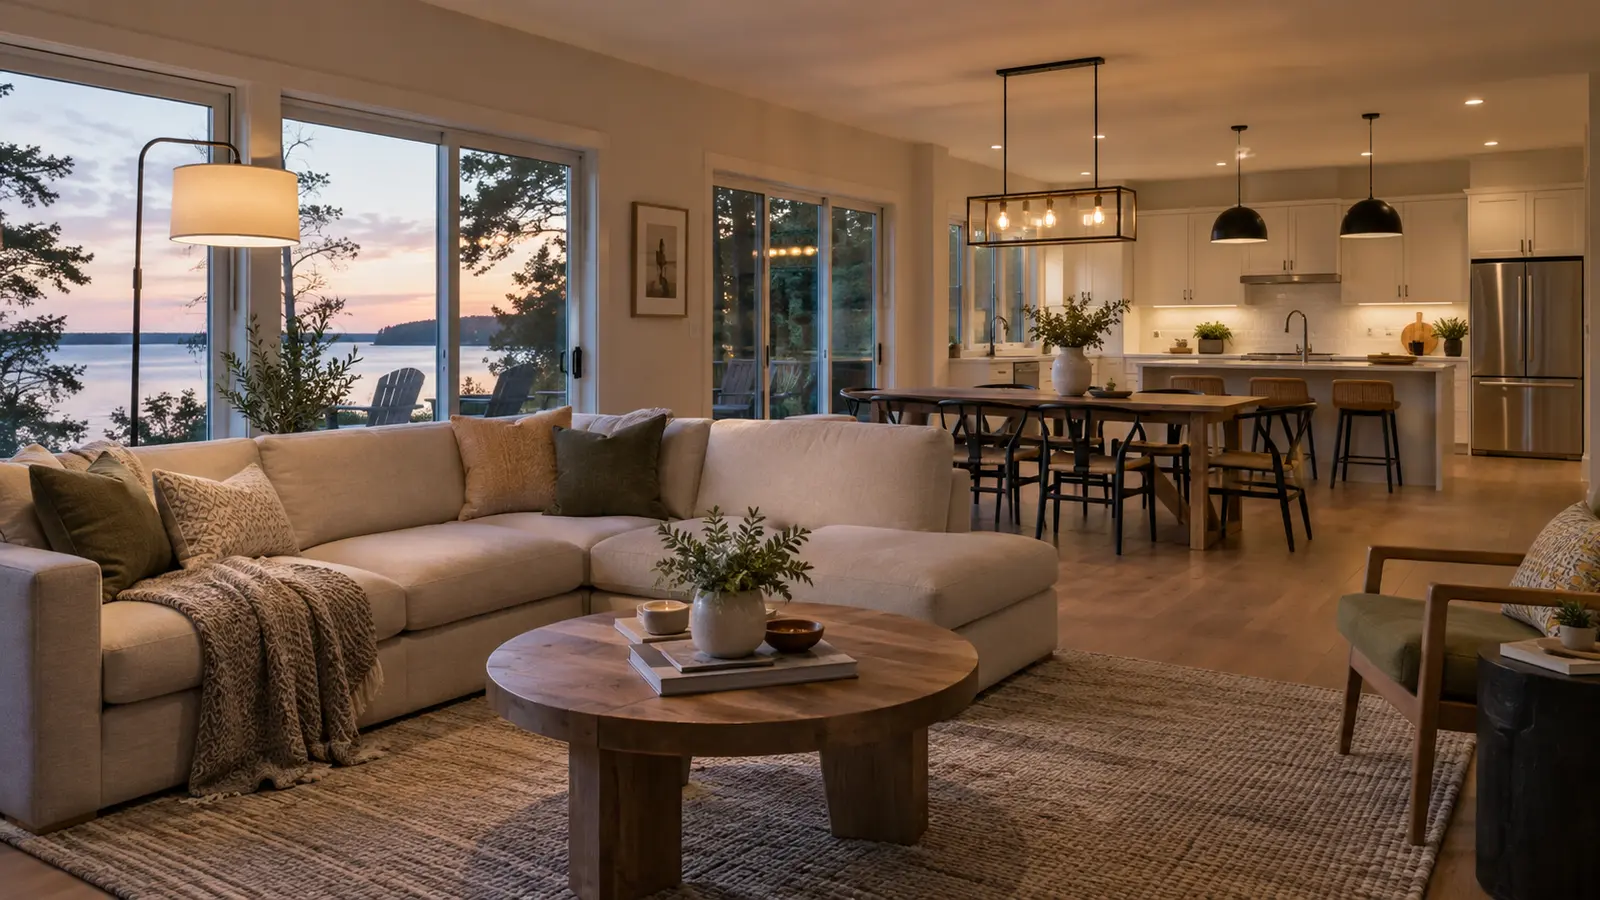
A useful pot-light quantity comes from the room and fixture together: dimensions, ceiling height, lumens, beam angle, finishes, walls, work surfaces, furniture, and control zones. Square footage can begin the conversation, but it cannot finish the layout.
A room can meet a simple lights-per-square-foot rule and still feel wrong. Counters may sit in shadow, walls can remain dark, a television can reflect bright apertures, and a neat grid may conflict with joists or ducts.
Work from durable relationships first: the wall, cabinet run, island, fireplace, circulation path, and likely seating area. Then choose a fixture family and test how its beam and output support those targets.
The short checklist
- Measure room length, width, and ceiling height
- Mark counters, cabinets, walls, art, fireplace, television, stairs, and circulation
- Identify fixture output, beam angle, aperture, trim, and glare characteristics
- Plan task, ambient, accent, and decorative layers separately
- Divide useful zones before finalizing quantity
- Check proposed points against framing, services, insulation, and access
Why square-foot rules are incomplete
A square-foot rule treats every surface as equally important and every fixture as identical. It does not know whether the room has dark finishes, a low ceiling, a wide beam, a narrow gimbal, large windows, or a polished television screen.
Use area as a rough reasonableness check only after the fixture and lighting tasks are understood. If the calculation produces more ceiling points than the room can visually tolerate, revisit beam, output, wall illumination, and other layers.
- Same room size can need different quantities with different beam angles
- Higher output does not guarantee better wall or counter light
- Darker surfaces absorb more light but do not always justify more apertures
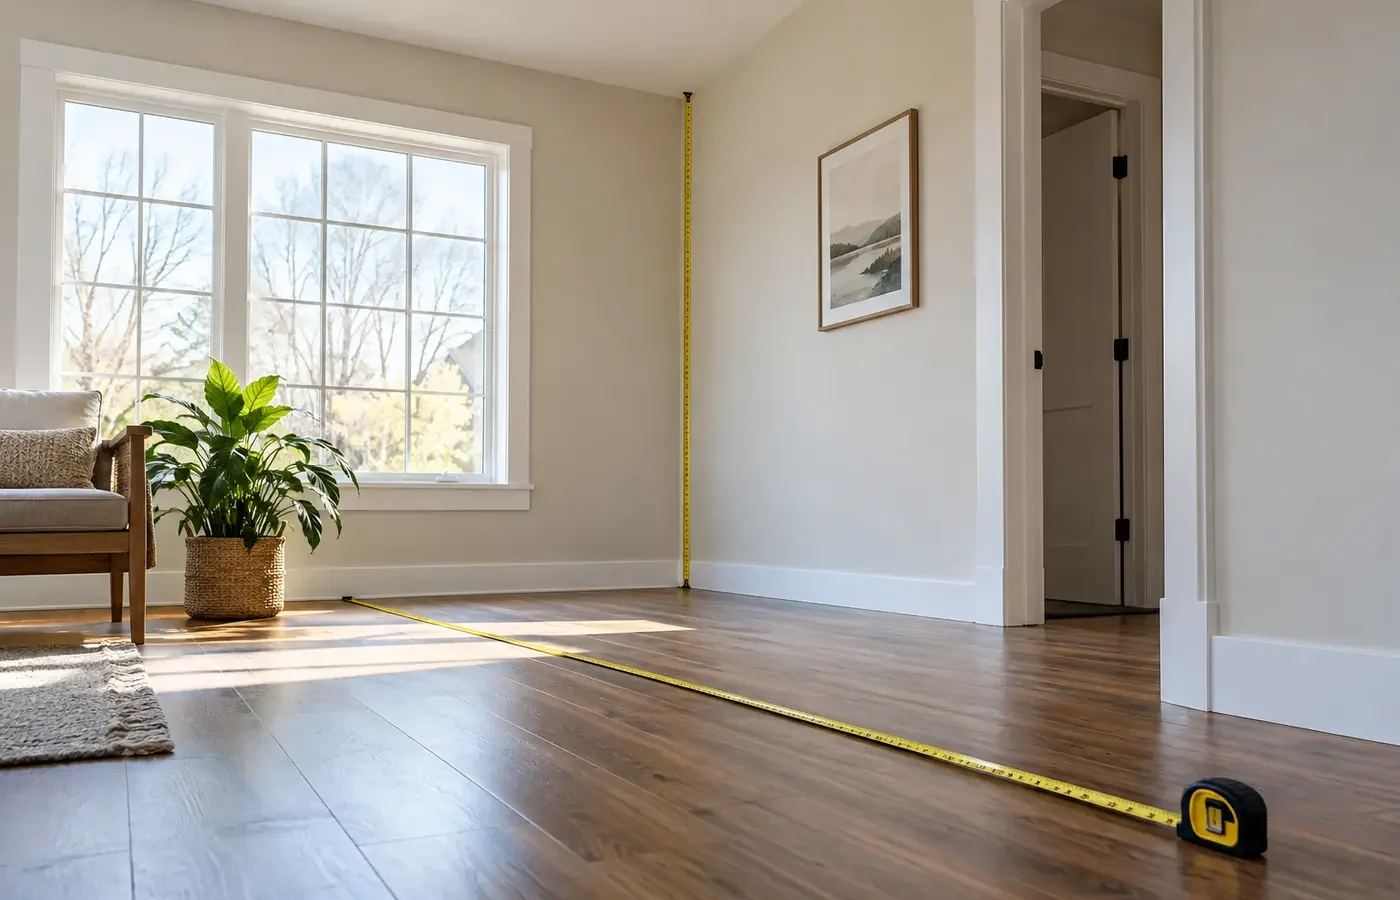
Measure the room and mark the durable targets
Record the clear ceiling fields as well as the floor dimensions. Bulkheads, beams, slopes, tall cabinets, and open transitions can split one rectangle into several useful zones.
Mark the work surfaces and views that are unlikely to move: kitchen counters, island, fireplace, major artwork wall, stair, hallway, and television location. Furniture can change, so avoid overfitting every fixture to one sofa corner.
- Take straight-on and corner photographs
- Note ceiling height changes and existing openings
- Record room connections and switch entrances
Use beam spread and output together
Lumens describe output; beam angle describes how broadly a fixture distributes much of that output. Ceiling height changes the footprint at the working plane, while trim design and shielding influence glare.
Two fixtures with the same diameter can behave very differently. Base spacing on the selected product information and the target surfaces rather than the aperture size alone.
- Fixed beams support direct coverage
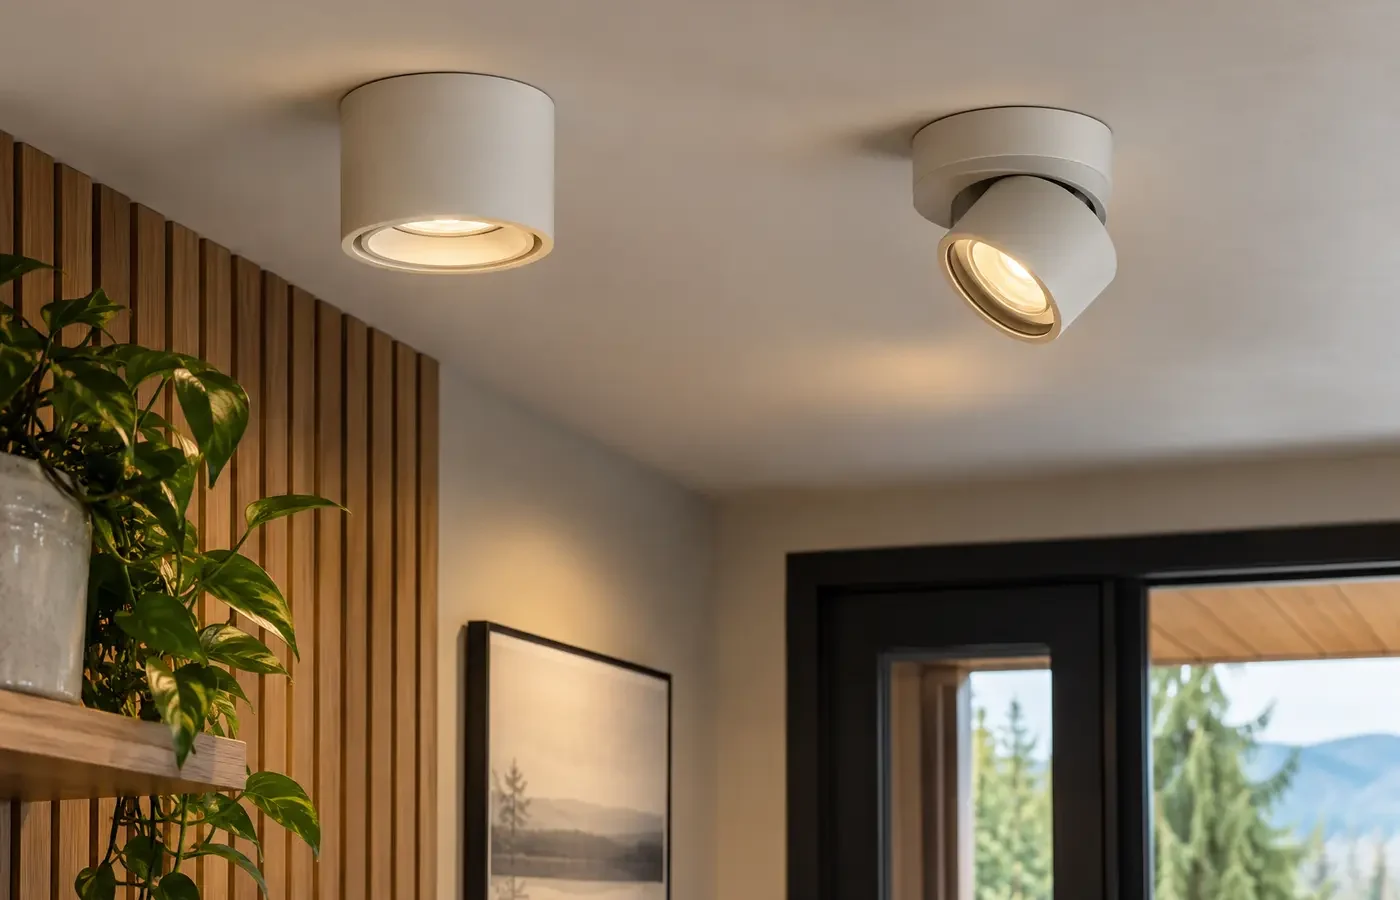
- Gimbals can redirect light toward walls or features
- A comfortable layout manages visible brightness as well as total light
Plan walls and work surfaces before open floor
People experience the brightness of walls and objects, not only the light measured at the floor. A row that reaches a counter or softly reveals a room edge can feel more useful than one centred over empty circulation.
In kitchens, ceiling light placed behind the person working can cast a shadow across the counter. In living rooms, a bright aperture positioned in a common screen reflection path can distract even when general brightness is adequate.
- Check counter edges and cabinet depth
- View television positions from the sofa
- Use directional light only where the target is intentional
Turn quantity into control zones
A final quantity should be grouped by how the room is used. A connected kitchen and family room may share a fixture family yet need independent zones for cooking, island, circulation, fireplace, and evening seating.
Fewer controllable layers can be more useful than many fixtures on one switch. Confirm compatible dimmers, multi-location control, and desired manual behaviour while the layout is still flexible.
- Separate tasks from ambience
- Keep circulation control practical at entrances
- Do not make essential lighting depend only on an app
Check the ceiling before treating marks as final
The proposed points are design priorities, not x-ray findings. Joists, ducts, pipes, blocking, insulation, vapour barriers, and cable routes can require field adjustment.
Decide which relationships matter most and how far a point can move without harming the result. The written scope should explain how obstructions, access openings, and finishing will be handled.
- Verify routes before cutting every opening
- Protect critical counter, wall, and alignment priorities
- Document who handles patching and painting
Example: test the method in an open family room
Imagine an open family room with a television on one wall, a fireplace on another, a main sofa, a reading chair, and a walkway to the kitchen. A simple area calculation may suggest a symmetrical grid, but the durable targets call for different treatment: the screen needs reflection control, the fireplace may benefit from a deliberate accent, and the chair needs useful light that does not shine into the viewer’s eyes.
Start by marking the primary circulation and the walls that should not fall completely dark. Add the seating sightlines, then compare a fixed downlight for ambient coverage with a directional fixture for the fireplace or artwork. The quantity emerges after those jobs are assigned rather than before.
Finally, divide the proposed lights into practical zones. The reading and feature layer may work independently from broad ambient light. Check the selected fixture’s beam at the actual ceiling height, then allow measured field adjustments where framing or services conflict with a point.
- Write the job beside each proposed fixture group
- View the ceiling from the main seating position
- Preserve important targets when a field position must move
- Confirm the final quantity only after zones and fixture performance are known
Questions to confirm for the actual project
Can I divide the room area by one number?
You can use that as a rough starting check, but it ignores fixture beam, output, surfaces, tasks, furniture, access, and control zones.
Does a higher ceiling always need more lights?
Not automatically. It changes beam footprint, perceived output, glare, and product choice; quantity is only one response.
Should lights line up perfectly?
Alignment matters visually, but useful relationships and concealed conditions may justify a controlled adjustment.
Can the layout be finalized from photos?
Photos and dimensions can support an initial plan. Concealed conditions and precise site measurements still need confirmation.
General planning guidance cannot identify concealed conditions or replace a project-specific assessment. Electrical installation work in Ontario must follow the applicable requirements and be offered by an authorized business.
Want to discuss the room or lighting issue?
Share the room, ceiling, exterior area, or fixture you want to improve. Photos and approximate dimensions are useful, but you do not need every technical detail before getting in touch.