
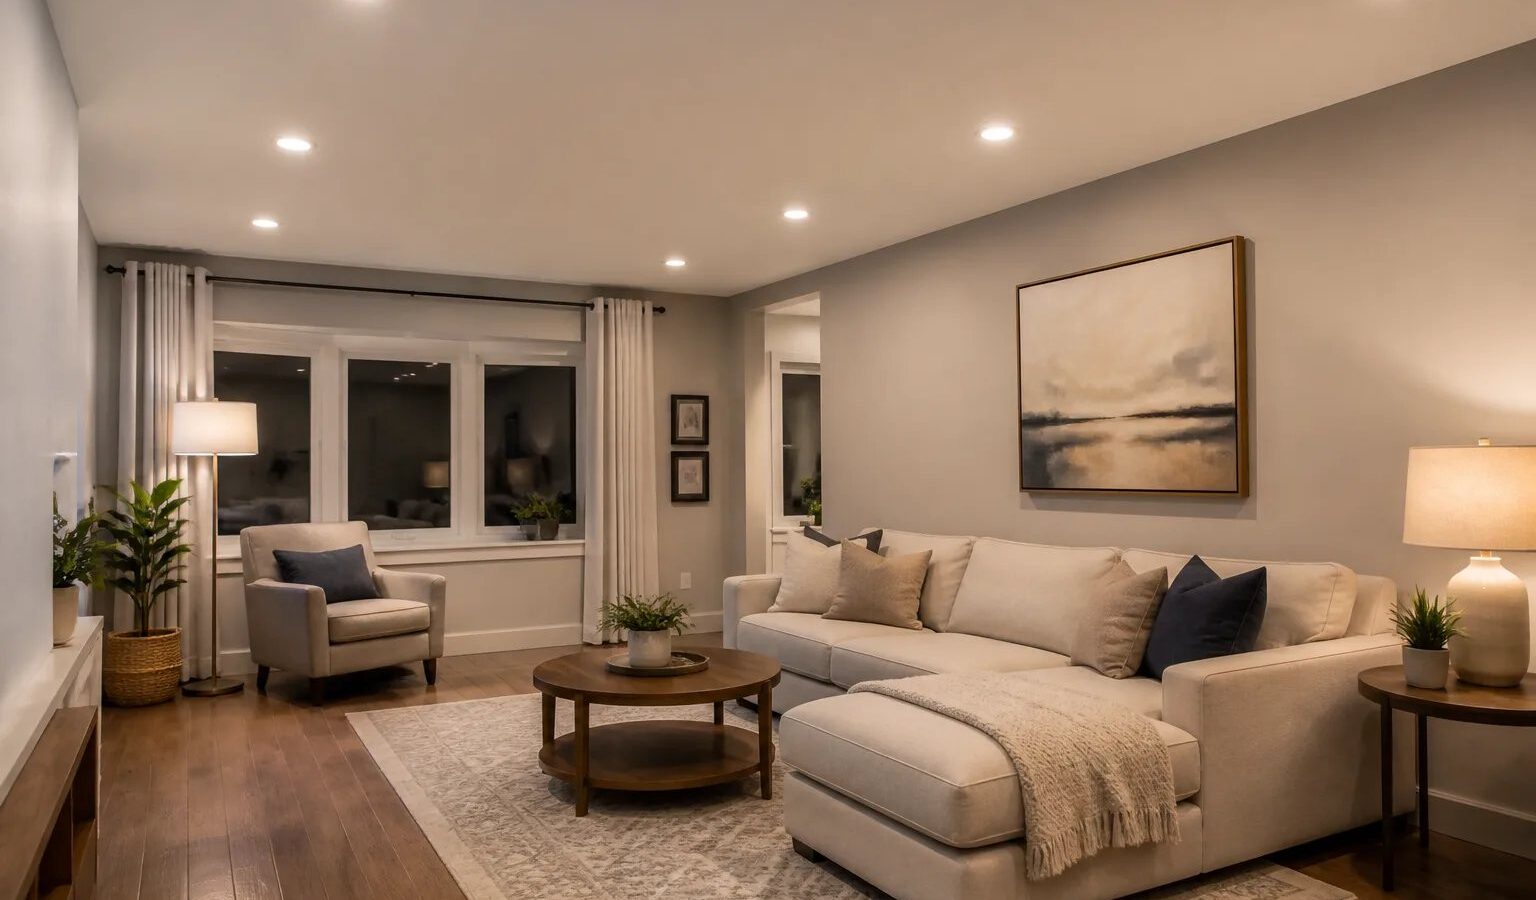
LED pot light installation for finished ceilings in Mississauga is often possible, but the best plan starts with the room’s use and the conditions hidden above the drywall. Joist direction, ducts, pipes, insulation, existing wiring, ceiling height, furniture, and switching needs all affect where lights can go and how cable can be routed. A clean-looking ceiling layout matters, but it must also work with the structure and the way you use the room.
At Mississauga Pot Lights, we provide LED pot light installation and layout planning for homes and selected business spaces. We begin by looking at the lighting goal, the room, and the practical access conditions rather than treating every project as a simple row of ceiling openings.
Why a finished ceiling changes LED pot light installation
In an unfinished renovation, wiring routes, switching, insulation, and fixture locations can be coordinated before drywall closes the ceiling. A finished room requires a different assessment because the framing and building services are concealed.
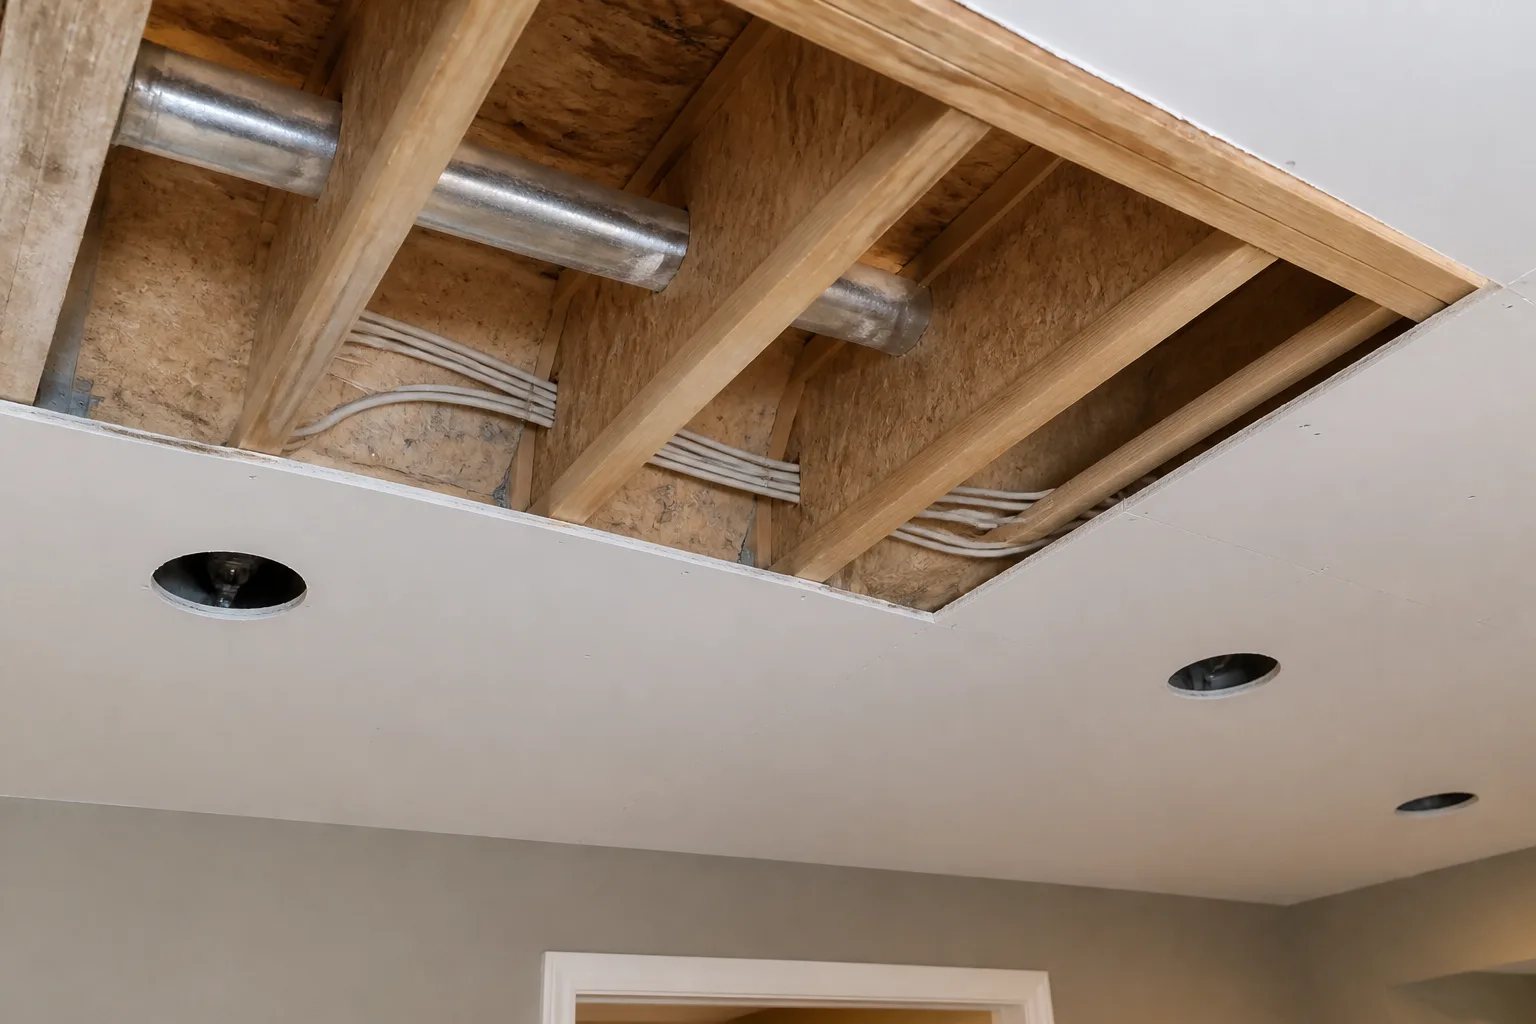
New recessed lights may be approached through fixture openings, from accessible attic space, or through limited additional access where needed. The workable route depends on the ceiling construction. For example, a proposed fixture location may need to move if a joist, duct, pipe, blocking, or existing cable occupies that space. Crossing structural bays can also change the cable route and access required.
This is why a perfectly symmetrical grid on paper is not automatically the right final layout. The positions should still support the room below while allowing for real conditions above the ceiling. Our LED pot light installation service considers both parts of that decision.
Plan the layout from the room’s purpose
Pot lights work best when each group has a clear job. General light, task light, accent light, and decorative fixtures can work together, but one type should not be expected to solve every lighting need.
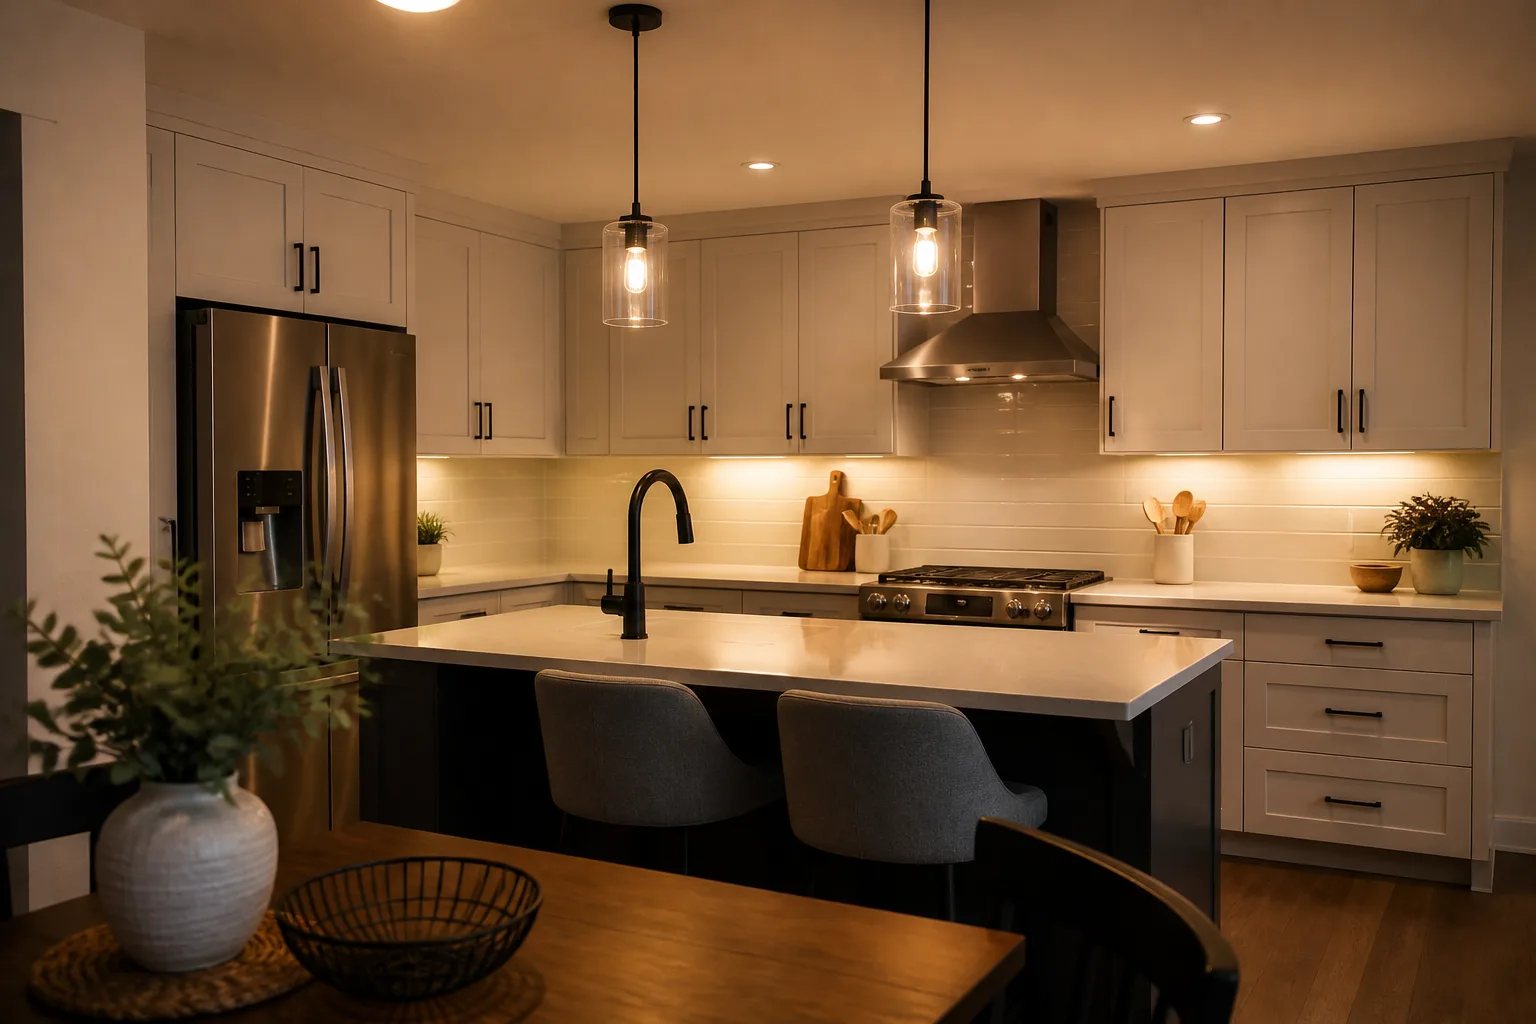
Kitchens need light at the counter, not only in the middle of the floor
In a kitchen, a floor-centred grid can leave the person at the counter standing between the light and the work surface. Ceiling lights should be considered alongside cabinet lines, counter edges, tall units, appliances, island placement, and reflective finishes. Recessed lighting can support broad coverage and counter-oriented light, while under-cabinet lighting and pendants can handle more specific jobs. See our guidance on kitchen ceiling lighting for the planning details that matter before locations are fixed.
Living areas need flexibility after dark
In a living or family room, lighting should relate to seating, screens, fireplaces, reading spots, artwork, and circulation. Placing fixtures solely in an empty-room grid can create glare on a television or put unnecessary brightness over the centre of a seating area. Separate zones and compatible dimming can make the same room more comfortable for reading, entertaining, or evening viewing.
Basements need to work with bulkheads and lower ceilings
Bulkheads, ducts, plumbing, and lower ceiling heights often make basement lighting more complex. Rather than forcing a row through every ceiling offset, the layout can follow clear ceiling fields, furniture zones, and paths of travel. Careful output, beam spread, trim choice, and switching help keep a lower ceiling from feeling visually crowded. Our basement LED lighting page explains the particular planning questions these spaces raise.
Choose fixtures and controls as a connected system
An LED pot light is not defined by its diameter alone. Light output, beam spread, trim, colour temperature, glare control, dimming behaviour, driver access, and suitability for the installation location all influence the final result.
- Output and beam spread: A higher output or wider beam is not automatically better. Ceiling height, room finishes, spacing, and the intended target determine whether the light will feel even or create bright spots.
- Colour temperature: Kelvin describes whether light appears warmer or cooler. Warm-neutral light is common in residential interiors, but daylight, connected rooms, paint, wood, stone, and adjacent fixtures should be compared before making a selection.
- Glare control: Fixture placement, trim design, ceiling height, and viewing angles all affect comfort. This is especially relevant near seating, screens, reflective counters, and stairs.
- Fixed or directional light: Fixed downlights support broad coverage. Directional fixtures can be useful for an intentional target, such as a wall feature or artwork, rather than simply adding more general light.
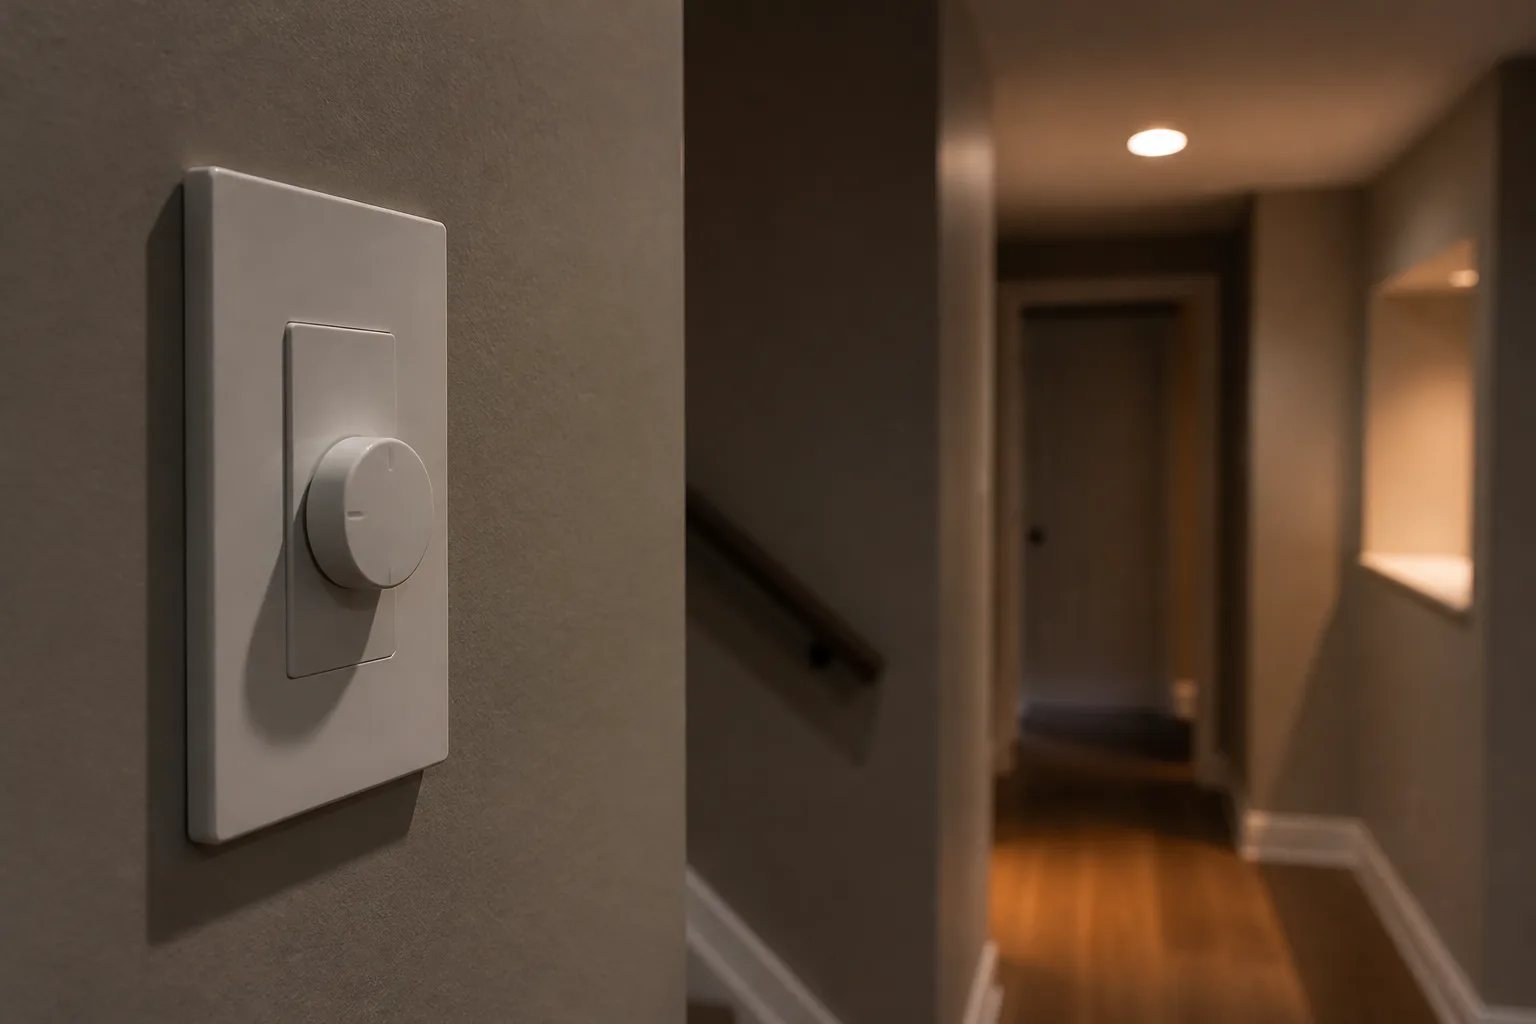
- Dimmers and connected controls: The fixture or driver, dimmer, electrical load, wiring, and wall-box conditions need to be compatible. A dimmer should be selected for the intended lighting system, not added as an afterthought.
Separate control zones often provide more practical value than putting every light in a large connected area on one switch. For example, general ceiling lighting, an island, and under-cabinet task light can be controlled independently in a kitchen. Explore dimmers and connected lighting controls to understand the compatibility questions worth confirming.
What to document before requesting an estimate
You do not need to know the exact fixture model or solve the ceiling layout before contacting us. A few useful details can make the first discussion more focused and reveal the questions that need on-site confirmation.
Before you request an estimate
Information that helps define the lighting scope
Bring together what you know about the room. Exact technical details are not required at this stage.
- Approximate room length, width, and ceiling height
- The areas that need better light, such as counters, seating, stairs, desks, or artwork
- Photos of the existing ceiling, fixtures, switches, bulkheads, and accessible attic areas
- Whether the ceiling is finished, open for renovation, or expected to be opened soon
- Existing lighting and control details, including dimmers or multi-way switches
- Furniture, cabinet, island, screen, or appliance locations that should guide the layout
- A product link or model information if you have already selected a fixture or control
Photographs can help show existing fixtures, switches, ceiling shapes, bulkheads, and accessible attic areas. They cannot reveal every concealed condition, so final routing and access assumptions should remain clear in the written scope.
What a complete pot light installation scope should clarify
A price per light is only meaningful when two proposals describe the same work. One estimate might include a specified fixture, a compatible dimmer, new wiring, notification, and cleanup, while another may assume existing wiring and leave access repair or tax outside the stated total.
A useful written scope should identify the fixture manufacturer or model, quantity, trim, colour temperature, output, and location suitability. It should also explain layout responsibility, anticipated wiring and switching, expected ceiling access, and what happens if hidden conditions require changes.
For finished ceilings, distinguish the circular openings needed for fixtures from any separate access openings that may be required. Confirm who is responsible for drywall patching, texture repair, primer, paint, or soffit repair when relevant. Our guide to the factors that shape pot light installation cost can help you compare scope rather than comparing a headline number alone.
Confirm the Ontario electrical process
Ontario electrical requirement
Make notification responsibility part of the written scope
For electrical work that requires notification, confirm which Licensed Electrical Contractor is responsible for filing it and providing accepted-work documentation. Do not assume this is included because a proposal mentions LED pot lights.
Electrical installation work offered to the public in Ontario must be handled through a Licensed Electrical Contractor. Electrical Safety Authority guidance states that almost all electrical work requires notification, with limited exceptions. The responsible contractor should confirm the actual requirement for the work, file the notification when required, and provide accepted-work documentation.
This process is separate from selecting a fixture or choosing a layout. Include electrical-notification responsibility and documentation in the written scope so it is not left as an assumption.
Start with the result you want, then confirm the ceiling conditions
The most useful starting point is simple: identify what feels inadequate now and what you want the room to do better. That may mean more usable counter light, calmer evening light in a family room, clearer basement circulation, or more even general illumination in a finished space.
From there, we can assess the relationship between the room layout, fixture choices, controls, access, and the concealed conditions that determine the practical installation route. A well-defined scope gives you a clearer basis for choosing LED pot lights and comparing the work involved.
Helpful answers
Frequently Asked Questions
Discuss your finished-ceiling lighting plan
Share the room, approximate dimensions, existing lighting, and the improvement you want so we can begin with a clearer scope.
Want to discuss the room or lighting issue?
Share the room, ceiling, exterior area, or fixture you want to improve. Approximate dimensions, ceiling height, existing fixtures, and the result you want are useful, but you do not need every technical detail before getting in touch.