
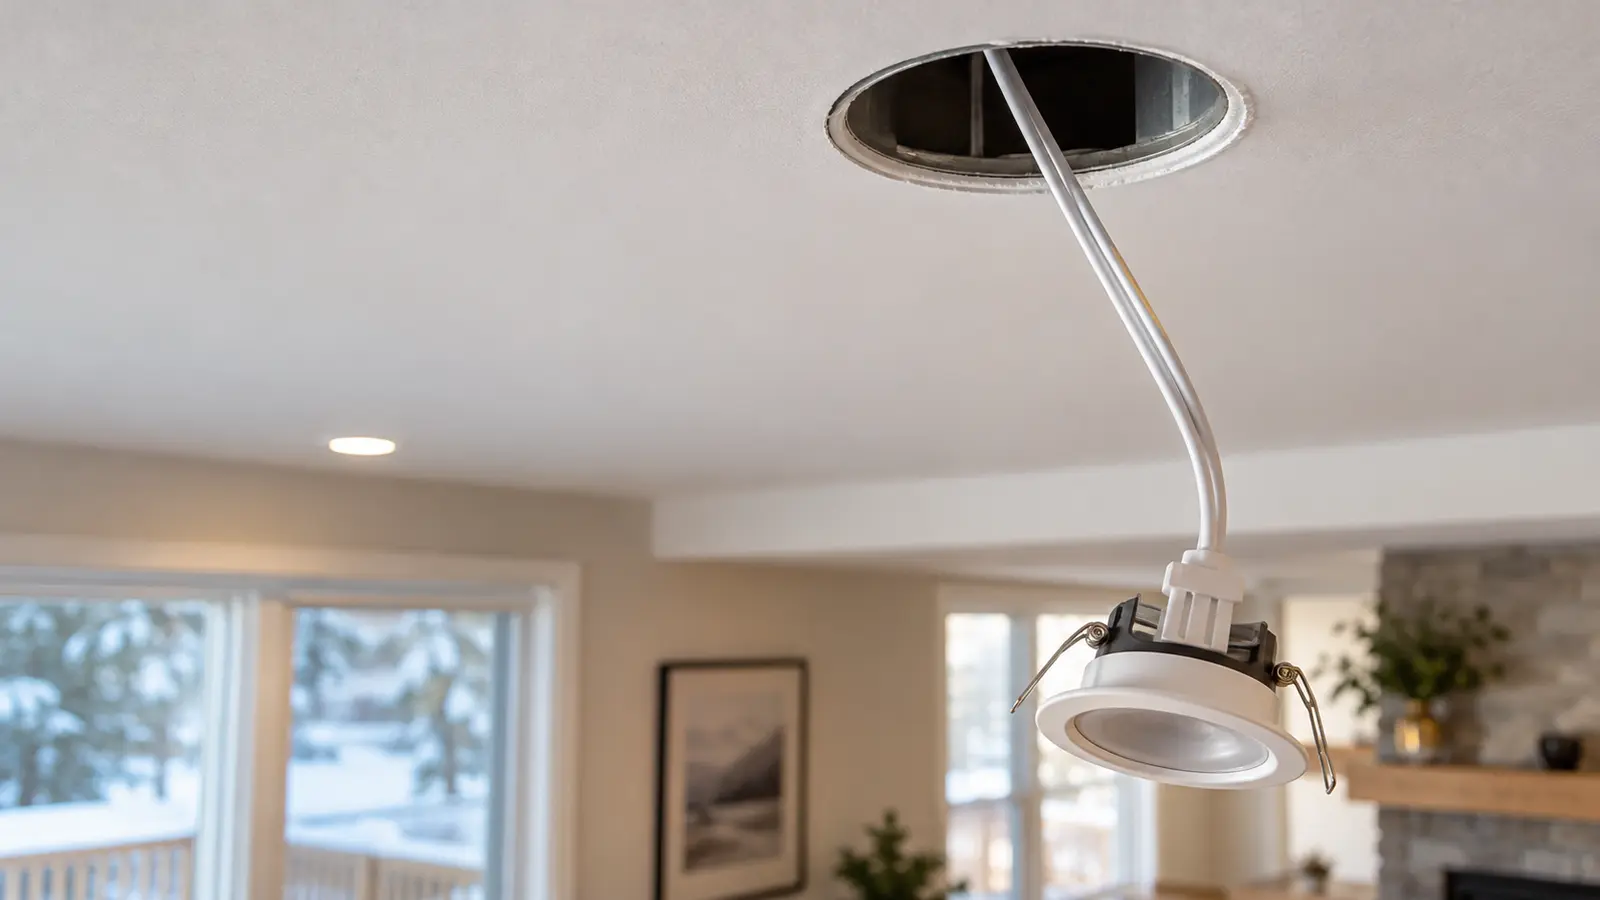
Pot lights can often be added to a finished ceiling, including a ceiling below another floor, but no one can honestly guarantee zero extra access before joist direction, ducts, pipes, blocking, insulation, and cable routes are understood.
A slim fixture may fit physically where a traditional housing will not, yet cable still has to reach each driver or junction point. The route between openings—not only the depth at one opening—is often the decisive question.
A useful scope separates the planned round fixture openings from any additional access holes, and it identifies who is responsible for patching, sanding, priming, and painting if those become necessary.
The short checklist
- Photograph the entire ceiling and all walls
- Identify what is above the ceiling and any accessible attic or unfinished area
- Locate existing lights, switches, nearby outlets, bulkheads, and likely mechanical routes
- Discuss joist direction as a hypothesis until verified
- Choose a fixture with suitable approval, insulation relationship, and accessible components
- Write down extra-access and finishing responsibilities
Fixture openings and access openings are not the same
The circular opening for a recessed fixture provides a limited view and working space. It may allow cable to be fished within one open joist bay. It does not automatically provide a route across joists, blocking, ducts, or pipes.
Additional small openings may be needed to guide cable, drill a framing route where permitted, avoid services, or reach a junction. The number and position cannot always be known before investigation.
- Fixture opening: remains part of the finished installation
- Access opening: used to route or inspect and then repaired
- Existing fixture or switch openings may provide useful access
Joist direction controls the easiest cable paths
Lights that sit within the same joist bay can be easier to connect than positions that require cable to cross multiple bays. A finder, ceiling clues, floor framing, and limited inspection can help, but none should be treated as perfect evidence before opening.
Aesthetic priorities and structure need to meet. The layout can identify acceptable movement tolerances while preserving counter coverage, wall relationships, or alignment that matters.
- Parallel routes and cross-joist routes are different scopes
- Bulkheads can conceal ducts rather than create easy access
- Between-floor ceilings deserve conservative assumptions
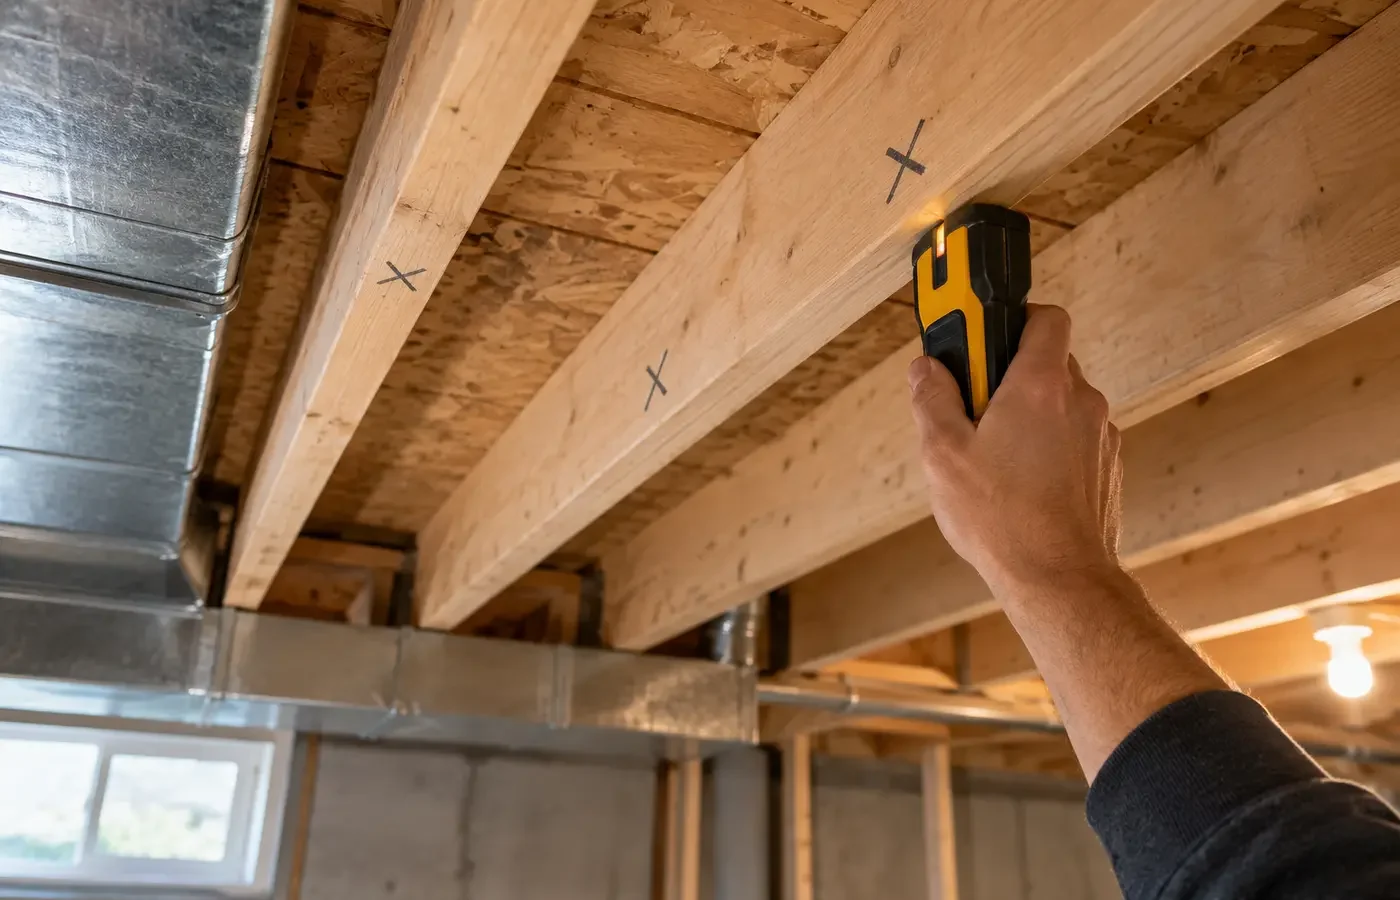
Ducts, pipes, blocking, and existing wiring create detours
Heating ducts, plumbing, beams, fire blocking, strapping, resilient channel, and previous alterations can interrupt an apparently open cavity. A small obstacle can move one fixture; a continuous obstacle can change the route.
Existing wiring should not be assumed reusable until its source, condition, capacity, and switching are understood. A nearby light does not prove that the desired circuit path is available.
- Mark known bathrooms, kitchens, and mechanical rooms above
- Note bulkheads and unusual ceiling changes
- Expect field decisions when concealed conditions appear
Insulation and vapour barriers affect products and sealing
Top-floor ceilings may contain insulation and an air or vapour-control layer. The fixture and installation method must suit the actual condition and product instructions. Careless openings can affect more than appearance.
Driver or junction components also need to remain accessible as required. Hiding a component permanently behind finished material can make future diagnosis harder.
- Verify insulation-contact suitability where applicable
- Preserve required barriers and sealing methods
- Plan future access to serviceable components
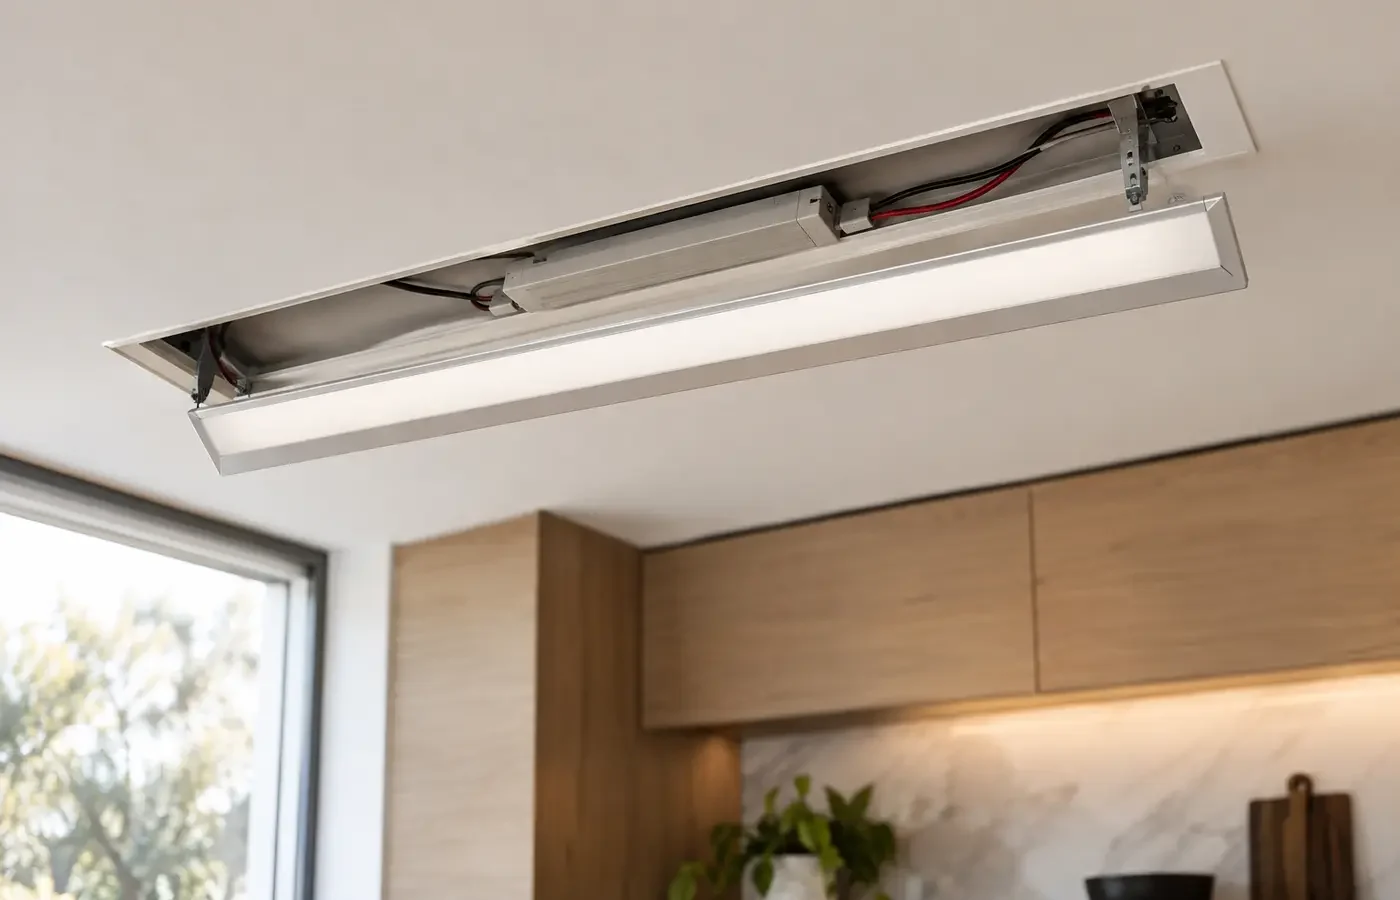
Set finishing expectations in writing
A phrase such as clean installation does not define drywall work. Ask whether the quote includes only electrical openings, minor access cuts, full patching, sanding, primer, paint matching, or none of those.
Paint blending can extend beyond the patch, especially on flat ceilings, textured finishes, or aged surfaces. Treat electrical work and finish restoration as connected but distinct scopes.
- Photograph the ceiling before work
- Clarify texture, patch, primer, and paint responsibilities
- Use a change process for unexpected access needs
What can be learned before work starts
Room photos, measurements, ceiling type, floor or attic access, switch locations, and knowledge of rooms above can improve the initial plan. Product selection and a careful site review can further reduce uncertainty.
The goal is not to pretend all risk disappears. It is to identify the likely route, make priorities clear, and agree on how concealed conditions will be handled.
- Share wide and close photographs
- Keep fixture and control information together
- Compare written assumptions, not only price per light
Compare three common access scenarios
An unfinished attic above the room may let cable approach fixture positions from above, but insulation, air barriers, roof pitch, and safe working space still affect the method. A finished ceiling below another floor offers no broad access from above and makes joist direction and cross-bay routes more important. A renovation with open framing offers the most visibility, but layout decisions and switching should be settled before insulation and drywall close the work.
These scenarios should not be priced or promised as if they are identical. The same fixture quantity can require very different routing, protection, sealing, access equipment, and finishing. Photographs and a site review can reduce uncertainty without turning concealed conditions into certainty.
When an extra opening becomes the sensible route, decide before proceeding how its position will protect the final appearance and who will restore it. A controlled access opening with a clear repair plan can be better than moving a critical light to an ineffective location merely to avoid discussing finishing.
- Open attic access does not remove insulation and barrier questions
- Between-floor ceilings need cautious routing assumptions
- Open framing is the best time to coordinate zones and future service
- Finishing responsibilities belong in the original comparison
Questions to confirm for the actual project
Can all work be done from below?
Sometimes. Joist direction, obstructions, cable routes, existing access, and the layout determine whether fixture openings alone are enough.
Does attic access eliminate drywall risk?
It can improve access, but insulation, barriers, limited working room, roof geometry, and desired positions still matter.
Who should repair drywall?
The written scope should state whether the electrical provider, a separate finisher, or the homeowner is responsible.
Can a camera see everything?
Inspection tools can help within accessible cavities, but they do not guarantee a complete map of the ceiling.
General planning guidance cannot identify concealed conditions or replace a project-specific assessment. Electrical installation work in Ontario must follow the applicable requirements and be offered by an authorized business.
Want to discuss the room or lighting issue?
Share the room, ceiling, exterior area, or fixture you want to improve. Photos and approximate dimensions are useful, but you do not need every technical detail before getting in touch.