
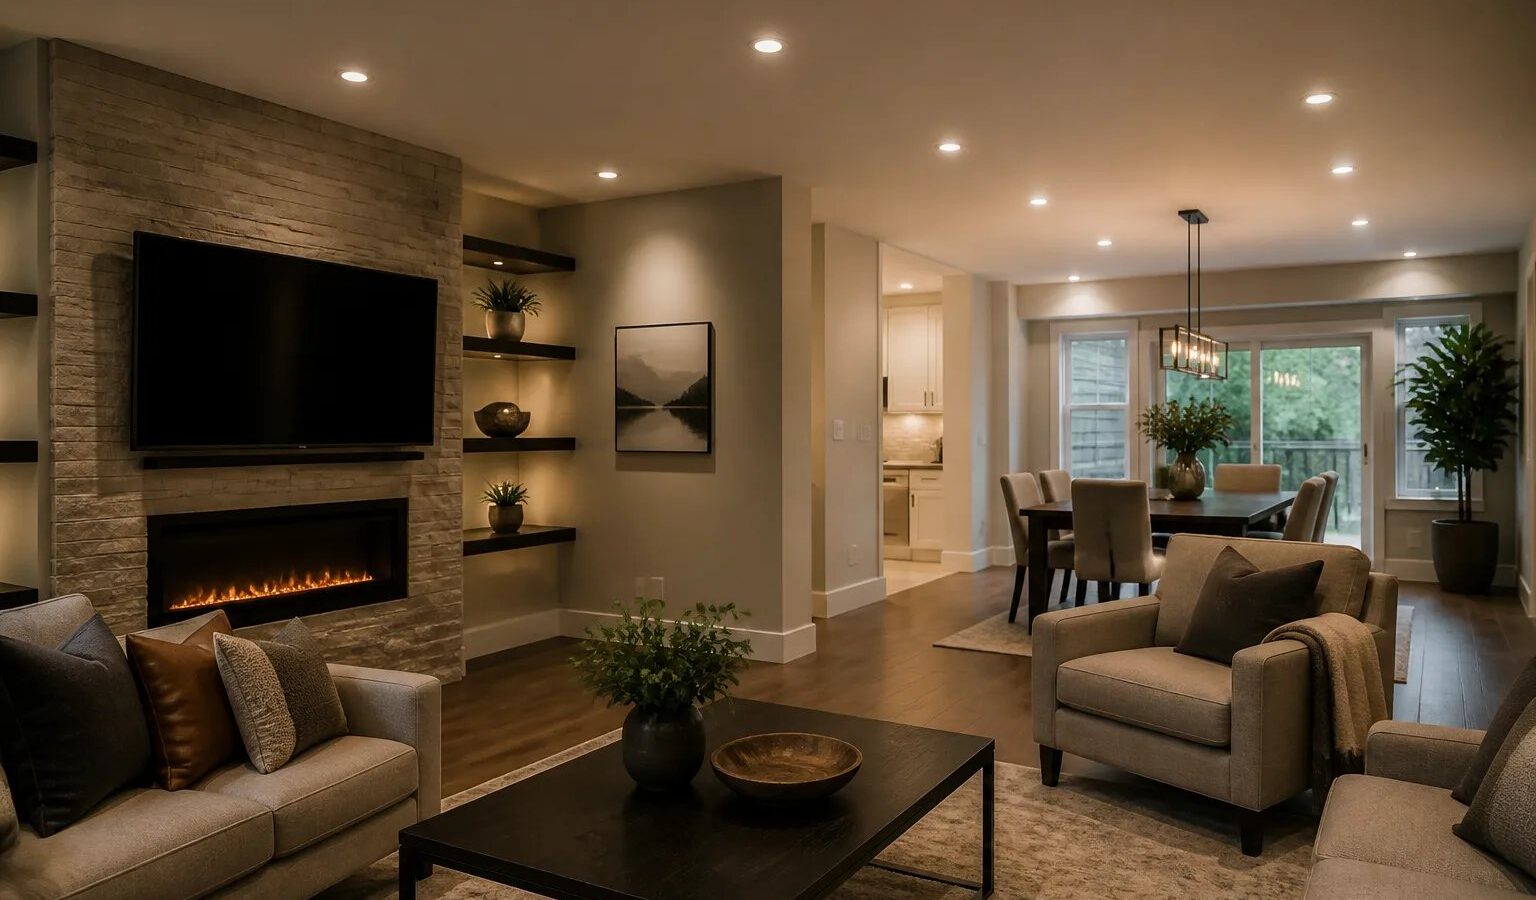
An interior recessed lighting layout for Mississauga homes should be planned around the room’s job, furniture, sightlines, and controls, not simply placed in an evenly spaced grid. A kitchen needs light where people prepare food, while a living room needs comfortable illumination that avoids television glare. Coordinating trims and colour temperature can help connected rooms feel consistent, but the fixture positions and switching zones should respond to each individual space.
At Mississauga Pot Lights, we provide interior recessed lighting planning and installation for homes with single rooms or connected areas in scope. A useful project begins by identifying what light needs to accomplish before openings are made in the ceiling.
Start with what the room needs to do
Recessed lights can provide broad ambient light, focused task coverage, or controlled accent light. The intended job affects placement, output, beam spread, trim choice, and control. Beginning with a ceiling grid alone often misses the surfaces and views that matter most.
| Room or area | What should guide the layout |
|---|---|
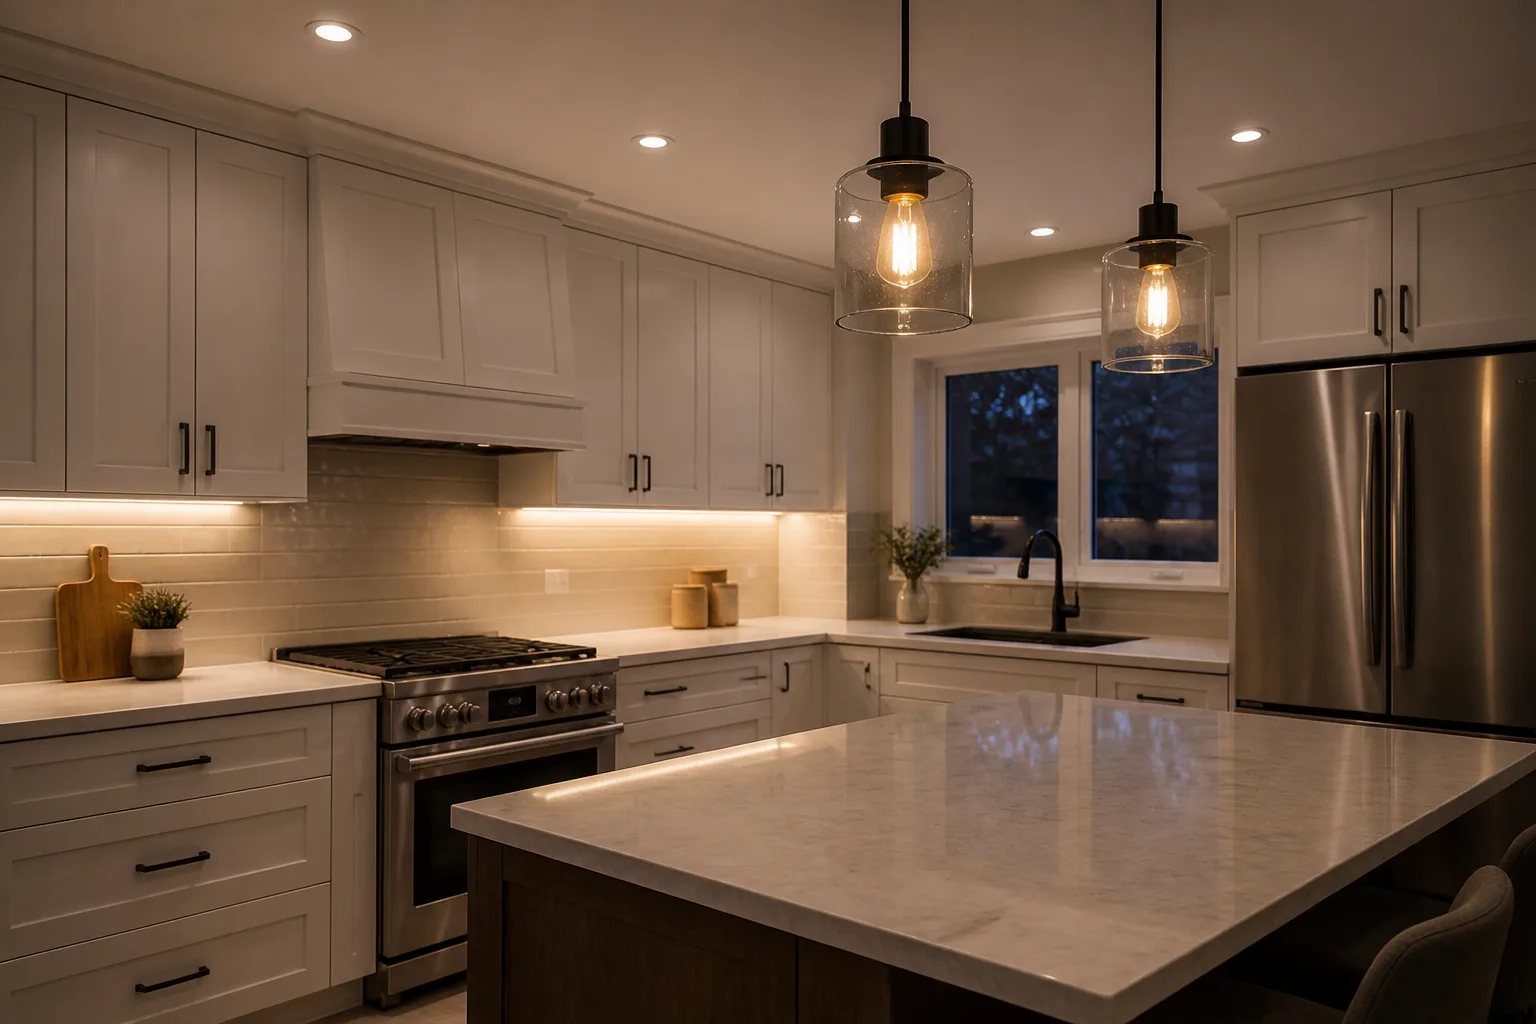
| Kitchen | Counter edges, upper cabinets, island location, appliance clearances, and preparation areas. |
| Living or family room | Seating, television reflections, fireplace or artwork, circulation paths, and low-level evening use. |
| Hallway or entry | Even circulation light, turns, doorways, and the visual connection to adjacent rooms. |
| Bedroom | Comfortable general light, bedside tasks, storage areas, and dimming for lower-light use. |
| Basement | Bulkheads, lower ceiling fields, joists and mechanical services, plus distinct recreation, office, and storage zones. |
For example, a fixture located directly behind someone standing at a kitchen counter can cast their shadow across the work surface. In a family room, a bright aperture reflected in a television screen can become distracting from the main seating position. These are layout problems, not simply brightness problems.
Use lighting layers instead of making recessed lights do everything
A comfortable interior usually has more than one type of light. Recessed fixtures are useful for general coverage and can support a task or feature, but they do not always need to carry the entire room.
- Ambient light creates usable overall brightness for movement and everyday activity.
- Task light serves a specific surface, such as a counter, desk, reading chair, or vanity.
- Accent light draws attention to selected artwork, shelving, texture, or architectural features.
- Decorative light adds scale and visual character through pendants, chandeliers, or other visible fixtures.
Keeping layers distinct prevents an overfilled ceiling and gives each fixture group a clear purpose. In a kitchen, recessed fixtures can support room ambience and counter-oriented coverage while pendants define the island and under-cabinet task lighting puts light directly on the worktop. In a living area, lamps or a decorative fixture can provide lower-height warmth while recessed fixtures support the room edges and circulation.
Why there is no universal pot-light spacing formula
Room size and ceiling height are useful starting points, but neither tells you where light needs to land. Fixture output in lumens, beam angle, ceiling height, wall distance, surface reflectance, and intended targets all change the useful spacing. Dark wood, stone, and textiles generally reflect less light than pale finishes, while glossy surfaces can reveal glare and reflections more readily.
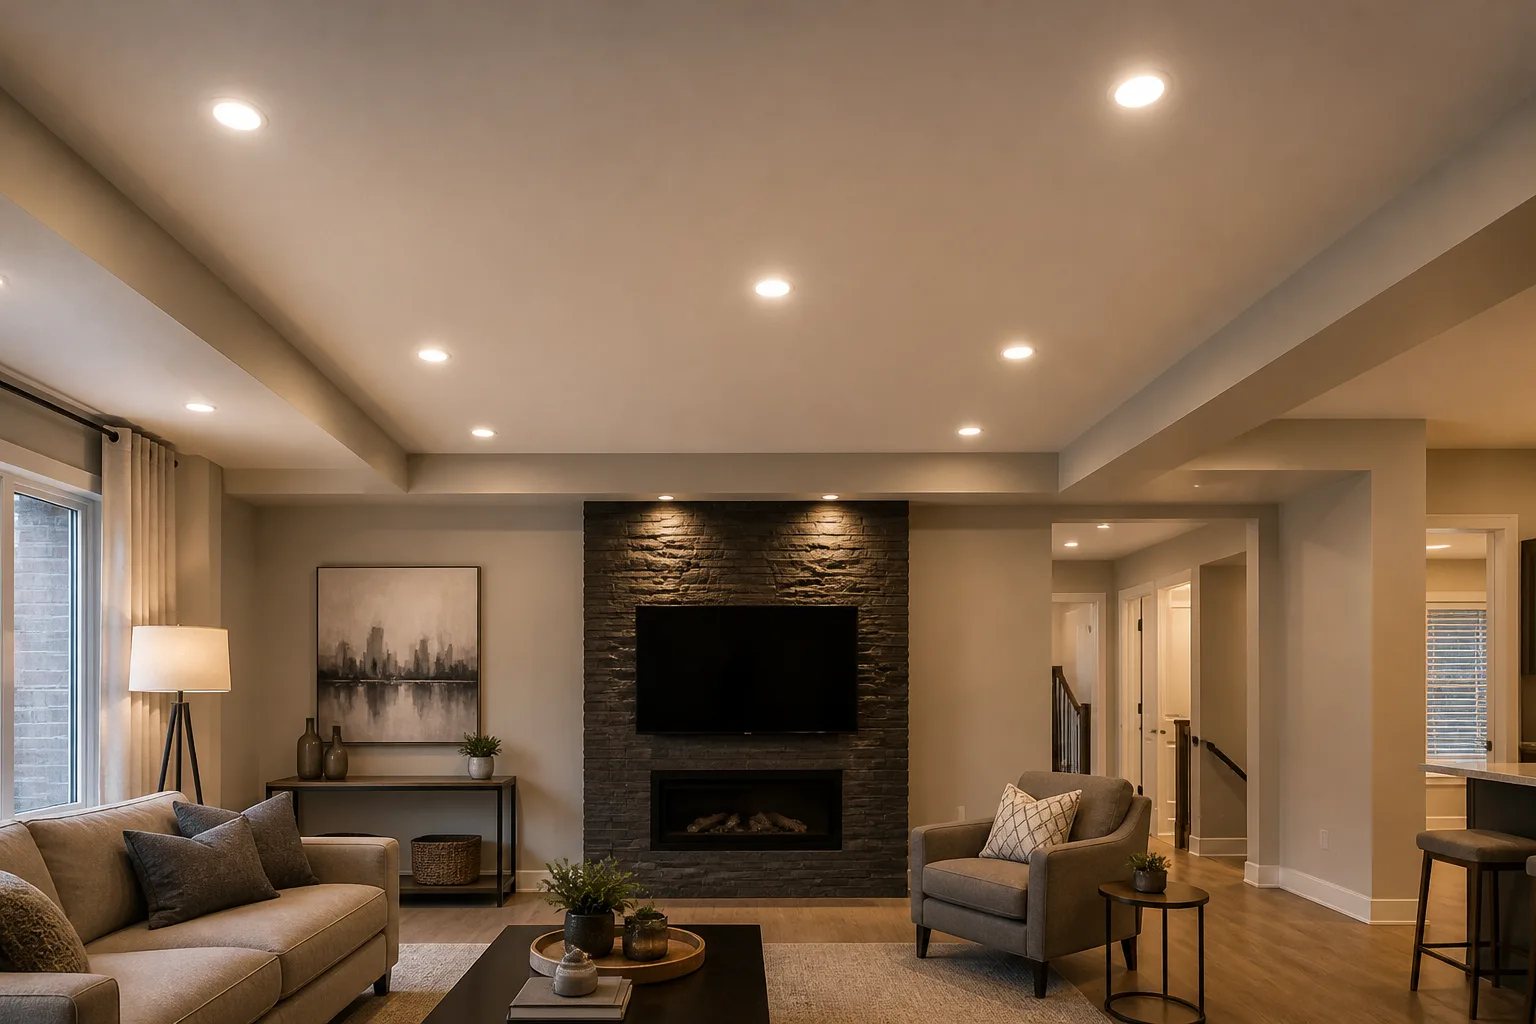
Wall distance deserves particular attention. A fixture close to a wall can brighten artwork, shelving, or the vertical boundary of a room, but its position and beam need to suit that purpose. Poorly matched placement can create harsh bright bands or scallops rather than a calm, even result.
Furniture also matters, but permanent architecture should anchor the plan. Build around counters, cabinet runs, fireplaces, stairs, door swings, and likely seating zones rather than centring every fixture on a temporary chair or side table. Our pot-light layout planning guide explains how room dimensions, beam coverage, walls, and controls work together before installation.
Coordinate connected rooms without repeating the same grid
Open-plan spaces benefit from a visual relationship, especially where ceilings are visible through wide openings. A common trim family and intentional colour-temperature plan can help the home read as one environment. That does not mean every room should have identical fixture spacing or be controlled together.
A kitchen may need separate counter, island, and general-light zones. An adjacent family room may need independent dimming for seating and screen viewing. The visual result stays coordinated while each room remains useful for its own activities.
Colour temperature describes whether light appears warmer or cooler, but it is only one part of the visual result. Colour rendering also affects how paint, wood, stone, food, and skin tones appear. When adjoining rooms will be seen together, compare the chosen fixtures and finishes as a group rather than selecting each room in isolation.
Plan dimmers and switching zones early
Controls determine whether a well-planned layout remains comfortable after dark. A room with several lighting jobs is often easier to use when those jobs are switched separately. This is especially useful where a space shifts between active daytime tasks, entertaining, television viewing, and quiet evening use.
Good low-level dimming can matter more than maximum brightness in a lounge or bedroom. Compatibility still needs to be confirmed among the fixture or driver, dimmer, circuit load, wiring arrangement, and desired control behaviour. Learn more about dimmers and connected lighting controls when comparing options for different room scenes.
Confirm ceiling conditions before finalizing positions
A drawing can establish priorities, but concealed conditions may require adjustments on site. Joists, ducts, plumbing, existing wiring, insulation, and ceiling access can affect the available location and cable route for a fixture. The right approach is to identify what must remain aligned, what has some flexibility, and what conditions need confirmation before cutting begins.
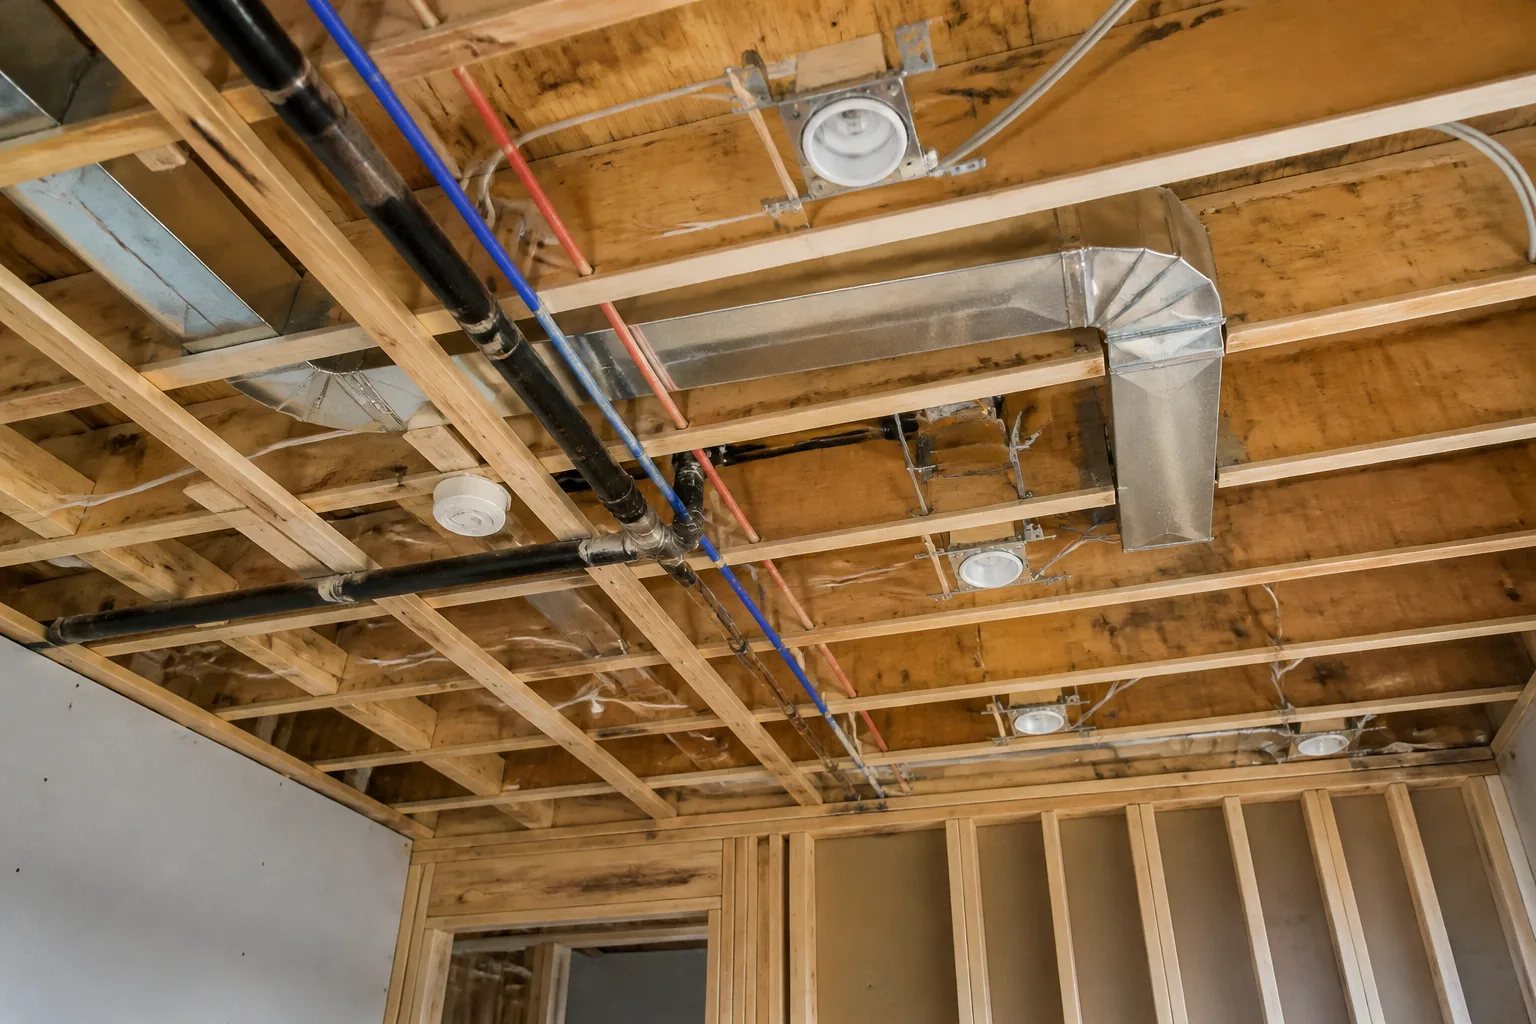
Finished ceilings and renovation-stage ceilings also involve different access assumptions. In basements, bulkheads and services often divide the ceiling into separate fields; trying to force one uninterrupted grid through every offset can make the room feel more cluttered. For a lower level, review the bulkheads, ceiling height, room uses, and available access with our basement LED lighting guidance.
Ontario electrical work
Notification and accepted-work documentation should be part of the scope
In Ontario, electrical installation work offered to the public must be handled through a Licensed Electrical Contractor. Because notification is required for almost all electrical work, with limited exceptions, confirm who is responsible for notification and accepted-work documentation before the project proceeds.
What to provide for a more useful layout discussion
A few practical details make it easier to move from a lighting goal to a defined scope. Include approximate room dimensions and ceiling height, current fixtures and switches, the room’s intended use, and the fixed features that should influence placement. Product links or fixture specifications are also useful when a selected trim, pendant, or control affects the plan.
Before planning
Details to gather before reviewing an interior recessed-light layout
Bring together the details that affect fixture position, output, access, and controls.
- Approximate room length, width, and ceiling height
- A simple floor plan showing doors, windows, openings, stairs, and fixed features
- Likely furniture positions, including seating, desks, beds, and television location
- Kitchen cabinet, counter, appliance, and island plans where relevant
- Existing fixtures, switches, dimmers, and any desired new control locations
- Ceiling conditions, known bulkheads, and the renovation stage
- Links or specifications for selected fixtures, pendants, trims, or controls
For kitchens, final cabinet, appliance, and island information is particularly valuable. For living rooms, mark the television, fireplace, primary seating, and artwork. For bedrooms or offices, identify bed, desk, storage, and reading locations. A plan built from those conditions is more likely to support the room after the furniture is in place.
Compare scopes, not fixture counts alone
Two proposals with a similar number of recessed lights may cover very different work. A clear written scope should identify the room-specific layout, fixture family and intended performance, controls, ceiling access assumptions, and any finishing or change conditions. It should also distinguish general illumination from task, accent, and decorative layers where those are part of the project.
For electrical installation work in Ontario, the responsible contractor should confirm notification requirements, file when required, and provide accepted-work documentation. The Electrical Safety Authority notes that almost all electrical work requires notification, with limited exceptions. This is one reason layout, access, wiring, and responsibility should be discussed as part of the scope rather than after fixture locations have been chosen.
The strongest recessed-light layout is not the one with the most fixtures. It is the one that puts useful light on the surfaces and paths that matter, protects comfortable sightlines, and gives each room practical control over its own lighting.
Helpful answers
Frequently Asked Questions
Ready to discuss your room layout?
Share your room details, existing lighting, and the result you want so we can review the scope for your project.
Want to discuss the room or lighting issue?
Share the room, ceiling, exterior area, or fixture you want to improve. Approximate dimensions, ceiling height, existing fixtures, and the result you want are useful, but you do not need every technical detail before getting in touch.